Avanti STW16DOW Bruksanvisning
Avanti tvättmaskin STW16DOW
Läs gratis den bruksanvisning för Avanti STW16DOW (56 sidor) i kategorin tvättmaskin. Guiden har ansetts hjälpsam av 32 personer och har ett genomsnittsbetyg på 4.7 stjärnor baserat på 5 recensioner. Har du en fråga om Avanti STW16DOW eller vill du ställa frågor till andra användare av produkten? Ställ en fråga
Sida 1/56
1
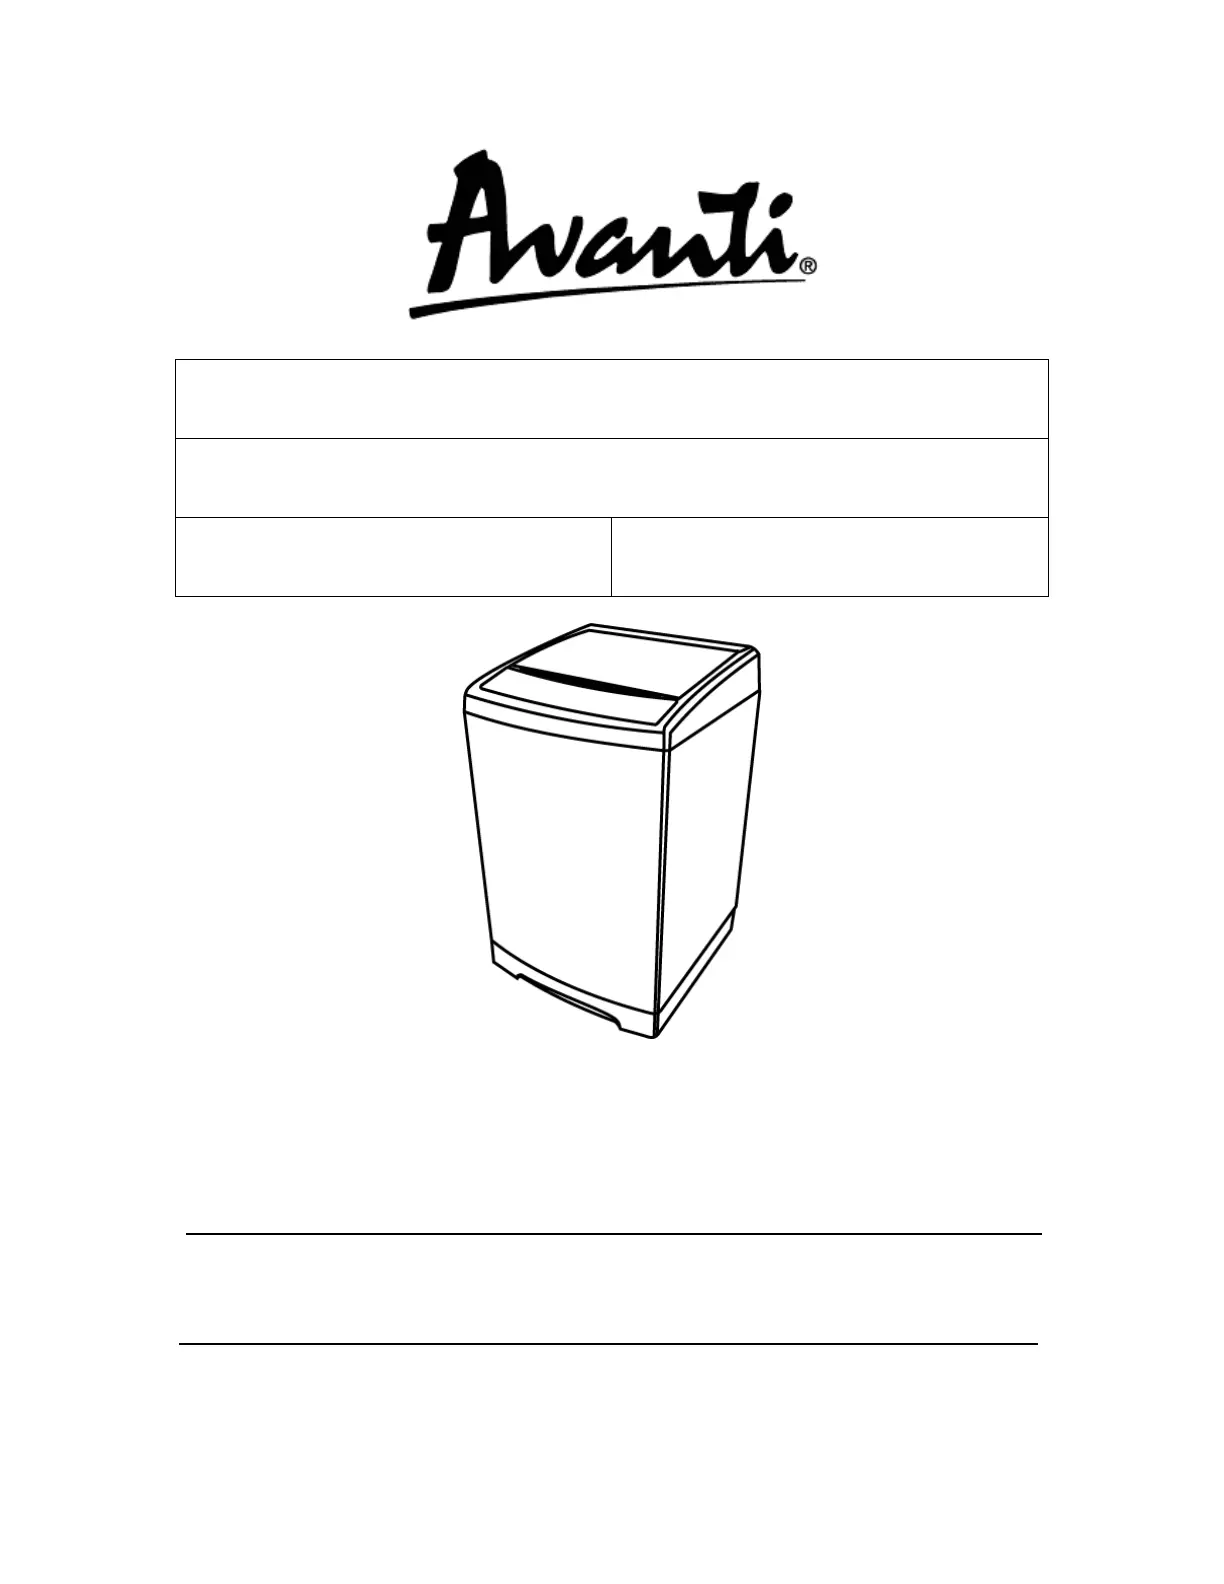
INSTRUCTION MANUAL
MANUAL DE INSTRUCCIONES
MANUEL D’INSTRUCTIONS
PORTABLE WASHER
LAVADORA PORTATIL
LAVEUSE PORTABLE
Model Numbers
Nos de Modelos
Nos de Modèles
STW16D0W
STW20D2P
STW30D0W
BEFORE USE, PLEASE READ AND FOLLOW ALL SAFETY RULES AND OPERATING
INSTRUCTIONS.
Avanti has a policy of continuous improvement on its products and reserves the right to change materials and specifications
without notice.
Avanti Products LLC
P.O. Box 520604 -Miami, Florida 33152
www.avantiproducts.com
Produktspecifikationer
| Varumärke: | Avanti |
| Kategori: | tvättmaskin |
| Modell: | STW16DOW |
Behöver du hjälp?
Om du behöver hjälp med Avanti STW16DOW ställ en fråga nedan och andra användare kommer att svara dig
tvättmaskin Avanti Manualer

28 Augusti 2025
8 September 2024
4 September 2024
3 September 2024
3 September 2024
3 September 2024
2 September 2024
31 Augusti 2024
31 Augusti 2024
31 Augusti 2024
tvättmaskin Manualer
Nyaste tvättmaskin Manualer
3 April 2026
3 April 2026
2 April 2026
2 April 2026
2 April 2026
2 April 2026
2 April 2026
1 April 2026
1 April 2026
1 April 2026