Black Decker UCM6 Bruksanvisning
Läs gratis den bruksanvisning för Black Decker UCM6 (13 sidor) i kategorin kaffebryggare. Guiden har ansetts hjälpsam av 9 personer och har ett genomsnittsbetyg på 4.0 stjärnor baserat på 2 recensioner. Har du en fråga om Black Decker UCM6 eller vill du ställa frågor till andra användare av produkten? Ställ en fråga
Sida 1/13
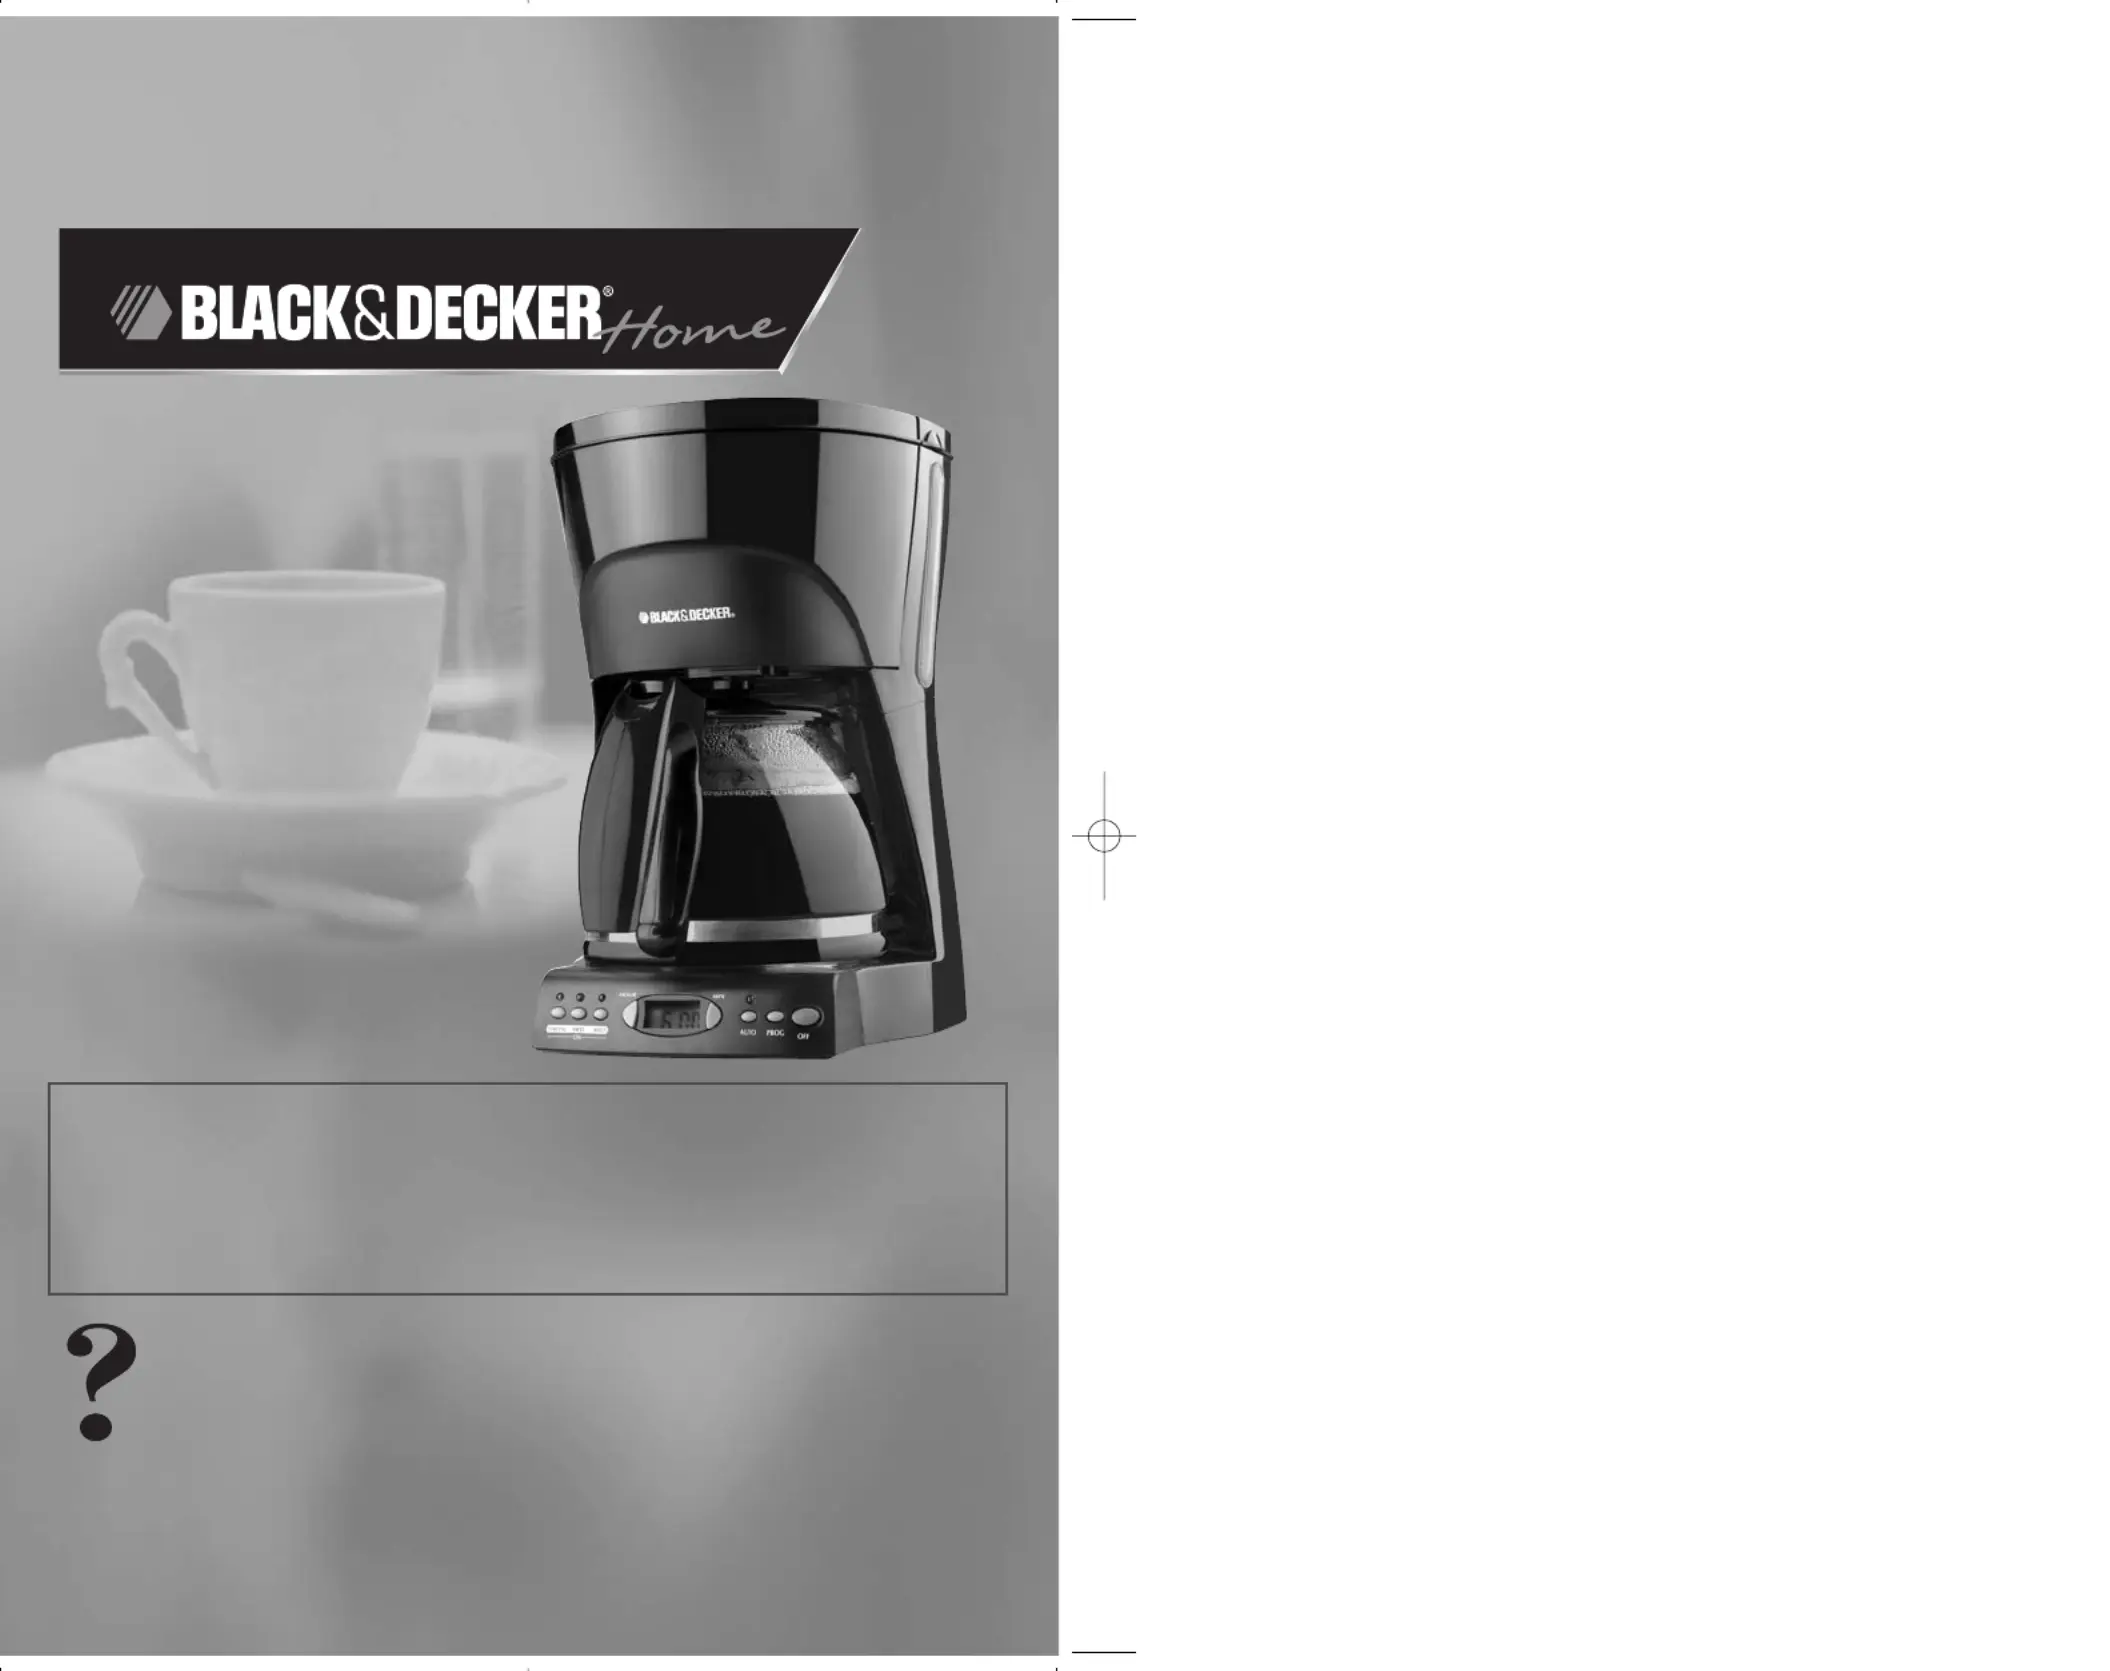
10-Cup Programmable
Coffeemaker
Cafetera programable
de 10 tazas
Cafetière programmable
de 10 tasses
Please Read and Save this Use and Care Book
Por favor lea este instructivo antes de usar el producto
Veuillez lire et conserver ce guide d’entretien et d’utilisation
Model
Modelo
Modèle
❑
UCM6
USA/Canada1-800-231-9786
Mexico01-800-714-2503
www.applicaconsumerproductsinc.com
Accessories/Parts(USA/Canada)
Accesorios/Partes(EE.UU/Canadá)
Accessoires/Pièces(É.-U./Canada)
1-800-738-0245
Register your product online at www.prodprotect.com/applica,
for a chance to WIN $100,000!
Registre su producto en la Internet en el sitio Web www.prodprotect.com/applica
y tendrá la oportunidad de GANAR $100,000!
Inscrivez votre produit en ligne à l'adresse www.prodprotect.com/applica
et courez la chance de GAGNER 100 000 $!
IMPORTANT / IMPORTANTE /
IMPORTANT
WASH CARAFE BEFORE FIRST USE!
LAVE LA JARRA ANTES
DEL PRIMER USO
LAVER LA CARAFE AVANT
LA PREMIÈRE UTILISATION!
Produktspecifikationer
| Varumärke: | Black Decker |
| Kategori: | kaffebryggare |
| Modell: | UCM6 |
Behöver du hjälp?
Om du behöver hjälp med Black Decker UCM6 ställ en fråga nedan och andra användare kommer att svara dig
kaffebryggare Black Decker Manualer

11 September 2025
10 September 2025
10 September 2025
10 September 2025
10 September 2025
10 September 2025
10 September 2025
10 September 2025
10 September 2025
9 September 2025
kaffebryggare Manualer
Nyaste kaffebryggare Manualer
2 April 2026
2 April 2026
2 April 2026
1 April 2026
30 Mars 2026
29 Mars 2026
29 Mars 2026
29 Mars 2026
29 Mars 2026
28 Mars 2026