Broan 463604 Bruksanvisning
Broan ventilationskåpa 463604
Läs gratis den bruksanvisning för Broan 463604 (8 sidor) i kategorin ventilationskåpa. Guiden har ansetts hjälpsam av 19 personer och har ett genomsnittsbetyg på 5.0 stjärnor baserat på 7 recensioner. Har du en fråga om Broan 463604 eller vill du ställa frågor till andra användare av produkten? Ställ en fråga
Sida 1/8
INSTALLER: Leave This Manual With The
Homeowner. HOMEOWNER: Use and Care
Information on Page 5.
INSTALADOR: Deje este manual con el
dueño de la casa. DUEÑO DE LA CASA:
Información acerca del uso y los cuidados
en la Página 5.
READ AND SAVE
THESE INSTRUCTIONS
WARNING
TO REDUCE THE RISK OF FIRE, ELECTRIC SHOCK,
OR INJURY TO PERSONS, OBSERVE THE FOLLOWING:
1. Use this unit only in the manner intended bythe manu-
facturer.Ifyouhavequestions,contactthemanufacturer
at the address or telephone number listed in the war-
ranty.
2. Before servicing or cleaning unit, switch power off at
servicepanelandlocktheservicedisconnectingmeans
to prevent power from being switched on accidentally.
Whentheservicedisconnectingmeanscannotbe
locked, securely fasten a prominent warning device,
such as a tag, to the service panel.
3. Installation work and electrical wiring must be done by
a qualified person(s) in accordance with all applicable
codes and standards, including fire-rated construction
codes and standards.
4. Sufficientairisneededforpropercombustionand
exhaustingofgasesthroughtheflue(chimney)offuel
burningequipmenttopreventbackdrafting.Followthe
heatingequipmentmanufacturer’sguidelineandsafety
standardssuchasthosepublishedbytheNational
FireProtectionAssociation(NFPA),andtheAmerican
SocietyforHeating,RefrigerationandAirConditioning
Engineers(ASHRAE),andthelocalcodeauthorities.
5. When cutting or drilling into wall or ceiling, do not dam-
age electrical wiring and other hidden utilities.
6. Ductedfansmustalwaysbeventedtotheoutdoors.
7. Donot use this unit with an additonal speed control
device.
8. To reduce the
risk of fire,
use only metal ductwork.
9. Use with approved cord-connection kit only.
10 This unit must be grounded.
TO REDUCE THE RISK OF A RANGE TOP GREASE FIRE:
1. Never leave surface units unattended at high settings.
Boiloverscausesmokingandgreasy spilloversthat
may ignite. Heat oils slowly on low or medium settings.
2. Alwaysturn hood ON when cooking at high heat or
when cooking flaming foods.
3. Cleanventilatingfansfrequently.Greaseshouldnotbe
allowed to accumulate on fan or filter.
4. Useproperpansize.Alwaysusecookwareappropriate
for the size of the surface element.
TO REDUCE THE RISK OF INJURY TO PERSONS IN THE
EVENT OF A RANGE TOP GREASE FIRE, OBSERVE
THE FOLLOWING:*
1. SMOTHERFLAMESwitha close-fittinglid,cookie
sheet,ormetaltray,thenturnofftheburner.BECARE-
FUL TO PREVENT BURNS. If the flames do not go
outimmediately,EVACUATEANDCALLTHEFIRE
DEPARTMENT.
2. NEVERPICKUPA FLAMINGPAN - You may be
burned.
3. DONOT USE WATER,includingwet dishclothsor
towels - a violent steam explosion will result.
4. Use an extinguisher ONLY if:
A. Youknowyouhavea ClassABCextinguisherand
you already know how to operate it.
B. The fire is small and contained in the area where
it started.
C. The fire department is being called.
D. You can fight the fire with your back to an exit.
* Based on “Kitchen Fire
SafetyT
ips”published by
NFPA.
IMPORTANT
For Non-ducted Installation:
a) Purchase non-ducted filter separately.
b) Removeanddiscarddamper/ductconnectorandlouver
cover (See Step 2) in “Prepare the Hood,” Page 2.
c) Follow all steps except steps inside dotted lines.
For Ducted Installation:
Follow all steps, including steps inside dotted lines.
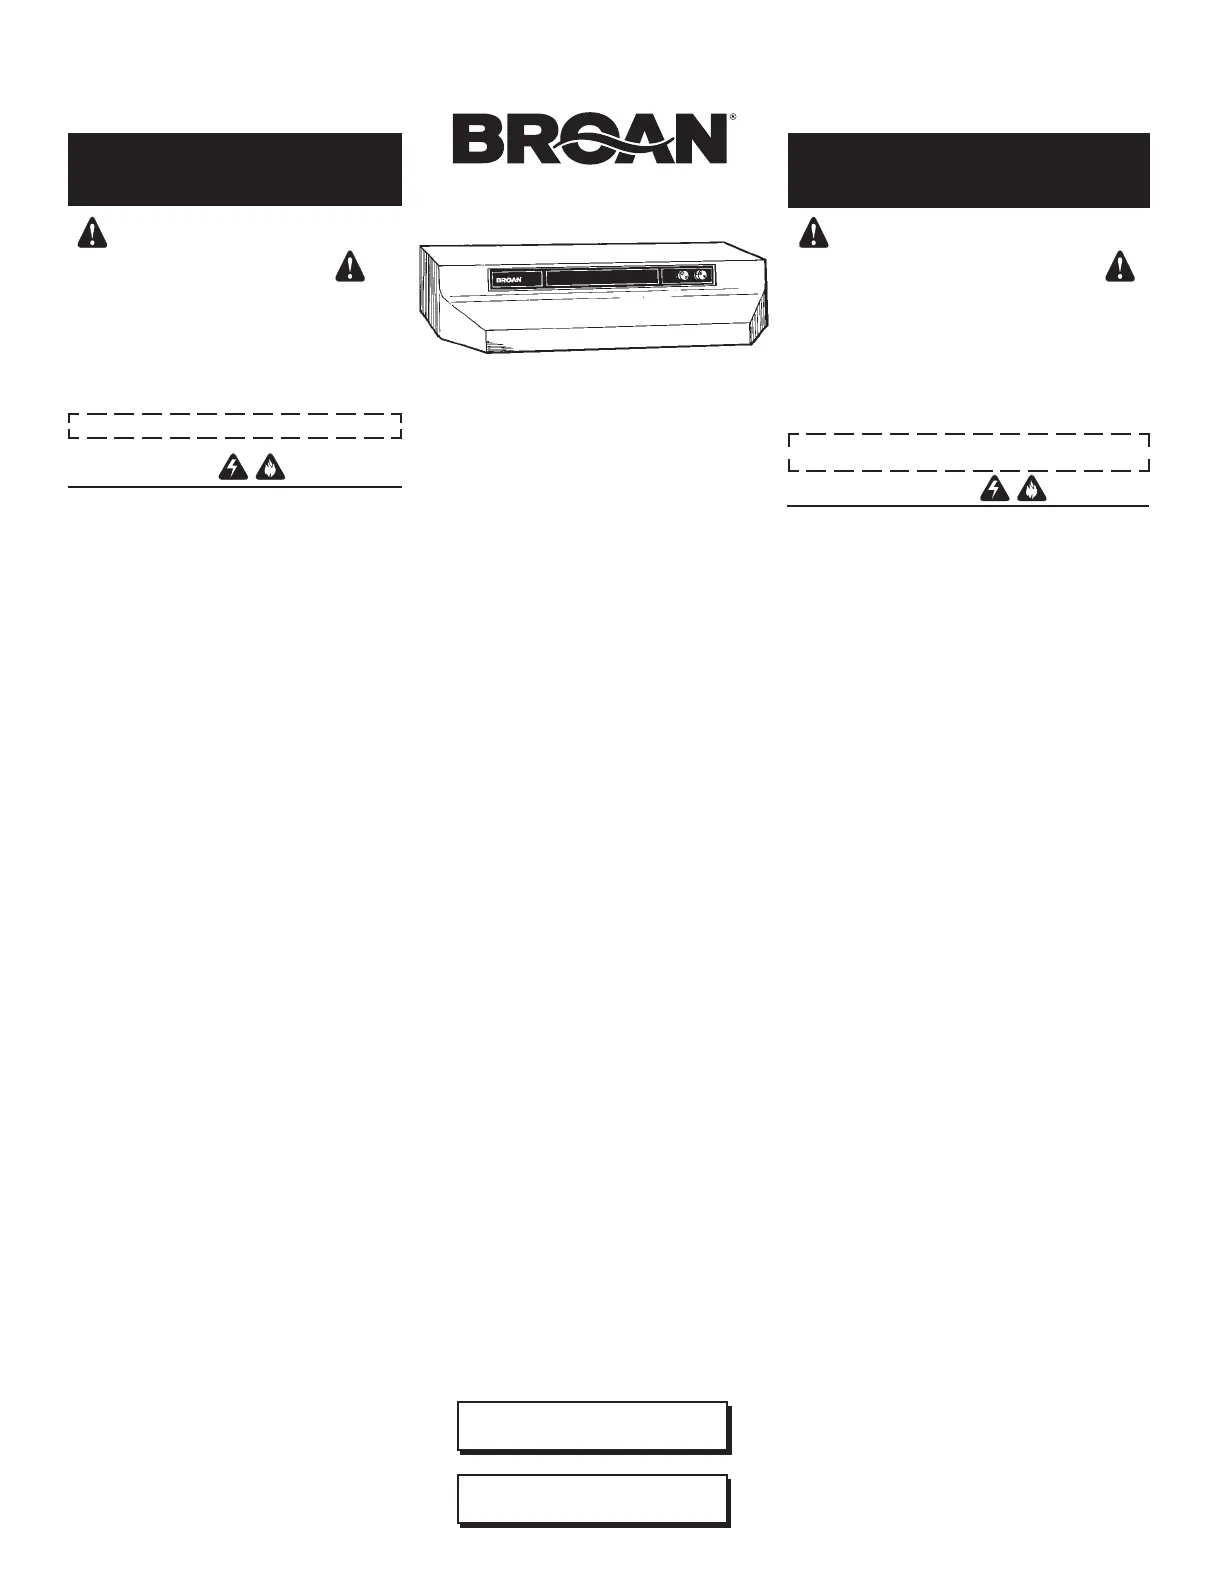
46000 SERIES
CONVERTIBLE RANGE HOOD
LEA Y CONSERVE
ESTAS INSTRUCCIONES
IMPORTANTE
Para instalación sin ducto:
a) Compra el filtro sin conductos separado.
b) Quite y descarte el conector del regulador/ducto y la
tapa de la rejilla (Véase paso 2) en la Página 2 titulada
“Prepare el extractor.”
c) Siga todos los pasos excepto de los pasos dentro las
líneas suspensivas.
Para instalación con ducto:
Siga todos los pasos incluyendo los pasos dentro de las
líneas suspensivas.
PRECAUCION
PARA REDUCIR EL RIESGO DE INCENDIO, CHOQUE ELEC-
TRICO, O LESION A PERSONAS, PROCURE LO SIGUIENTE:
1. Utiliceestaunidadsóloenlamaneraprescritaporel
fabricante. Si tiene usted alguna pregunta, comuníquese
con el fabricante a la dirección o el teléfono indicados en la
garantía.
2. Antes de limpiar o de poner en servicio la unidad, apague
el interruptor en el panel de servicio, y asegure el panel
de servicio para evitar que se encienda accidentalmente.
Cuandoeldispositivoparadesconectarelservicio
eléctriconopuedesercerradoconalgúntipodetraba,
sujete fuertemente al panel de servicio, una etiqueta de
advertencia prominente.
3. Todo trabajo de instalación y cableado eléctrico debe ser
realizado por personal calificado y de acuerdo con todos
los códigos y normas pertinentes, incluyendo los códigos
y normas relacionados con construcción clasificada para
incendio.
4. Airesuficienteesnecesarioparafacilitarlacombustión
adecuada y la salida apropiada de gases por la chimenea
de la unidad y para evitar corrientes de aire invertidas. Siga
las instrucciones y medidas de seguridad del fabricante del
equipo y de las sociedades profesionales de equipos de
calentadores y los reglamentos de seguridad locales.
5. Acortar o perforarlapared o eltecho,nodañeelcableado
eléctrico u otrosserviciospúblicosocultos a lavista.
6. Los abanicos con
duct
o deberán siempre tener una salida
hacia el exterior.
7. Noutiliceestaunidadenconjuntoconcualquierdispositivo
decontroldevelocidadadicional.
8. Parareducirelriesgodeincendio,usesóloductosdemetal.
9. Usocon elkit aprobadodel laconexióndela cuerda
solamente.
10. Esta unidad se debe instalar con tierra efectiva.
PARA REDUCIR EL RIESGO DE INCENDIO DEBIDO A GRASA
ACUMULADA EN LAS HORNILLAS:
1. Nuncadejesinatenderlasunidadesdesuperficiecuando
tenganajustesaltos.Losrebosespuedenprovocarhumo
y derrames grasosos que se pueden incendiar. Caliente
lentamenteelaceiteenunajustebajo o medio.
2. SiempreENCIENDAlacampanacuandococineconalta
temperaturao cuandococinealimentosquesepuedan
incendiar.
3. Limpieconfrecuencialosventiladores.Nodebepermitirque
lagrasaseacumuleenelventiladornienelfiltro.
4. Utiliceunsarténdetamañoadecuado.Siempreutiliceel
utensilioadecuadoaltamañodelelementodesuperficie.
PARA REDUCIR EL RIESGO DE LESION A PERSONAS RE-
SULTADO DE UN INCENDIO DEBIDO A GRASA ACUMULADA
EN LAS HORNILLAS, PROCURE LO SIGUIENTE:*
1. AHOGUELASLLAMASconunatapaajustada o charola de
metal,despuésapaguelahornilla.TENGACUIDADO A FIN
DEEVITARQUEMADURAS.Silasllamasnoseapagande
inmediato,EVACUEY AVISE A LOS BOMBEROS.
2. NOLEVANTENUNCAUNASARTENQUE ESTEEN
LLAMAS - Usted se podrá quemar.
3. NOUTILICE AGUA, incluyendo toallas de cocina mojadas
- puede
resultaruna
explosión de vapor violenta.
4. Utilice un extinguidor SOLAMENTE si:
A. Ustedsabequetieneunextinguidordeclase
ABC y lo sabe utilizar.
B. Elincendio es pequeño y contenido dentro del
área donde se inició.
C. Los bomberos han sido avisados.
D. Usted puede combatir el incendio con una salida a
su espalda.
* Basado en las recomendaciones para “Seguridad en la
Cocina” publicadas por la NFPA de los EEUU.
CAMPANA EXTRACTORA
CONVERTIBLE DE LA SERIE 46000
INTENDED FOR DOMES-
TIC COOKING ONLY.
PREVISTO PARA COCINAR
DOMÉSTICO SOLAMENTE.
Register your product online at:
www.broan.com/register
Registre su producto en línea
en: www.broan.com/register
Produktspecifikationer
| Varumärke: | Broan |
| Kategori: | ventilationskåpa |
| Modell: | 463604 |
Behöver du hjälp?
Om du behöver hjälp med Broan 463604 ställ en fråga nedan och andra användare kommer att svara dig
ventilationskåpa Broan Manualer

4 Februari 2026
4 Februari 2026
4 Februari 2026
4 Februari 2026
4 Februari 2026
4 Februari 2026
4 Februari 2026
3 Februari 2026
3 Februari 2026
3 Februari 2026
ventilationskåpa Manualer
Nyaste ventilationskåpa Manualer
3 April 2026
3 April 2026
2 April 2026
1 April 2026
1 April 2026
1 April 2026
1 April 2026
1 April 2026
1 April 2026
31 Mars 2026