Brother LX-3125 Bruksanvisning

Brother Symaskin LX-3125

Läs gratis den bruksanvisning för Brother LX-3125 (96 sidor) i kategorin Symaskin. Guiden har ansetts hjälpsam av 17 personer och har ett genomsnittsbetyg på 5.0 stjärnor baserat på 9 recensioner. Har du en fråga om Brother LX-3125 eller vill du ställa frågor till andra användare av produkten? Ställ en fråga

Sida 1/96
ENGLISH
Operation Manual
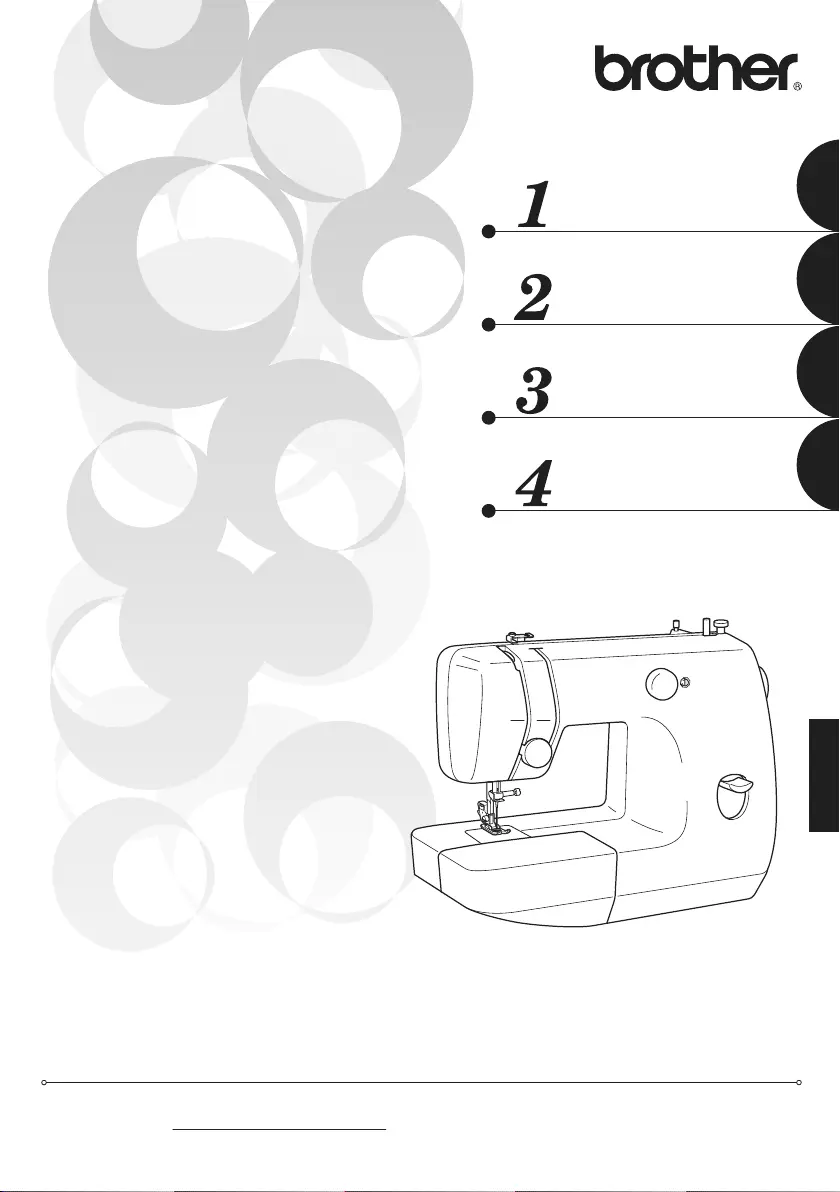
Basic Sewing and Mending Machine
APPENDIX
UTILITY STITCHES
SEWING BASICS
KNOWING YOUR
SEWING MACHINE
Please visit us at http://solutions.brother.com where you can get product support and answers to frequently
asked questions (FAQs).
1
“IMPORTANT SAFETY INSTRUCTIONS”
When using the sewing machine, basic safety precautions should always be followed,
including the following:
“Read all instructions before using.”
DANGER – To reduce the risk of electric shock:
1. The sewing machine should never be left unattended when plugged in. Always unplug this
sewing machine from the electrical outlet immediately after using and before cleaning.
2. Always unplug before changing the light bulb. Replace bulb with same type rated 15 watts.
WARNING – To reduce the risk of burns, fire, electric shock, or injury to persons:
1. Do not allow this machine to be used as a toy. Close attention is necessary when the sewing
machine is used by or near children.
2. Use this sewing machine only for its intended use as described in this manual. Use only
accessories recommended by the manufacturer as contained in this manual.
3. Never operate this sewing machine if it has a damaged cord or plug, if it is not working properly,
if it has been dropped or damaged, or dropped into water. Return the sewing machine to the
nearest authorized dealer or service center for examination, repair, electrical or mechanical
adjustment.
4. Never operate the sewing machine with any of the air openings blocked. Keep the ventilation
openings of the sewing machine and foot controller free from the accumulation of lint, dust and
loose cloth.
5. Never drop or insert any object into any openings.
6. Do not use this machine outdoors.
7. Do not operate this machine where aerosol (spray) products are being used or where oxygen is
being administered.
8. To disconnect, turn the main switch to the symbol “O” position which represents off, then
remove plug from outlet.
9. Do not unplug by pulling on the cord. To unplug, grasp the plug and pull, not the cord.
10. Keep fingers away from all moving parts. Special care is required around the sewing machine
needle.
11. Always use the proper needle plate. The wrong plate can cause the needle to break.
12. Do not use a bent needle.
13. Do not pull or push the fabric while stitching. It may deflect the needle causing it to break.
14. Switch the sewing machine to the off, symbol “O” position when making any adjustments in the
needle area, such as threading the needle, changing the needle, threading the bobbin, or
changing the presser foot.
15. Always unplug the sewing machine from the electrical outlet when removing covers, lubricating,
or when making any other user service adjustments mentioned in this instruction manual.
16. This sewing machine is not intended for use by young children or impaired persons without
supervision.
17. Young children should be supervised to ensure that they do not play with this sewing machine.
“SAVE THESE INSTRUCTIONS
“This sewing machine is intended for household use.”
2
CONGRATULATIONS ON CHOOSING OUR MACHINE
To fully enjoy all the features, we suggest that you study the manual before using the machine.
PLEASE READ BEFORE USING THIS MACHINE
For safe operation
1. Be sure to keep your eye on the needle while sewing. Do not touch the handwheel, thread take-
up lever, needle, or other moving parts.
2. Remember to turn off the power switch and unplug the cord when:
Operation is completed
Replacing or removing the needle or any other parts
A power failure occurs during use
Maintaining the machine
Leaving the machine unattended
3. Do not store anything on the foot controller.
4. Plug the machine directly into the wall. Do not use extension cords.
For a longer service life
1. When storing this machine, avoid direct sunlight and high humidity locations. Do not use or
store the machine near a space heater, iron, halogen lamp, or other hot objects.
2. Use only neutral soaps or detergents to clean the case. Benzene, thinner, and scouring powders
can damage the case and machine, and should never be used.
3. Do not drop or hit the machine.
4. Always consult the operation manual when replacing or installing any assemblies, the presser
feet, needle, or other parts to assure correct installation.
For repair or adjustment
In the event a malfunction occurs or adjustment is required, first follow the troubleshooting table in
the back of the operation manual to inspect and adjust the machine yourself. If the problem persists,
please consult your local authorized Brother dealer.
For additional product information and updates, visit our web site at www.brother.com
The contents of this manual and specifications of this product are subject to change without notice.
FOR USERS IN THE UK, EIRE, MALTA AND CYPRUS ONLY
IMPORTANT
In the event of replacing the plug fuse, use a fuse approved by ASTA to BS 1362, i.e. carrying
the mark, rating as marked on plug.
Always replace the fuse cover. Never use plugs with the fuse cover omitted.
If the available electrical outlet is not suitable for the plug supplied with this equipment, you
should contact your authorized dealer to obtain the correct lead.
FOR USERS IN AUSTRALIA AND NEW ZEALAND
This sewing machine is not intended to be used by young children, and assistance may be required if
used by a person with a disability.
—————————————————————————————————————————————————————————
3
CONTENTS
CONTENTS ......................................................................................................................... 3
1. KNOWING YOUR SEWING MACHINE ..........................................................5
NAMES OF MACHINE PARTS AND THEIR FUNCTIONS ....................................................5
The main parts ................................................................................................................................................. 5
Needle and presser foot section ...................................................................................................................... 6
Flat bed attachment ......................................................................................................................................... 6
ACCESSORIES ..................................................................................................................... 7
OPTIONAL ACCESSORIES .................................................................................................. 7
USING YOUR SEWING MACHIN E ..................................................................................... 8
Power supply precautions ................................................................................................................................ 8
Power supply .................................................................................................................................................... 8
Foot controller .................................................................................................................................................. 9
Steadying the machine ..................................................................................................................................... 9
THREADING THE MACHINE ............................................................................................10
Winding the bobbin ........................................................................................................................................ 10
Lower threading ............................................................................................................................................. 11
Upper threading ............................................................................................................................................. 13
Drawing up the lower thread .......................................................................................................................... 14
REPLACING THE NEEDLE .................................................................................................15
Needle precautions ........................................................................................................................................ 15
Selecting the needle depending on the thread and fabric types .................................................................... 15
Checking the needle ...................................................................................................................................... 16
Replacing the needle ..................................................................................................................................... 16
Sewing with a twin needle (Option) ................................................................................................................ 18
REPLACING THE PRESSER FOOT ...................................................................................... 19
Replacing the presser foot ............................................................................................................................. 19
Removing the presser foot holder .................................................................................................................. 20
2. SEWING BASICS ...........................................................................................21
SEWING ............................................................................................................................ 21
General sewing procedure ............................................................................................................................. 21
Selecting stitching .......................................................................................................................................... 22
Starting to sew ............................................................................................................................................... 23
Sewing in reverse ........................................................................................................................................... 23
Thread tension ............................................................................................................................................... 24
USEFUL SEWING TIPS ......................................................................................................25
Trial sewing .................................................................................................................................................... 25
Changing the sewing direction ....................................................................................................................... 25
Sewing curves ................................................................................................................................................ 25
Sewing thick fabrics ....................................................................................................................................... 25
Sewing thin fabrics .........................................................................................................................................26
Sewing stretch fabrics .................................................................................................................................... 26
Using a free-arm style .................................................................................................................................... 26
3. UTILITY STITCHES ........................................................................................27
USEFUL STITCHES ............................................................................................................27
Zigzag stitches ............................................................................................................................................... 27
Basic stitching ................................................................................................................................................ 28
Blind hem stitching ......................................................................................................................................... 28
Darning ........................................................................................................................................................... 30
4
BUTTONHOLE SEWING ...................................................................................................31
Making the buttonhole .................................................................................................................................... 31
Adjusting buttonhole stitching ........................................................................................................................ 32
Button sewing ................................................................................................................................................. 33
ZIPPER INSERTION ...........................................................................................................34
APPLIQUÉ, MONOGRAMMING AND EMBROIDERING .................................................35
Appliqués ....................................................................................................................................................... 35
Monogramming and embroidering ................................................................................................................. 35
DECORATIVE STITCHING ................................................................................................37
Gathering ....................................................................................................................................................... 37
Shell tuck stitching ......................................................................................................................................... 37
Elastic stitching .............................................................................................................................................. 38
4. APPENDIX .....................................................................................................39
MAINTENANCE ................................................................................................................39
Oiling .............................................................................................................................................................. 39
Changing the bulb .......................................................................................................................................... 39
Cleaning the machine surface ........................................................................................................................40
Cleaning the shuttle race ............................................................................................................................... 40
Cleaning the feed dogs .................................................................................................................................. 41
Bobbin case tension adjustment .................................................................................................................... 42
TROUBLESHOOTING .......................................................................................................43
INDEX ...............................................................................................................................46
6
1
Needle and presser foot
section
aPresser foot holder assembly
The presser foot is installed onto the presser foot holder
assembly.
bPresser foot screw
Use the presser foot screw to hold the presser foot
holder assembly in place.
cPresser foot (Zigzag)
The presser foot applies pressure consistently on the
fabric as the sewing takes place. Attach the appropriate
presser foot for the selected stitching.
dFeed dogs
The feed dogs feed the fabric in the sewing direction.
eNeedle plate
The needle plate is marked with guides for sewing
straight seams.
fShuttle hook
gShuttle cover
Open the shuttle cover to set the bobbin.
hBobbin case
iNeedle
jNeedle bar thread guide
kNeedle clamp screw
Use the needle clamp screw to hold the needle in place.
Flat bed attachment
The accessories are stored in a compartment inside
the flat bed attachment.
aLift the bottom of the flat bed attachment
toward you, and then pull the flat bed
attachment out to remove it.
aFlat bed attachment
bStorage compartment
Note
Put the accessories in the bag, and then
store the bag inside the compartment. If the
accessories are not in a bag, they may fall
out, and be lost or damaged.
8
1
USING YOUR SEWING MACHINE
Power supply precautions
Be sure to observe the following precautions concerning the power supply.
Power supply
aInsert the foot controller plug, located
between the foot controller and the power
supply plug on the cord, into the jack on the
machine. Then, insert the power supply plug
into a wall outlet.
aFoot controller plug
bSet the main power switch to “I”.
XThe sewing lamp comes on when the
machine is turned on.
Use only regular household electricity for the power source. Using other power sources may result in
fire, electric shock, or damage to the machine.
Turn off the main power and remove the plug in the following circumstances:
When you are away from the machine
After using the machine
When the power fails during use
When the machine does not operate correctly due to a bad connection or a disconnection
During electrical storms
Do not use extension cords or multi-plug adapters with many other appliances plugged in to them. Fire
or electric shock may result.
Do not touch the plug with wet hands. Electric shock may result.
When unplugging the machine, always turn off the main power first. Always grasp the plug to remove it from
the outlet. Pulling on the cord may damage the cord, or lead to fire or electric shock.
Do not allow the power cord to be cut, damaged, modified, forcefully bent, pulled, twisted, or bundled.
Do not place heavy objects on the cord. Do not subject the cord to heat. These things may damage the
cord and cause fire or electric shock. If the cord or plug is damaged, take the machine to your
authorized dealer for repairs before continuing use.
Unplug the power cord if the machine is not to be used for a long period of time. Otherwise a fire may
result.
WARNING
CAUTION

Produktspecifikationer

Varumärke: Brother
Kategori: Symaskin
Modell: LX-3125

Behöver du hjälp?

Om du behöver hjälp med Brother LX-3125 ställ en fråga nedan och andra användare kommer att svara dig