Brother PRWT 1 Bruksanvisning
Läs gratis den bruksanvisning för Brother PRWT 1 (40 sidor) i kategorin Symaskin. Guiden har ansetts hjälpsam av 21 personer och har ett genomsnittsbetyg på 4.8 stjärnor baserat på 3 recensioner. Har du en fråga om Brother PRWT 1 eller vill du ställa frågor till andra användare av produkten? Ställ en fråga
Sida 1/40
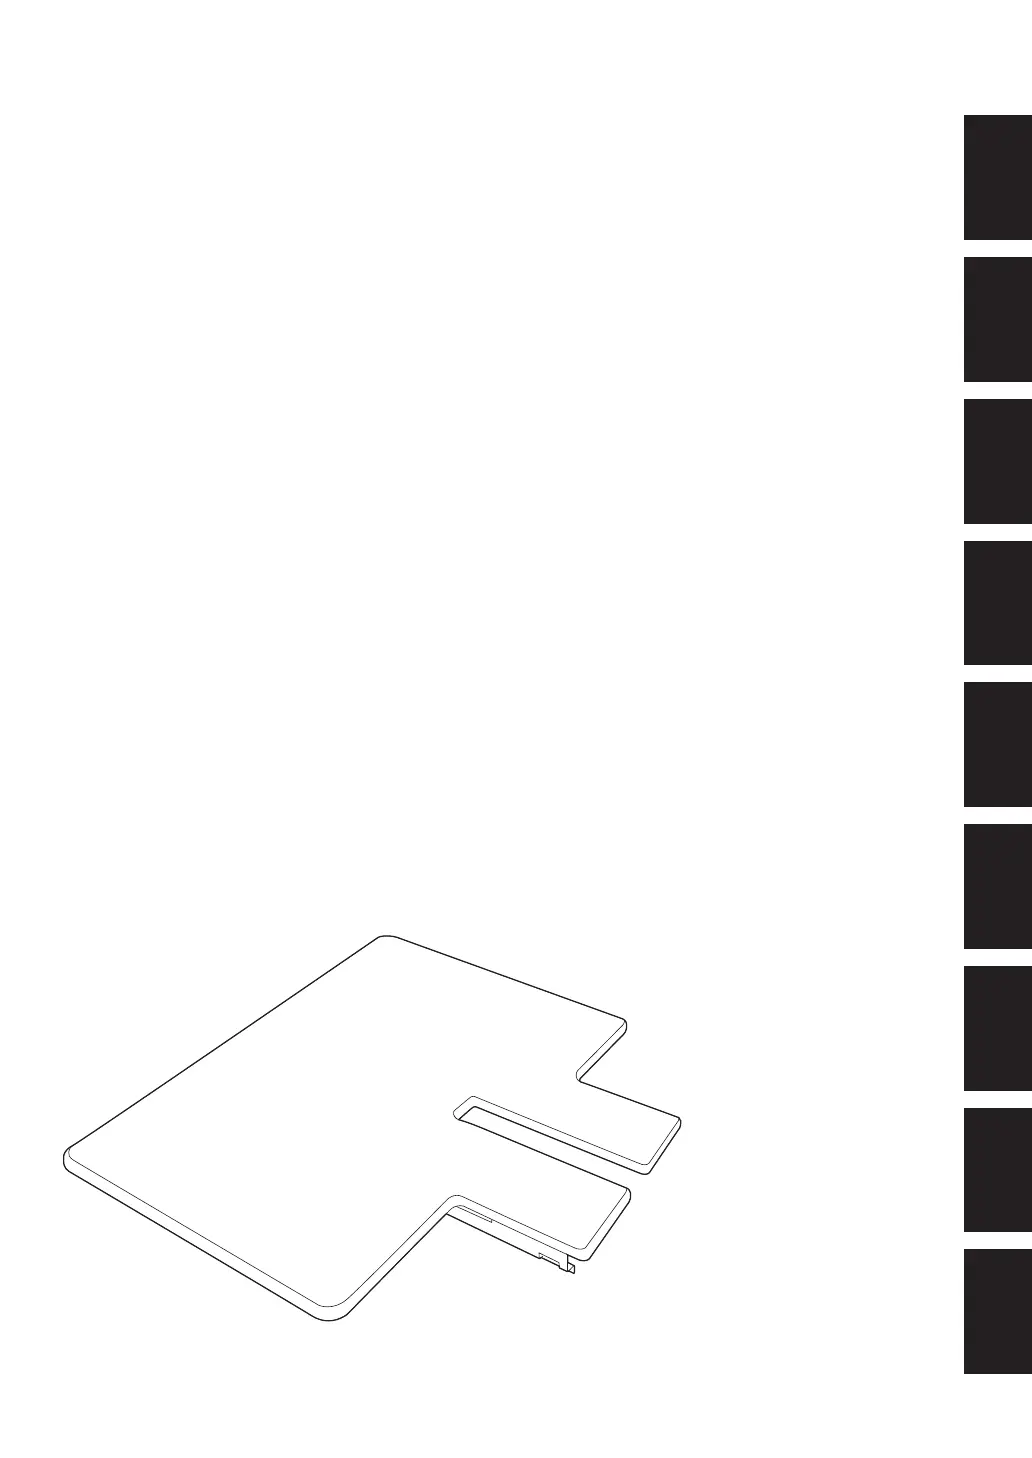
Table Set Installation Manual
Tischset-Installationsanleitung
Manuel d'installation de l'ensemble de table
Installatiehandleiding tafelset
Manuale di installazione del tavolo prolunga
Manual de instalación de la tabla
Manual de Instalação do Conjunto de Mesa
Инструкции по установке комплекта столика
ΞȜήσΓΛΠ৾ե୰ྶ
ENGLISH
DEUTSCH
FRANÇAIS
NEDERLANDS
ITALIANO
ESPAÑOL
PORTUGUÊS
РУССКИЙ
ུࢊ
Produktspecifikationer
| Varumärke: | Brother |
| Kategori: | Symaskin |
| Modell: | PRWT 1 |
Behöver du hjälp?
Om du behöver hjälp med Brother PRWT 1 ställ en fråga nedan och andra användare kommer att svara dig
Symaskin Brother Manualer

17 September 2025
16 September 2025
16 September 2025
16 September 2025
16 September 2025
16 September 2025
16 September 2025
16 September 2025
16 September 2025
16 September 2025
Symaskin Manualer
Nyaste Symaskin Manualer
10 Mars 2026
8 Mars 2026
8 Mars 2026
7 Mars 2026
7 Mars 2026
7 Mars 2026
7 Mars 2026
6 Mars 2026
6 Mars 2026
6 Mars 2026