Brother TD-2125N Bruksanvisning
Läs gratis den bruksanvisning för Brother TD-2125N (99 sidor) i kategorin Skrivare. Guiden har ansetts hjälpsam av 31 personer och har ett genomsnittsbetyg på 4.9 stjärnor baserat på 2 recensioner. Har du en fråga om Brother TD-2125N eller vill du ställa frågor till andra användare av produkten? Ställ en fråga
Sida 1/99
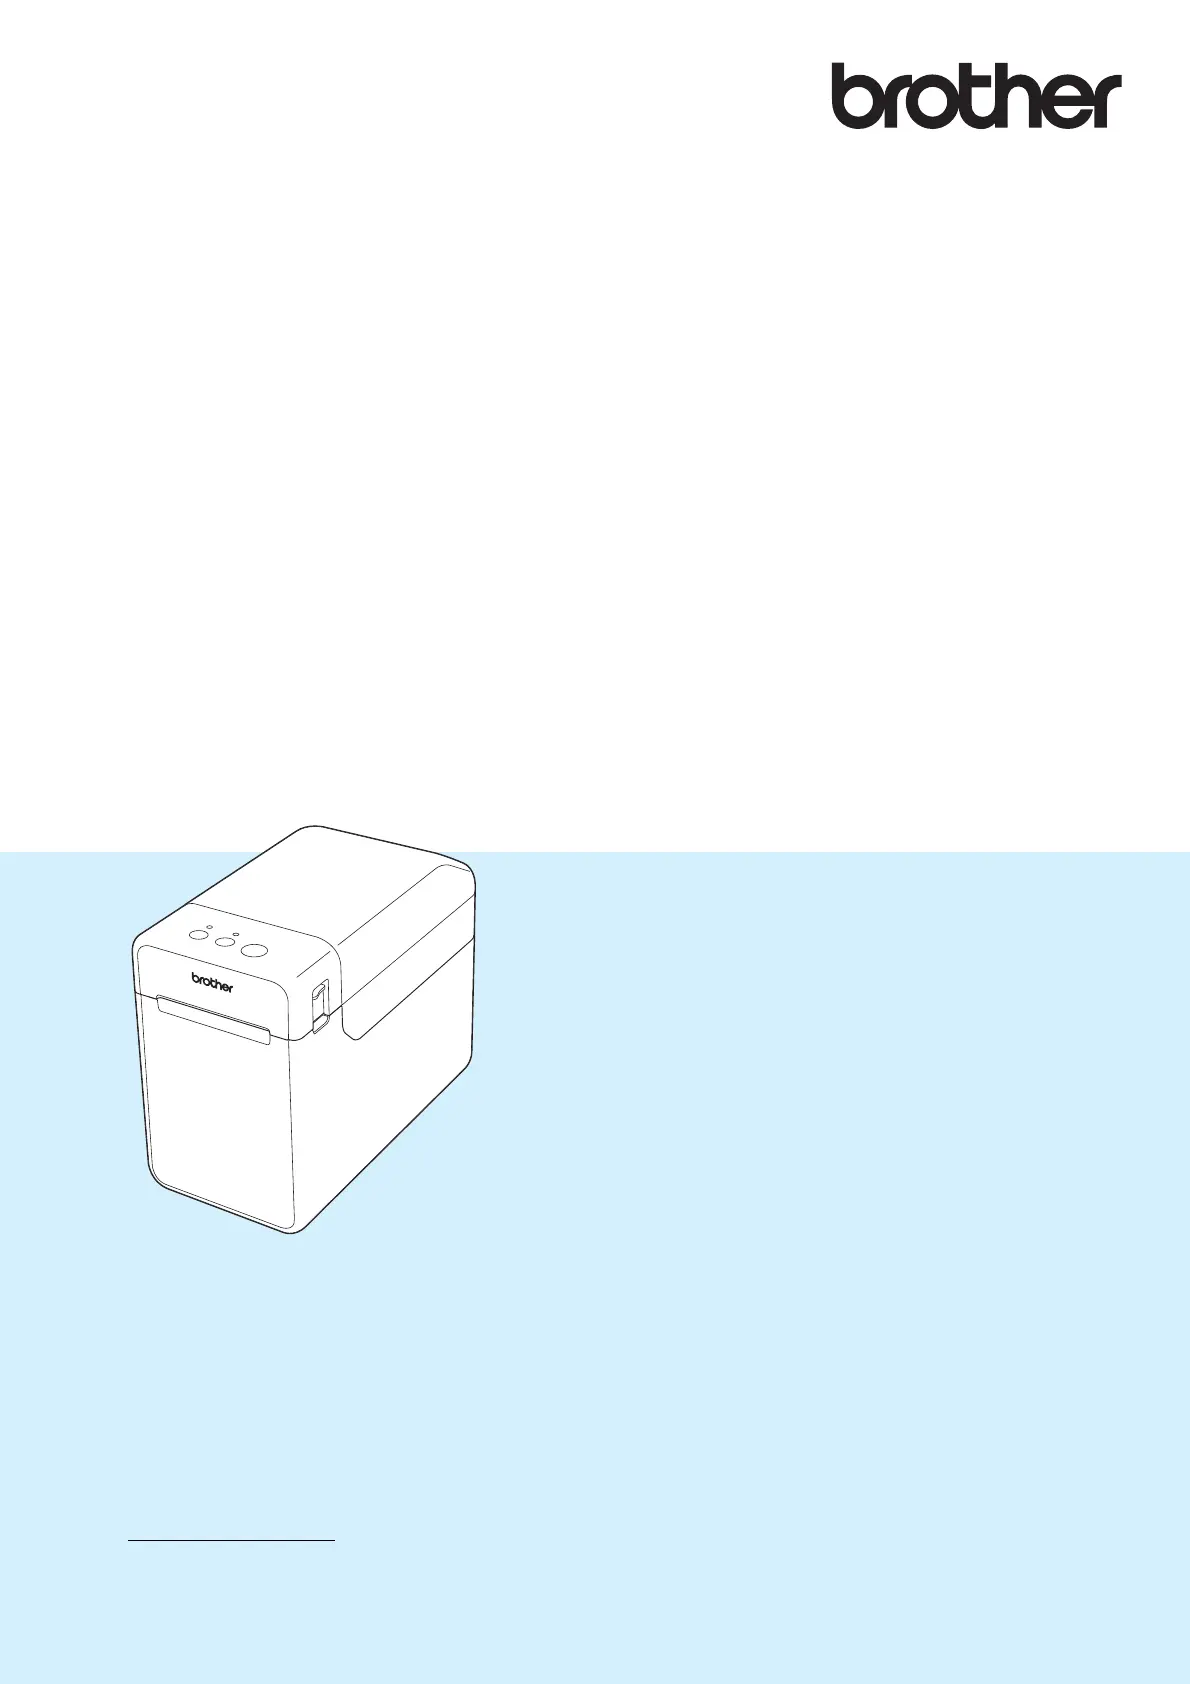
TD-2020A
TD-2125N
TD-2135N
TD-2125NWB
TD-2135NWB
Det är viktigt att du läser den här bruksanvisningen
innan du börjar använda skrivaren.
Vi rekommenderar att du förvarar handboken på en
lättåtkomlig plats för framtida bruk.
Produktinformation och Vanliga frågor (FAQ) finns
på support.brother.com
.
Version 02
SWE
BRUKSANVISNING
Produktspecifikationer
| Varumärke: | Brother |
| Kategori: | Skrivare |
| Modell: | TD-2125N |
| Vikt: | 1330 g |
| Bredd: | 110 mm |
| Djup: | 215 mm |
| Höjd: | 172 mm |
| Färg: | Nej |
| Wi-Fi: | Nej |
| Maximal upplösning: | 203 x 203 DPI |
| Internminne: | 256 MB |
| RS-232 port: | 1 |
| Flashminne: | 64 MB |
| Serveroperativsystem som stöds: | Windows Server 2012, Windows Server 2012 R2, Windows Server 2016, Windows Server 2019, Windows Server 2022 |
| Skrivhastighet: | 152.4 mm/sek |
| Produktens färg: | Black, White |
| Windows-operativsystem som stöds: | Windows 10, Windows 11, Windows 8, Windows 8.1 |
| Kabel inkluderad: | USB |
| Anslutningsteknologi: | Kabel |
| Nätverksansluten (Ethernet): | Ja |
| Displaytyp: | Nej |
| USB-port: | Ja |
| Utskriftsteknologi: | direkt termal |
| Språk för sidbeskrivning: | ESC P |
| Max utskriftsupplösning, bredd: | 56 mm |
| Kortaste utskriftslängd: | 1000 mm |
Behöver du hjälp?
Om du behöver hjälp med Brother TD-2125N ställ en fråga nedan och andra användare kommer att svara dig
Skrivare Brother Manualer

2 Mars 2026
16 Februari 2026
14 Oktober 2025
17 September 2025
16 September 2025
16 September 2025
16 September 2025
16 September 2025
16 September 2025
16 September 2025
Skrivare Manualer
Nyaste Skrivare Manualer
2 April 2026
22 Mars 2026
17 Mars 2026
17 Mars 2026
17 Mars 2026
17 Mars 2026
15 Mars 2026
14 Mars 2026
14 Mars 2026
14 Mars 2026