Casio Exilim EX-Z1050 Bruksanvisning
Läs gratis den bruksanvisning för Casio Exilim EX-Z1050 (252 sidor) i kategorin Kamera. Guiden har ansetts hjälpsam av 19 personer och har ett genomsnittsbetyg på 4.7 stjärnor baserat på 3 recensioner. Har du en fråga om Casio Exilim EX-Z1050 eller vill du ställa frågor till andra användare av produkten? Ställ en fråga
Sida 1/252
1
SW
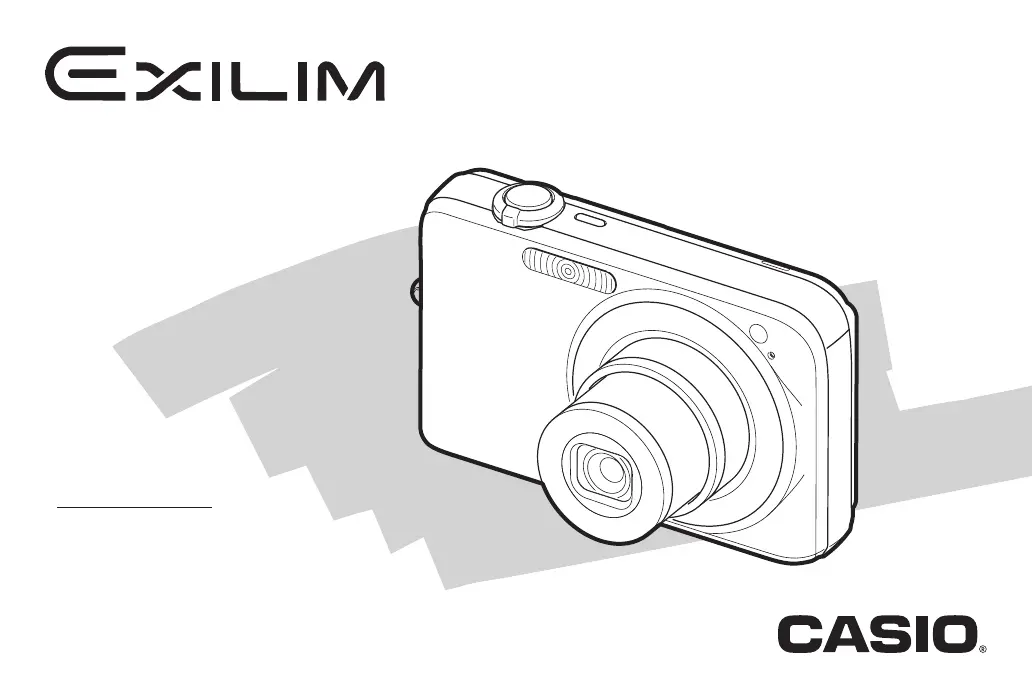
Digital kamera
EX-Z1050
Instruktionshäfte
K847PCM1DMX
Vi tackar för inköpet av denna produkt från
CASIO.
• Läs noga föreskrifterna i detta instruktionshäfte
innan produkten tas i bruk.
• Förvara instruktionshäftet nära till hands för
framtida referens.
• För aktuell information om denna produkt kan
du uppsöka EXILIMs officiella websajt vid
http://www.exilim.com/.
Produktspecifikationer
| Varumärke: | Casio |
| Kategori: | Kamera |
| Modell: | Exilim EX-Z1050 |
| Färg på produkten: | Wit |
| Vikt: | 503 g |
| Bredd: | 146 mm |
| Djup: | 146 mm |
| Höjd: | 113.9 mm |
| Snäll: | IP-beveiligingscamera |
| Användarmanual: | Ja |
| Videoformat som stöds: | H.264, M-JPEG |
| Vormfaktor: | Dome |
| Placeringsstöd: | Binnen |
| Anslutningsteknik: | Bedraad |
| Ethernet LAN: | Ja |
| Monteringsmetod: | Plafond/muur |
| Videolägen som stöds: | 1080p |
| Maximal upplösning: | 1920 x 1080 Pixels |
| Totalt antal megapixlar: | 3 MP |
| Typ av strömkälla: | Power over Ethernet (PoE) |
| Minimal belysning: | 0.1 Lux |
| Integrerad minneskortläsare: | Ja |
| Kompatibla minneskort: | MicroSDHC, MicroSDXC |
| Inbyggd hårddisk: | Nee |
| Video rörelsedetektering: | Ja |
| HTTPS-kryptering: | Ja |
| Snabbstartsguide: | Ja |
| Antal Ethernet LAN (RJ-45)-portar: | 1 |
| Brännvidd: | 2.8 - 12 mm |
| Certifiering: | CE, EN, FCC |
| Optisk sensorstorlek: | 1/3.2 " |
| Bildsensortyp: | CMOS |
| Optisk zoom: | - x |
| Kamerans slutartid: | 1/5 - 1/10000 s |
| vitbalans: | Auto, Manual |
| Password bescherming: | Gebruiker |
| Grafikupplösningar som stöds: | 320 x 240,1280 x 720 (HD 720),1920 x 1080 (HD 1080),2048 x 1536 (QXGA),640 x 480 (VGA) |
| Uppfyller branschstandarder: | 802.3, 802.3u, 802.3af |
| Kabelteknik: | 10/100Base-T(X) |
| Säkerhetsalgoritmer som stöds: | 802.1x RADIUS |
| Effektiv sensorupplösning: | 3000000 Pixels |
| Förvaringstemperatur: | -10 - 50 °C |
| Max 30 bilder per sekund: | 30 fps |
| Nätverksprotokoll som stöds: | TCP, UDP, HTTP, HTTPS, DHCP, PPPoE, RTP, RTSP, IPv6, DNS, DDNS, NTP, ICMP, ARP, IGMP, SMTP, FTP, UPnP, SNMP, Bonjour |
| IP-adressfilter: | Ja |
| Progressiv skanning: | Ja |
| Power over Ethernet (PoE): | Ja |
| Rotationsvinkel: | 350 ° |
| Panoreringsintervall: | 0 - 350 ° |
| Dag/nattläge: | Ja |
| Wifi: | Nee |
| Strömförbrukning (typiskt): | 5.18 W |
| Drifttemperatur (TT): | -10 - 50 °C |
| Tiltvinkelområde: | 17 - 163 ° |
Behöver du hjälp?
Om du behöver hjälp med Casio Exilim EX-Z1050 ställ en fråga nedan och andra användare kommer att svara dig
Kamera Casio Manualer

4 September 2024
2 September 2024
1 September 2024
29 Augusti 2024
28 Augusti 2024
28 Augusti 2024
27 Augusti 2024
27 Augusti 2024
25 Augusti 2024
24 Augusti 2024
Kamera Manualer
Nyaste Kamera Manualer
9 April 2025
9 April 2025
3 April 2025
3 April 2025
1 April 2025
29 Mars 2025
29 Mars 2025
27 Mars 2025
27 Mars 2025
27 Mars 2025