Chamberlain D2101C Bruksanvisning
Chamberlain Garageportöppnare D2101C
Läs gratis den bruksanvisning för Chamberlain D2101C (104 sidor) i kategorin Garageportöppnare. Guiden har ansetts hjälpsam av 17 personer och har ett genomsnittsbetyg på 4.0 stjärnor baserat på 7 recensioner. Har du en fråga om Chamberlain D2101C eller vill du ställa frågor till andra användare av produkten? Ställ en fråga
Sida 1/104
www.chamberlain.com
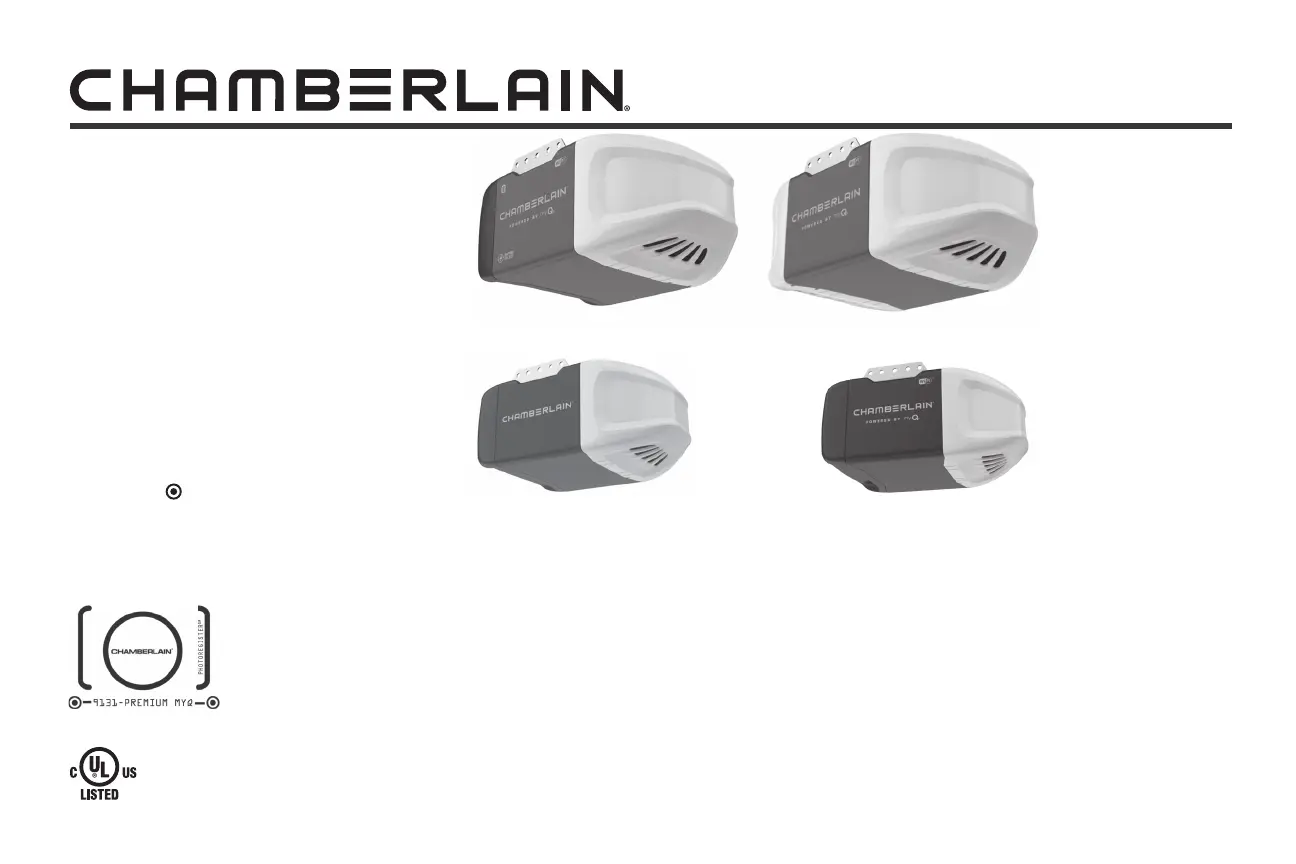
Installation Manual
Chain Drive Garage Door Opener
Models C2405C • D2405C • C2102C •
C2202C • D2101C
FOR RESIDENTIAL USE ONLY
PRE PROGRAMMED REMOTE
CONTROL INCLUDED
To register your garage door opener to receive updates and oers
from Chamberlain, visit chamberlain.registria.com or use the icon
below:
1. Take a photo of the camera icon including
the points ( ).
2. Send it in by texting the photo to 71403 (US).
• Please read this manual and the enclosed safety materials carefully!
• Fasten the manual near the garage door after installation.
• The door WILL NOT CLOSE unless the Protector System® is connected and properly aligned.
• Periodic checks of the garage door opener are required to ensure safe operation.
• The model number label is located on the back panel of your garage door opener.
• This garage door opener is compatible with myQ® and Security+ 2.0® accessories.
• DO NOT install on a one-piece door if using devices or features providing unattended close. Unattended devices
and features are to be used ONLY with sectional doors.
Produktspecifikationer
| Varumärke: | Chamberlain |
| Kategori: | Garageportöppnare |
| Modell: | D2101C |
Behöver du hjälp?
Om du behöver hjälp med Chamberlain D2101C ställ en fråga nedan och andra användare kommer att svara dig
Garageportöppnare Chamberlain Manualer

18 Oktober 2024
19 September 2024
13 September 2024
1 September 2024
29 Augusti 2024
25 Augusti 2024
24 Augusti 2024
22 Augusti 2024
22 Augusti 2024
22 Augusti 2024
Garageportöppnare Manualer
Nyaste Garageportöppnare Manualer
29 Mars 2025
4 Mars 2025
8 Januari 2025
8 Januari 2025
7 Januari 2025
31 December 2025
30 September 2024
30 September 2024
30 September 2024
28 September 2024