Daikin ARX25K2V1B Bruksanvisning
Daikin Inte kategoriserad ARX25K2V1B
Läs gratis den bruksanvisning för Daikin ARX25K2V1B (124 sidor) i kategorin Inte kategoriserad. Guiden har ansetts hjälpsam av 19 personer och har ett genomsnittsbetyg på 4.0 stjärnor baserat på 3 recensioner. Har du en fråga om Daikin ARX25K2V1B eller vill du ställa frågor till andra användare av produkten? Ställ en fråga
Sida 1/124
INSTALLATION
MANUAL
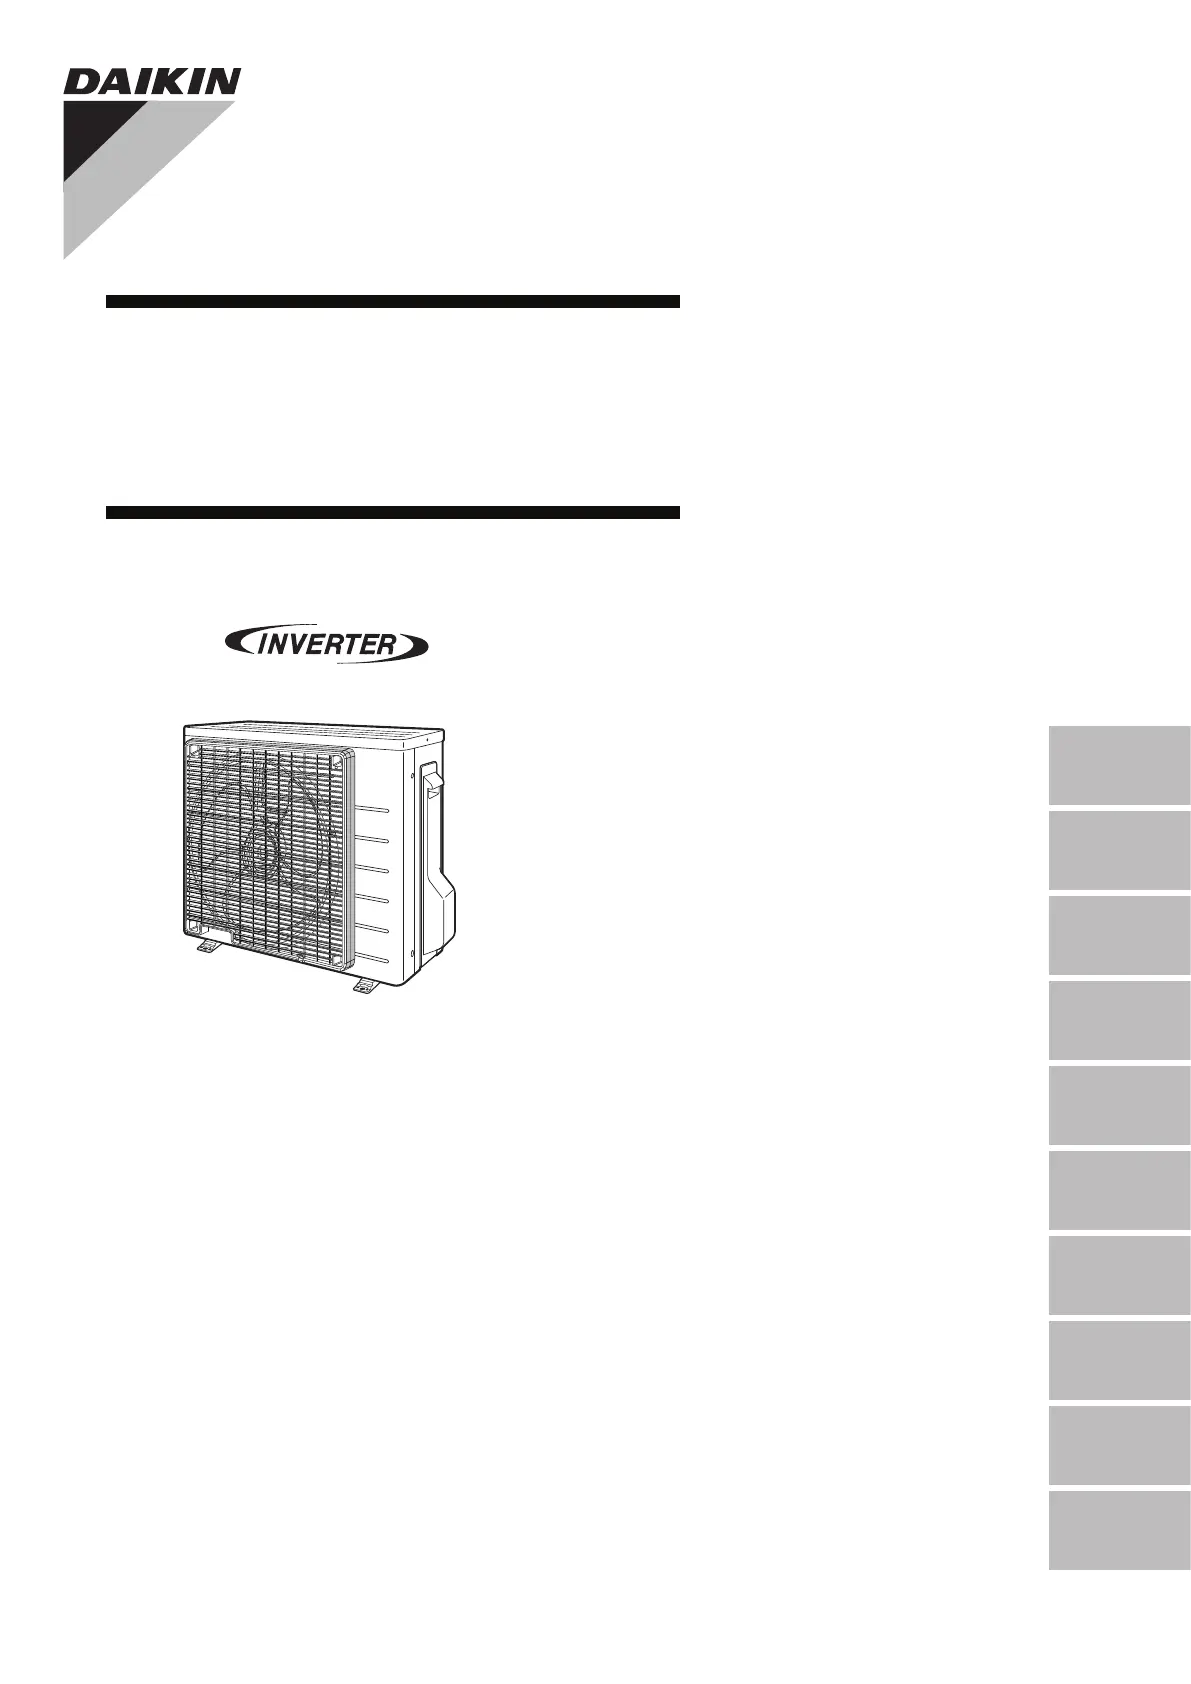
R410A Split Series
Installation manual
R410A Split series
English
Installationsanleitung
Deutsch
Manuel d’installation
Français
Montagehandleiding
Nederlands
Manual de instalación
Español
Manualed’installazione
Italiano
Εγχειρίδιοεγκατάστασης
Ελληνικά
Manual de Instalação
Portugues
Руководствопомонтажу
Русский
Tanıtma ve Kullanma Kılavuzu
Türkçe
Models
ARX20K5V1B9
ARX25K5V1B9
ARX35K5V1B9
Split-Baureihe R410A
Série split R410A
R410A Split-serie
Serie Split R410A
SerieMultiambientiR410A
Σειρά Split R410A
Série R410A Split
Серия R410A с раздельной установко
R410A Split serisi
Produktspecifikationer
| Varumärke: | Daikin |
| Kategori: | Inte kategoriserad |
| Modell: | ARX25K2V1B |
Behöver du hjälp?
Om du behöver hjälp med Daikin ARX25K2V1B ställ en fråga nedan och andra användare kommer att svara dig
Inte kategoriserad Daikin Manualer

9 April 2025
9 April 2025
9 April 2025
9 April 2025
9 April 2025
9 April 2025
9 April 2025
2 Mars 2025
11 Februari 2025
11 Februari 2025
Inte kategoriserad Manualer
Nyaste Inte kategoriserad Manualer
9 April 2025
9 April 2025
9 April 2025
9 April 2025
9 April 2025
9 April 2025
9 April 2025
9 April 2025
9 April 2025
9 April 2025