Eliminator Lighting Katana LED Bruksanvisning
Eliminator Lighting ej kategoriserat Katana LED
Läs gratis den bruksanvisning för Eliminator Lighting Katana LED (3 sidor) i kategorin ej kategoriserat. Guiden har ansetts hjälpsam av 63 personer och har ett genomsnittsbetyg på 4.3 stjärnor baserat på 8 recensioner. Har du en fråga om Eliminator Lighting Katana LED eller vill du ställa frågor till andra användare av produkten? Ställ en fråga
Sida 1/3
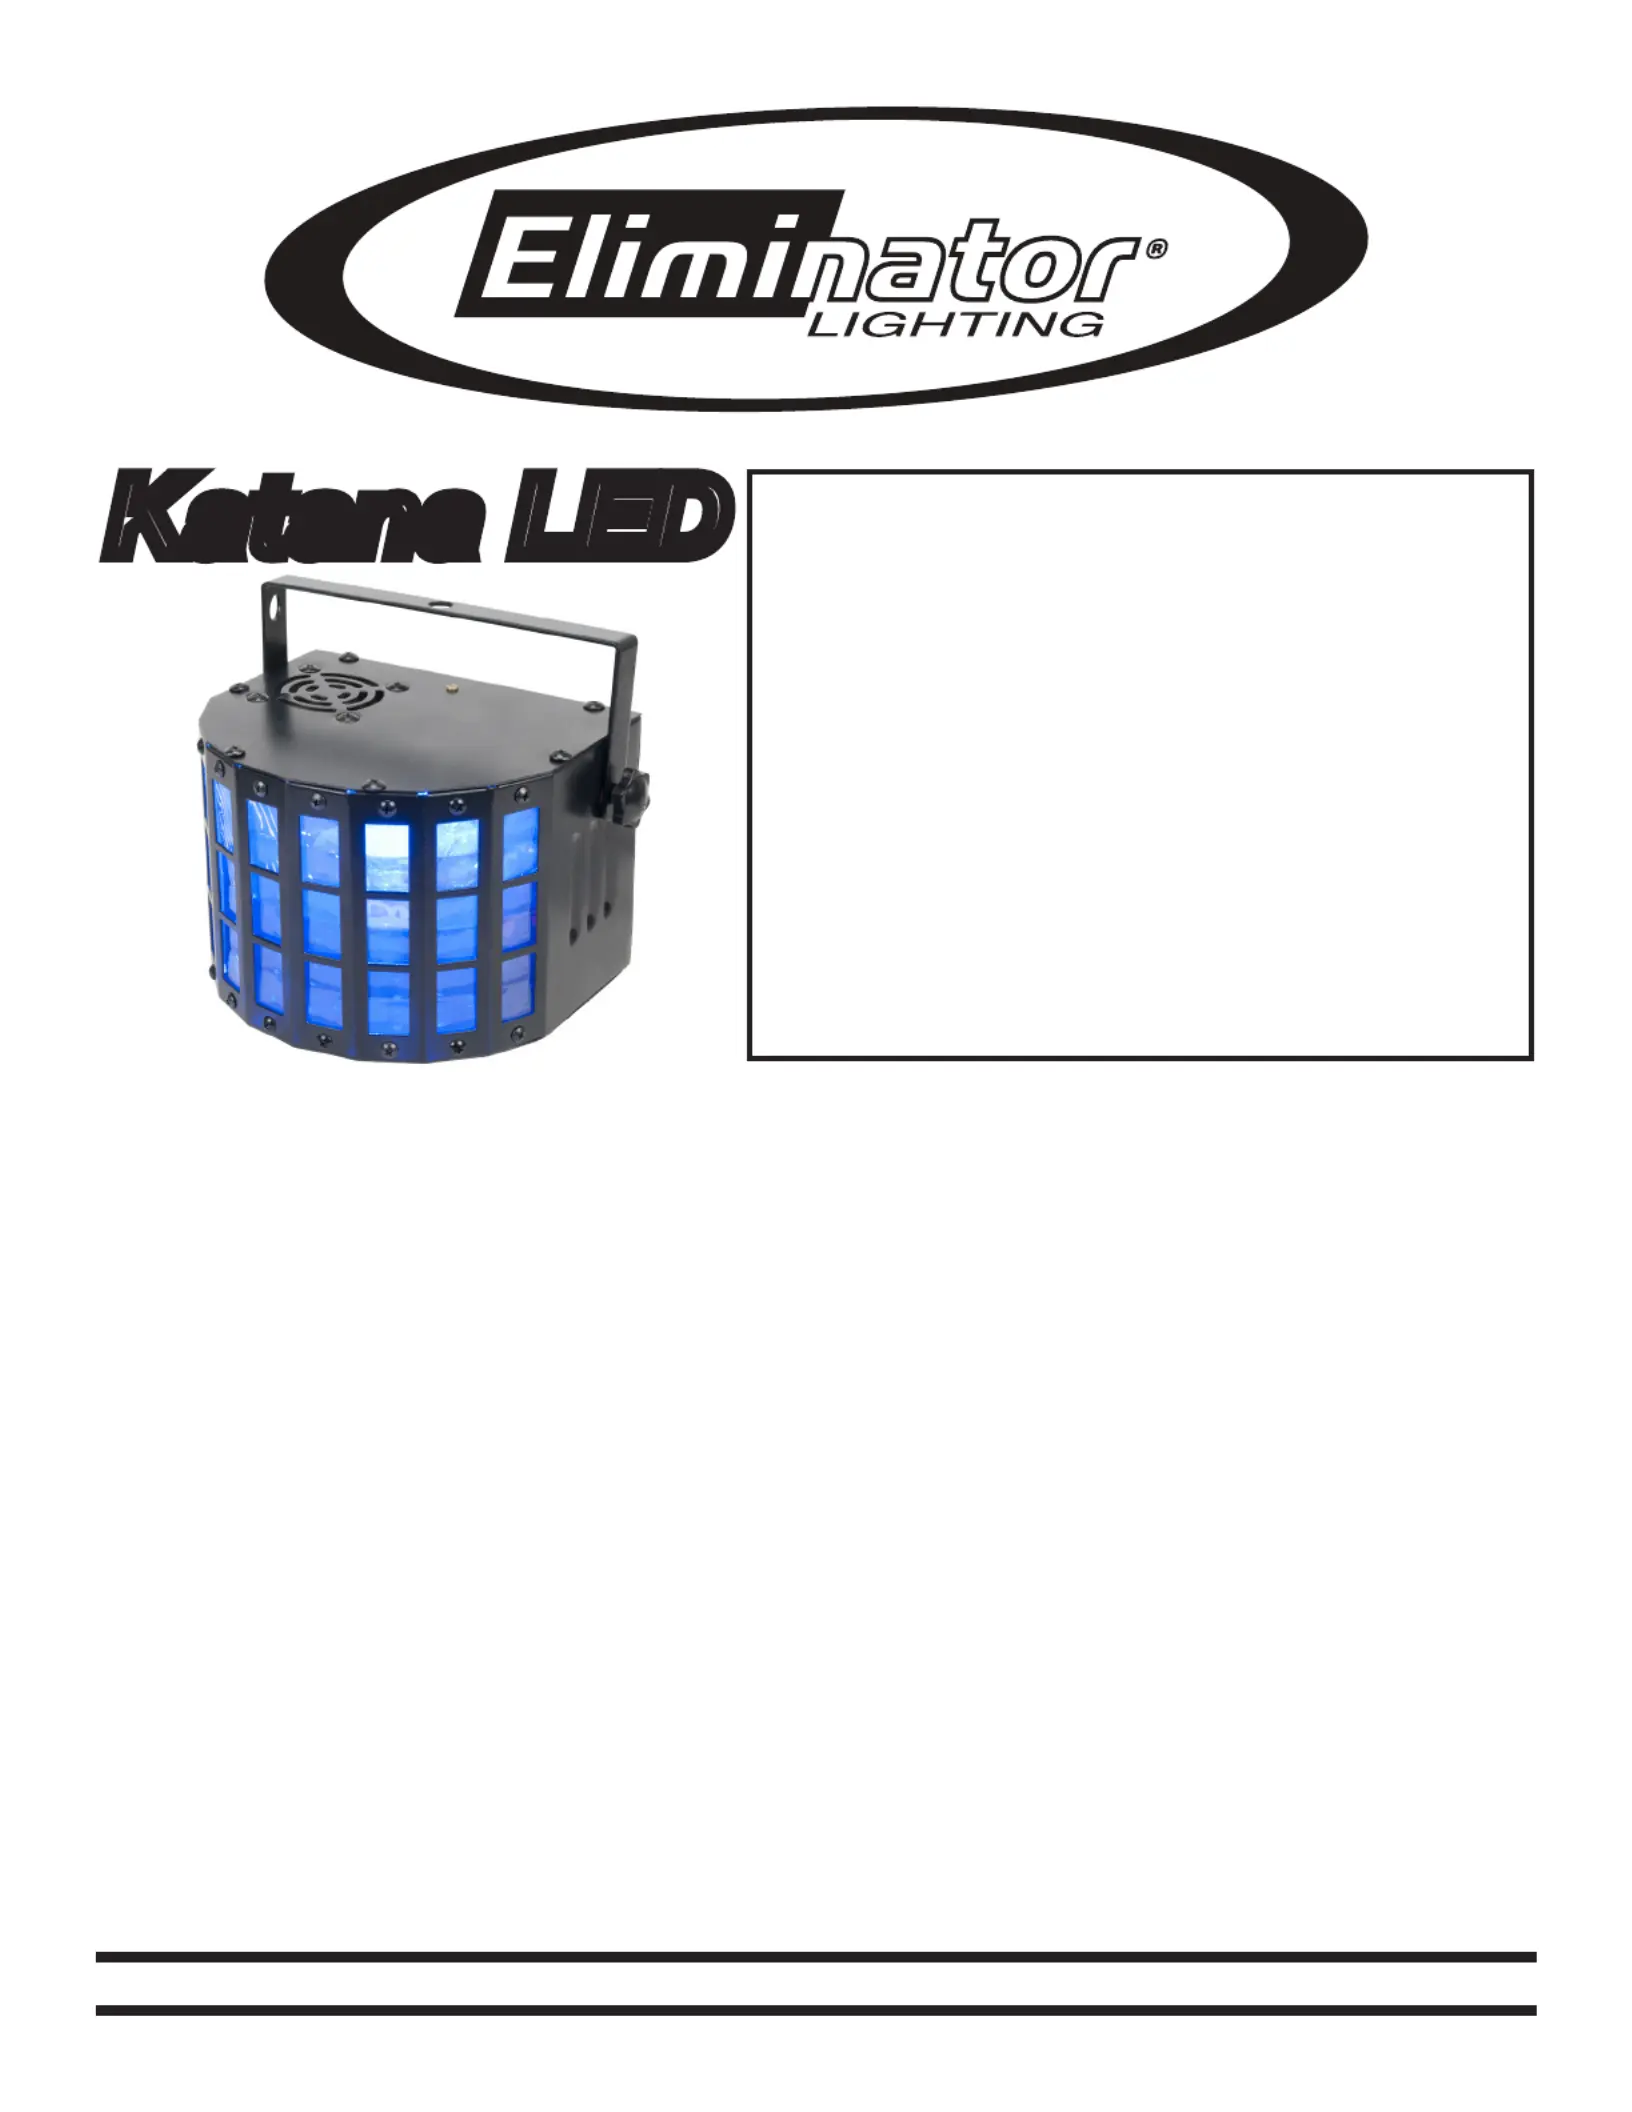
Katana LED
SPECIFICATIONS:
Model: Katana LED
Supply Voltage: 100V~230V / 50~60Hz
LEDs: 4 x 3W (1 Red, 1 Blue, 1
Green & 1 White)
Power Consumption: 36W
Beam Angle: 123 Degrees
Weight: 5 lbs./ 2.0 kgs
Size: 9.5”L x 6.75”W x 6.5”H
Fuse: 1 Amp
Working Position: Any Safe position
Duty Cycle: None
Colors: RGBW
Warranty: 1 Year
CAUTION! Please read and understand these instructions before installing or operating this unit.
Introduction:
The Katana LED is a powerful effect for clubs and dj’s. The Katana LED is bright, colorful, moonflow-
er effect. This unit features an internal microphone that allows the beams to be triggered by sound.
The Katana LED’s beams rotate and strobe to the beat of the music. The Katana LED is ready to
be hung or set on the ground in a safe position. When mounting this unit to truss be sure to use a
clamp.
Fuse Replacement:
Caution! Never open unit when in use. Always disconnect main power before servcing. Remember to
always replace with the exact same type fuse. Locate and remove the unit’s power cord. Once the cord
has been removed located the fuse holder located inside the power socket. Insert a flat-head screw
driver into the power socket and gently pry out the fuse holder. Remove the bad fuse and replace with
a new one. The fuse holder has a built-in socket for a spare fuse be sure not to confuse the spare fuse
with active fuse.
©Eliminator® Los Angeles, CA. - wwwEliminatorLighting.com
1 Year Limited Warranty:Eliminator Lighting warranty is valid from the date of purchase. Our
1 year limited warranty covers manufacturing defects only. Serial number, place of purchase with
dated valid receipt must be submitted at time of service. Eliminator Lighting warranty does not cover
items or parts prone to wear and tear: lamps, fuses, brushes and belts. Eliminator Lighting warranty
is only valid with-in the United States.
Produktspecifikationer
| Varumärke: | Eliminator Lighting |
| Kategori: | ej kategoriserat |
| Modell: | Katana LED |
Behöver du hjälp?
Om du behöver hjälp med Eliminator Lighting Katana LED ställ en fråga nedan och andra användare kommer att svara dig
ej kategoriserat Eliminator Lighting Manualer

13 Oktober 2025
12 Oktober 2025
12 Oktober 2025
12 Oktober 2025
12 Oktober 2025
12 Oktober 2025
20 Augusti 2025
19 Augusti 2025
19 Augusti 2025
19 Augusti 2025
ej kategoriserat Manualer
Nyaste ej kategoriserat Manualer
3 April 2026
3 April 2026
3 April 2026
3 April 2026
3 April 2026
3 April 2026
3 April 2026
3 April 2026
3 April 2026