Eureka Down Range 2 Bruksanvisning
Läs gratis den bruksanvisning för Eureka Down Range 2 (2 sidor) i kategorin tält. Guiden har ansetts hjälpsam av 31 personer och har ett genomsnittsbetyg på 4.6 stjärnor baserat på 3 recensioner. Har du en fråga om Eureka Down Range 2 eller vill du ställa frågor till andra användare av produkten? Ställ en fråga
Sida 1/2
Contents of Carry bag
Tent body
Tent fly
Pole bag: 3 identical main poles,
Stake bag: stakes, guyout cords, pole repair sleeve, fabric repair
swatches
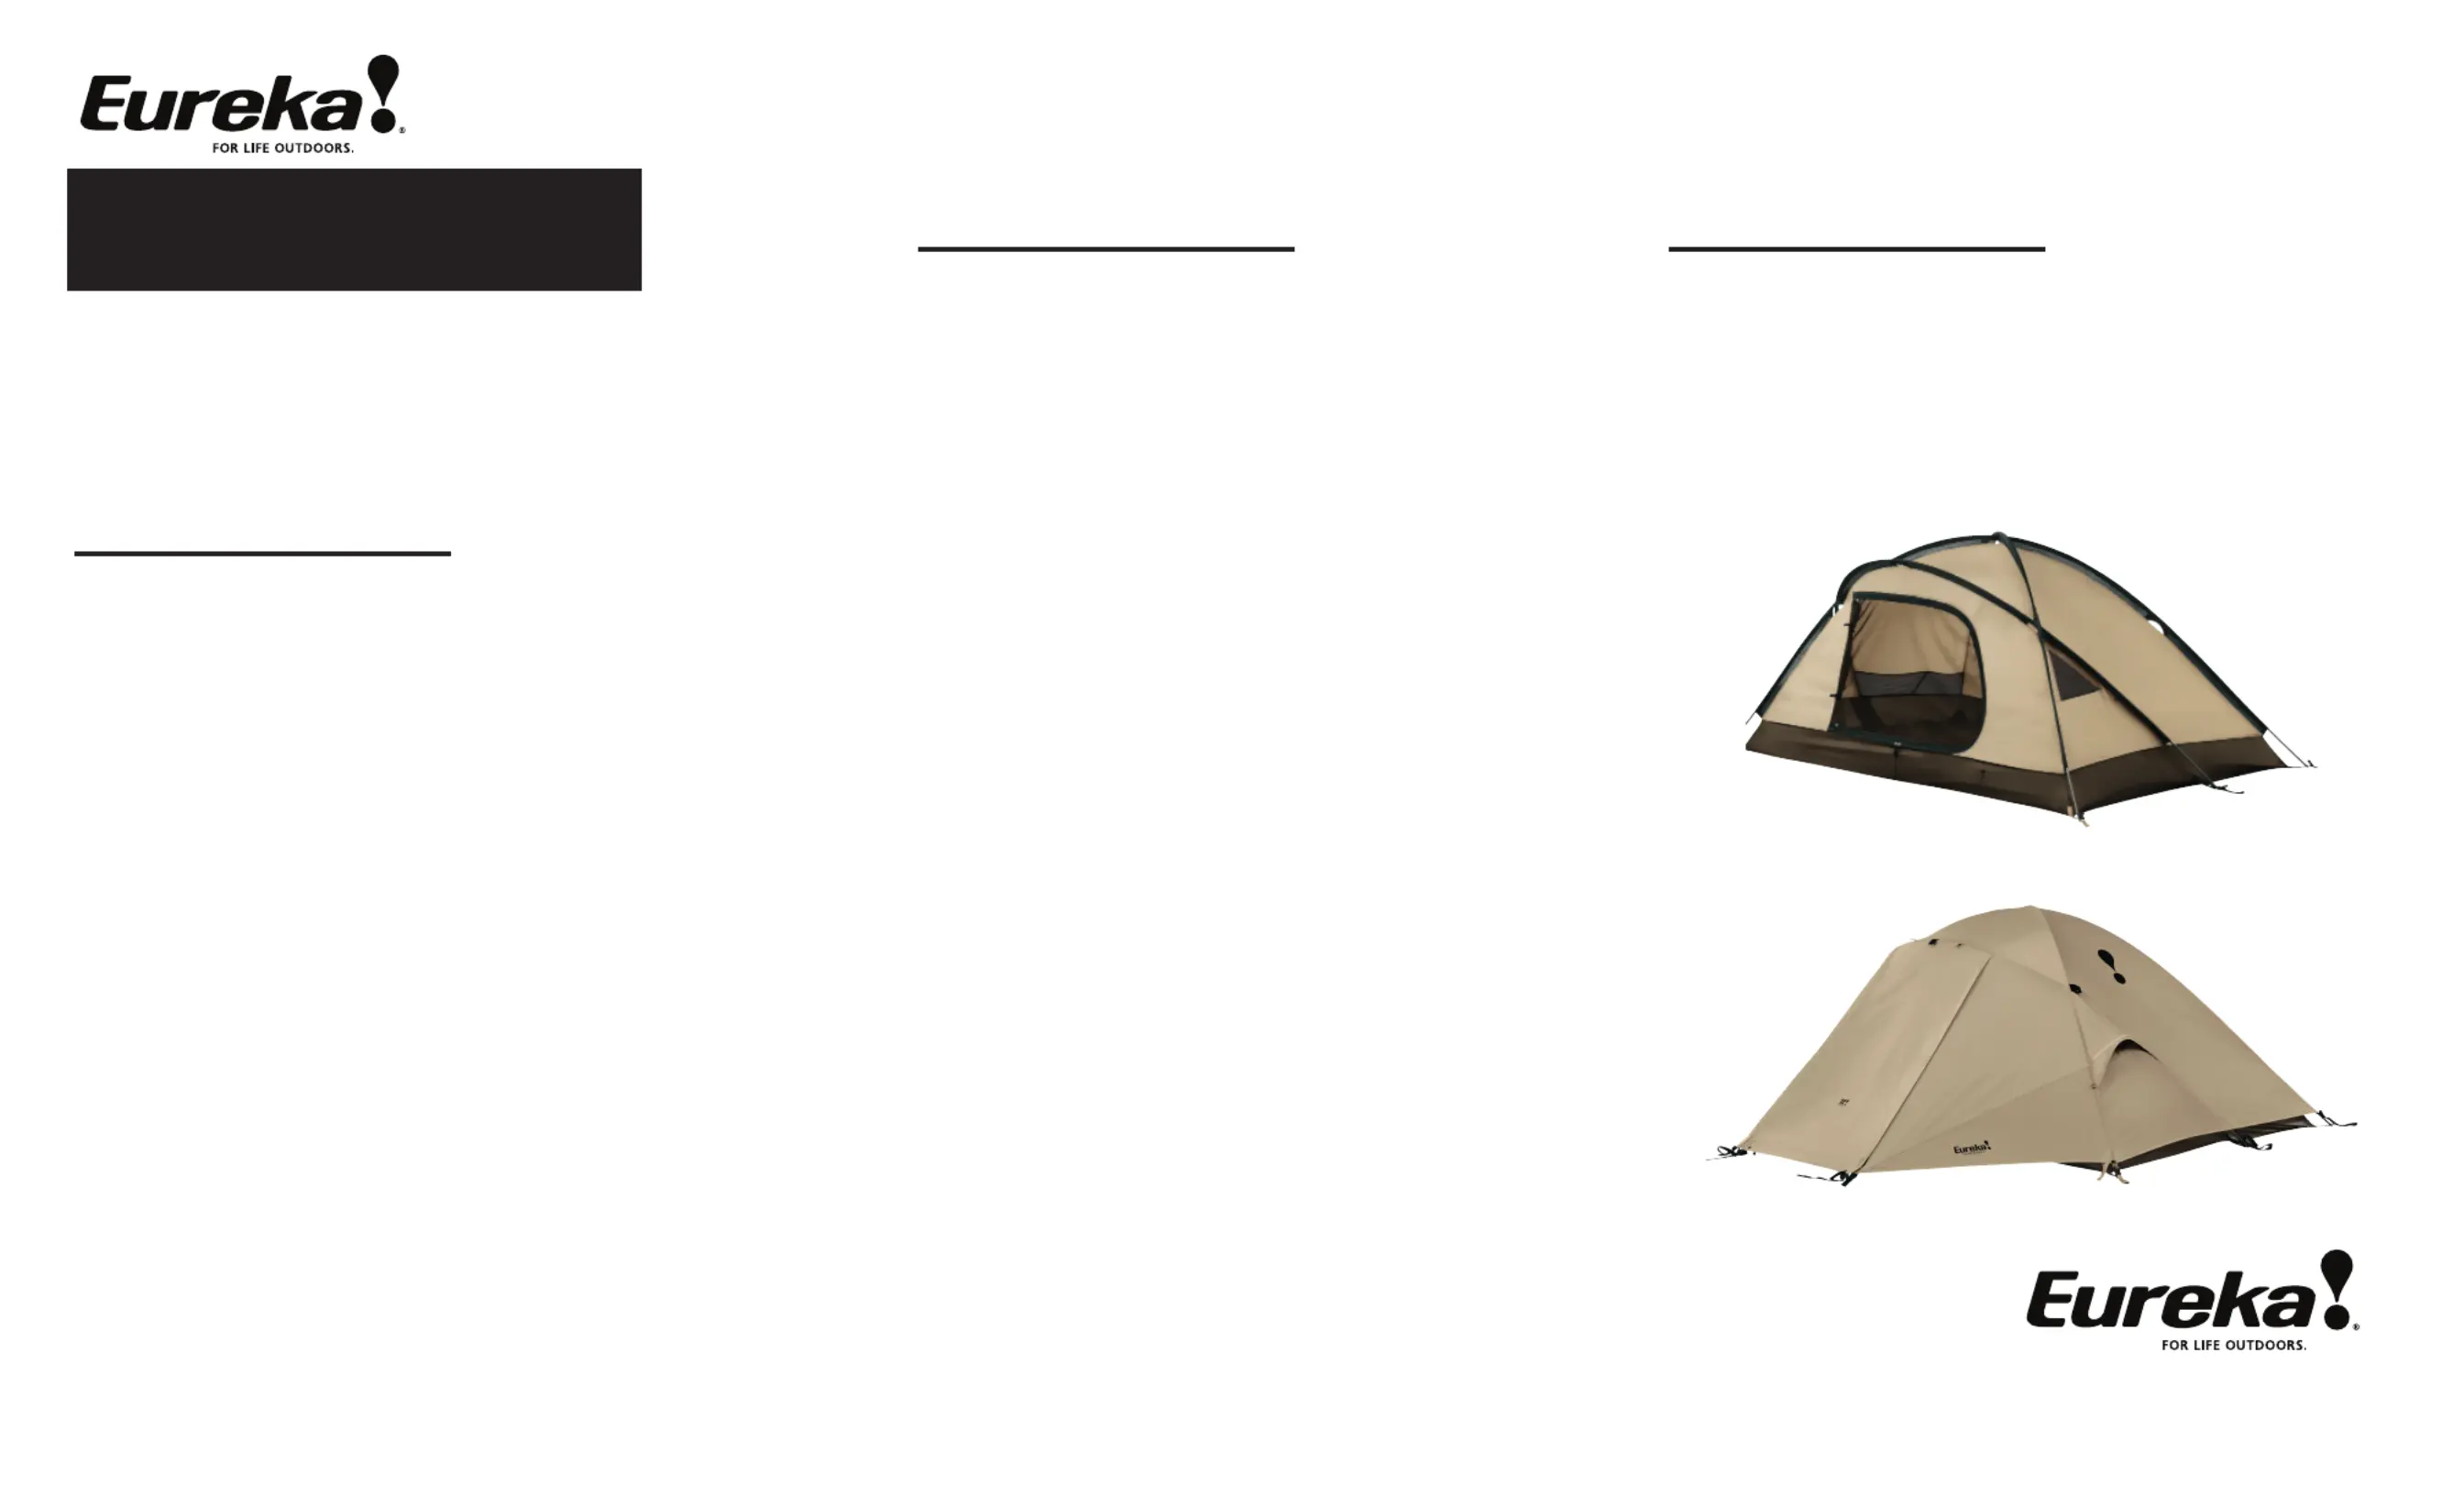
Setting up the Tent Body
1. Spread the tent body out, floor side down. Locate the tan
webbing stake out loop, as this marks the front of the tent.
2. Assemble the three main poles.
3. Starting at the corner with the tan webbing stake out loop,
insert one of the main poles into the black mesh fabric pole
sleeve. Continue sliding the pole through the sleeve until it
reaches the black webbing stake out loop at the opposite corner.
Move to the other corner of the tent to repeat the process with
second pole & sleeve. Correctly threaded, the poles will make a
large X shape, crossing in the middle of the tent. Insert the third
pole in the remaining side-to-side sleeve.
4. Back at the corner with the tan webbing stake out loop,
insert the tip of the pole into the grommet (metal ring). Moving to
opposite end of pole, pressure the pole to bend it downwards &
insert the pole tip into the grommet. Repeat process with second
pole, and again with the third side-to-side pole.
5.Secure the tent to the ground using the stakes provided.
Start at the tan webbing stake out loop, next proceed to
opposite corner, and while firmly pulling on the black webbing
stake out loop hammer in the stake. Repeat process with the
other two corners. Then anchor the side-to-side stakeout loops.
Attaching the Fly Sheet
1. Spread the flysheet on the ground with the outside
upwards and the tan webbing strap with buckle on your
right.
2. Matching the fly’s tan webbing strap to the tent body’s
tan webbing stake out loop, drape the fly over the tent
body. Align and center the fly on the tent body so the 6
buckles match, and the fly’s seams follow the tent body’s
poles.
3. At the front door, reach under the fly and wrap the
hook/loop closure around the black mesh pole sleeve.
4. Locate the remaining black webbing guyout loops on the
outside of the flysheet, reaching under the guyout loops,
wrap the hook/loop closure around the underlying black
mesh pole sleeve to secure the fly to the pole structure.
5. Now clip the buckles at each of the six locations, pulling
the webbing through the buckles to tension the fly.
6. Securing the front vestibule: for increased versatility in
configuring the vestibule, four adjustable stake out loops
are provided. Minimally, stake the two outermost stake out
loops, adjusting the tension by pulling the webbing through
the triglide buckle.
7. Securing the rear vestibule: for ease of use, an
adjustable single-point stake-out loop is provided but it
releases with the buckle to access the rear door.
8.Guyouts: Attach the provided guyout cords to the black
webbing guyout loops. Get in the habit of always using the
guyouts, even in good weather
Snivel Locks:both front and rear vestibules’ door panels lock at
bottom with a side-release buckle to eliminate wind-driven opening.
Front vestibule:has multiple configurations: fully protected,
Hi/Low venting, awning, rolled up, and side entry.
Eureka! Set-Up Instructions
Down Range 2 person (#2629342) tent
6. The tent body will now be erect, properly tensioned,
and secured to the ground.
Other features:
REV 090613
Produktspecifikationer
| Varumärke: | Eureka |
| Kategori: | tält |
| Modell: | Down Range 2 |
Behöver du hjälp?
Om du behöver hjälp med Eureka Down Range 2 ställ en fråga nedan och andra användare kommer att svara dig
tält Eureka Manualer

12 Augusti 2025
11 Augusti 2025
11 Augusti 2025
11 Augusti 2025
11 Augusti 2025
11 Augusti 2025
11 Augusti 2025
11 Augusti 2025
11 Augusti 2025
11 Augusti 2025
tält Manualer
Nyaste tält Manualer
3 April 2026
18 Mars 2026
18 Mars 2026
11 Mars 2026
10 Mars 2026
4 Mars 2026
4 Mars 2026
4 Mars 2026
4 Mars 2026
3 Mars 2026