GeoVision GV-LPR CAM 20A Bruksanvisning
GeoVision övervakningskamera GV-LPR CAM 20A
Läs gratis den bruksanvisning för GeoVision GV-LPR CAM 20A (6 sidor) i kategorin övervakningskamera. Guiden har ansetts hjälpsam av 33 personer och har ett genomsnittsbetyg på 4.4 stjärnor baserat på 3 recensioner. Har du en fråga om GeoVision GV-LPR CAM 20A eller vill du ställa frågor till andra användare av produkten? Ställ en fråga
Sida 1/6
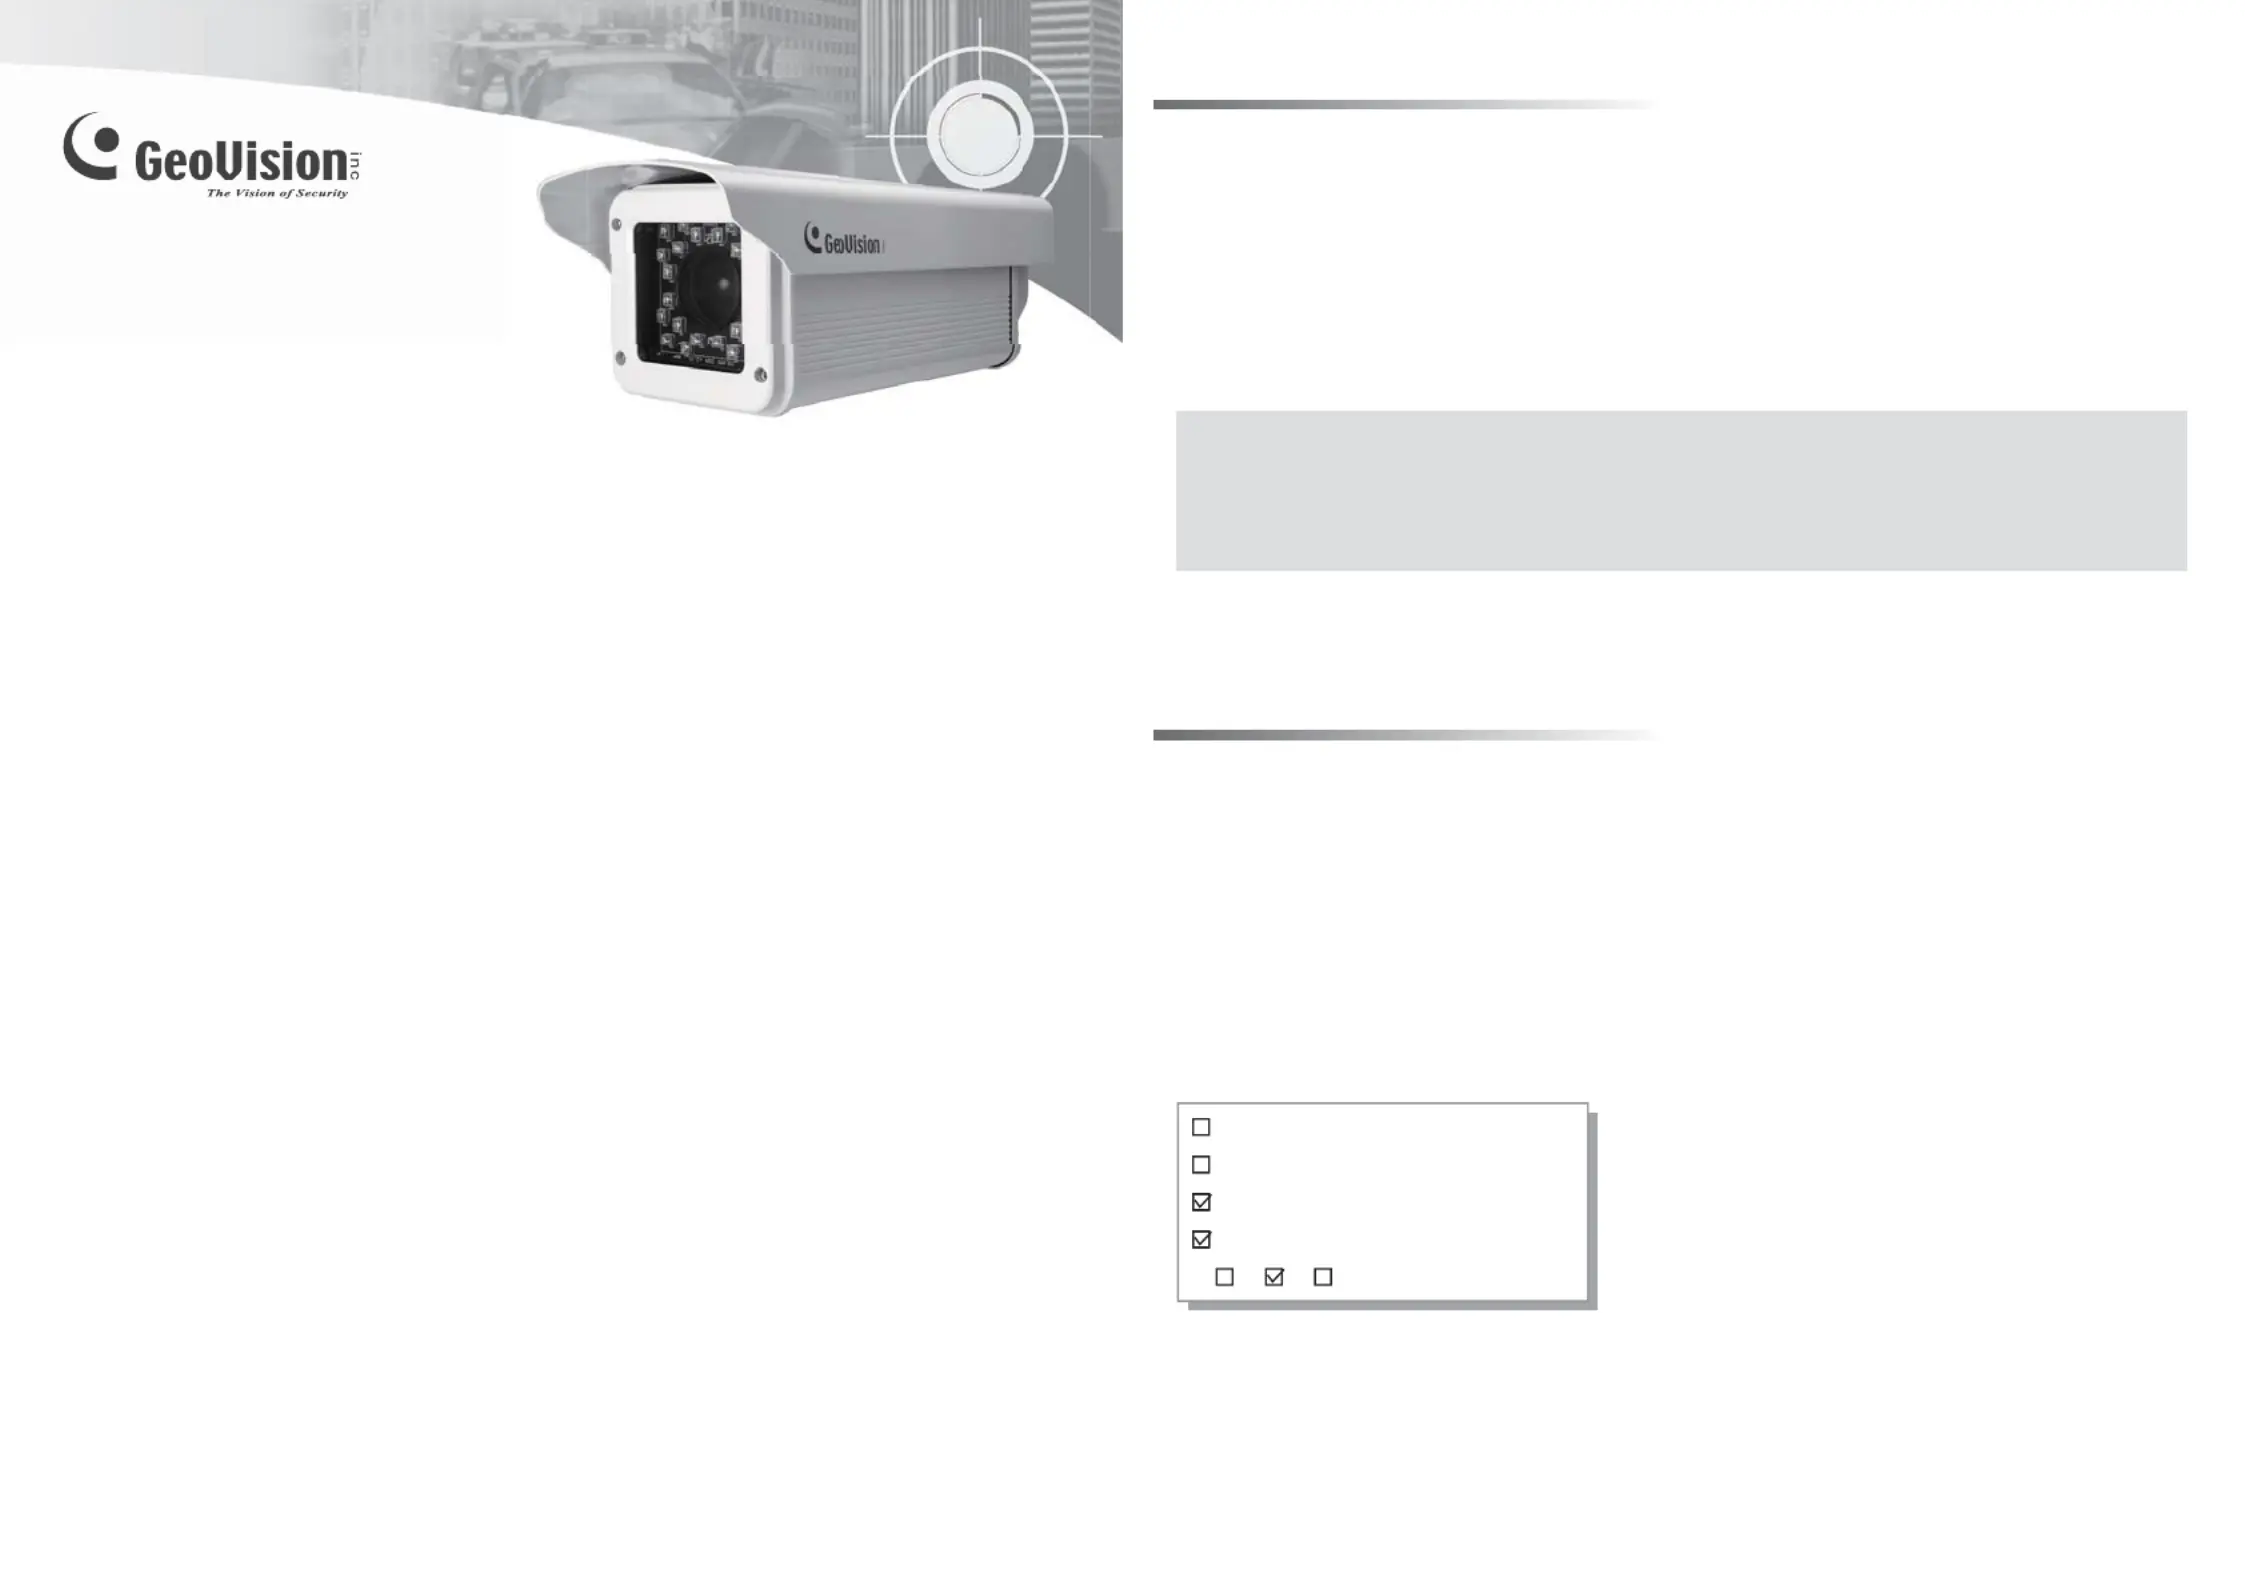
GV-LPR CAM 20A
Installation Guide V2.0
(Type B Model)
© 2012 Auguest GeoVision Inc. All rights reserved.
The GV-LPR CAM is available in both EIA and CCIR video format. The camera gives a 570
TVL high-contrast license plate recognition video to the GV-LPR software that identifies license
plates. It features 24 high-efficient LEDs for an illumination range of 15 ~ 25 meters / 49.21 ~
82.02 feet. It also features a weather-sealed, IP66-compliant housing with the heater and
blower inside. This installation guide will take you through the functionality and use of the
GV-LPR CAM.
Models
Packing List
Before attempting to connect or operate this product,
please read these instructions carefully and save this manual for future use.
Note:
The GV-LPR CAM comes with a free GV-LPR Software, and you need to insert the supplied
GV-USB Dongle to the PC to run the software. The free GV-LPR Software is a Trial Edition.
It can only capture the license plate images and does not support the license plate
recognition function.
2012/08
English
LPRCAM20AV20-C
There are hardware types A, B and C for GV-LPR CAM 20A. Your current device is a type B.
You can find this information on your product box.
●AC Power Cable (110-125V, 10A) x 1
●Power Adapter (100-240V, 12V/5A) x 1
●Outdoor Mounting Bracket x 1
●GV-LPR Software DVD
●GV-USB Dongle
GV-LPR CAM 10A PAL DC12V
GV-LPR CAM 10A NTSC DC12V
GV-LPR CAM 20A PAL DC12V
GV-LPR CAM 20A NTSC DC12V
A B C
Produktspecifikationer
| Varumärke: | GeoVision |
| Kategori: | övervakningskamera |
| Modell: | GV-LPR CAM 20A |
Behöver du hjälp?
Om du behöver hjälp med GeoVision GV-LPR CAM 20A ställ en fråga nedan och andra användare kommer att svara dig
övervakningskamera GeoVision Manualer

3 Mars 2026
14 Augusti 2025
14 Augusti 2025
10 Augusti 2025
9 Augusti 2025
9 Augusti 2025
9 Augusti 2025
9 Augusti 2025
9 Augusti 2025
9 Augusti 2025
övervakningskamera Manualer
Nyaste övervakningskamera Manualer
2 April 2026
2 April 2026
1 April 2026
1 April 2026
1 April 2026
31 Mars 2026
31 Mars 2026
31 Mars 2026
30 Mars 2026
30 Mars 2026