Haier QPSA13 Bruksanvisning

Läs nedan 📖 manual på svenska för Haier QPSA13 (48 sidor) i kategorin Luftkonditionering. Denna guide var användbar för 7 personer och betygsatt med 4.5 stjärnor i genomsnitt av 2 användare

Sida 1/48
49-5000467 Rev. 1 04-21 GEA
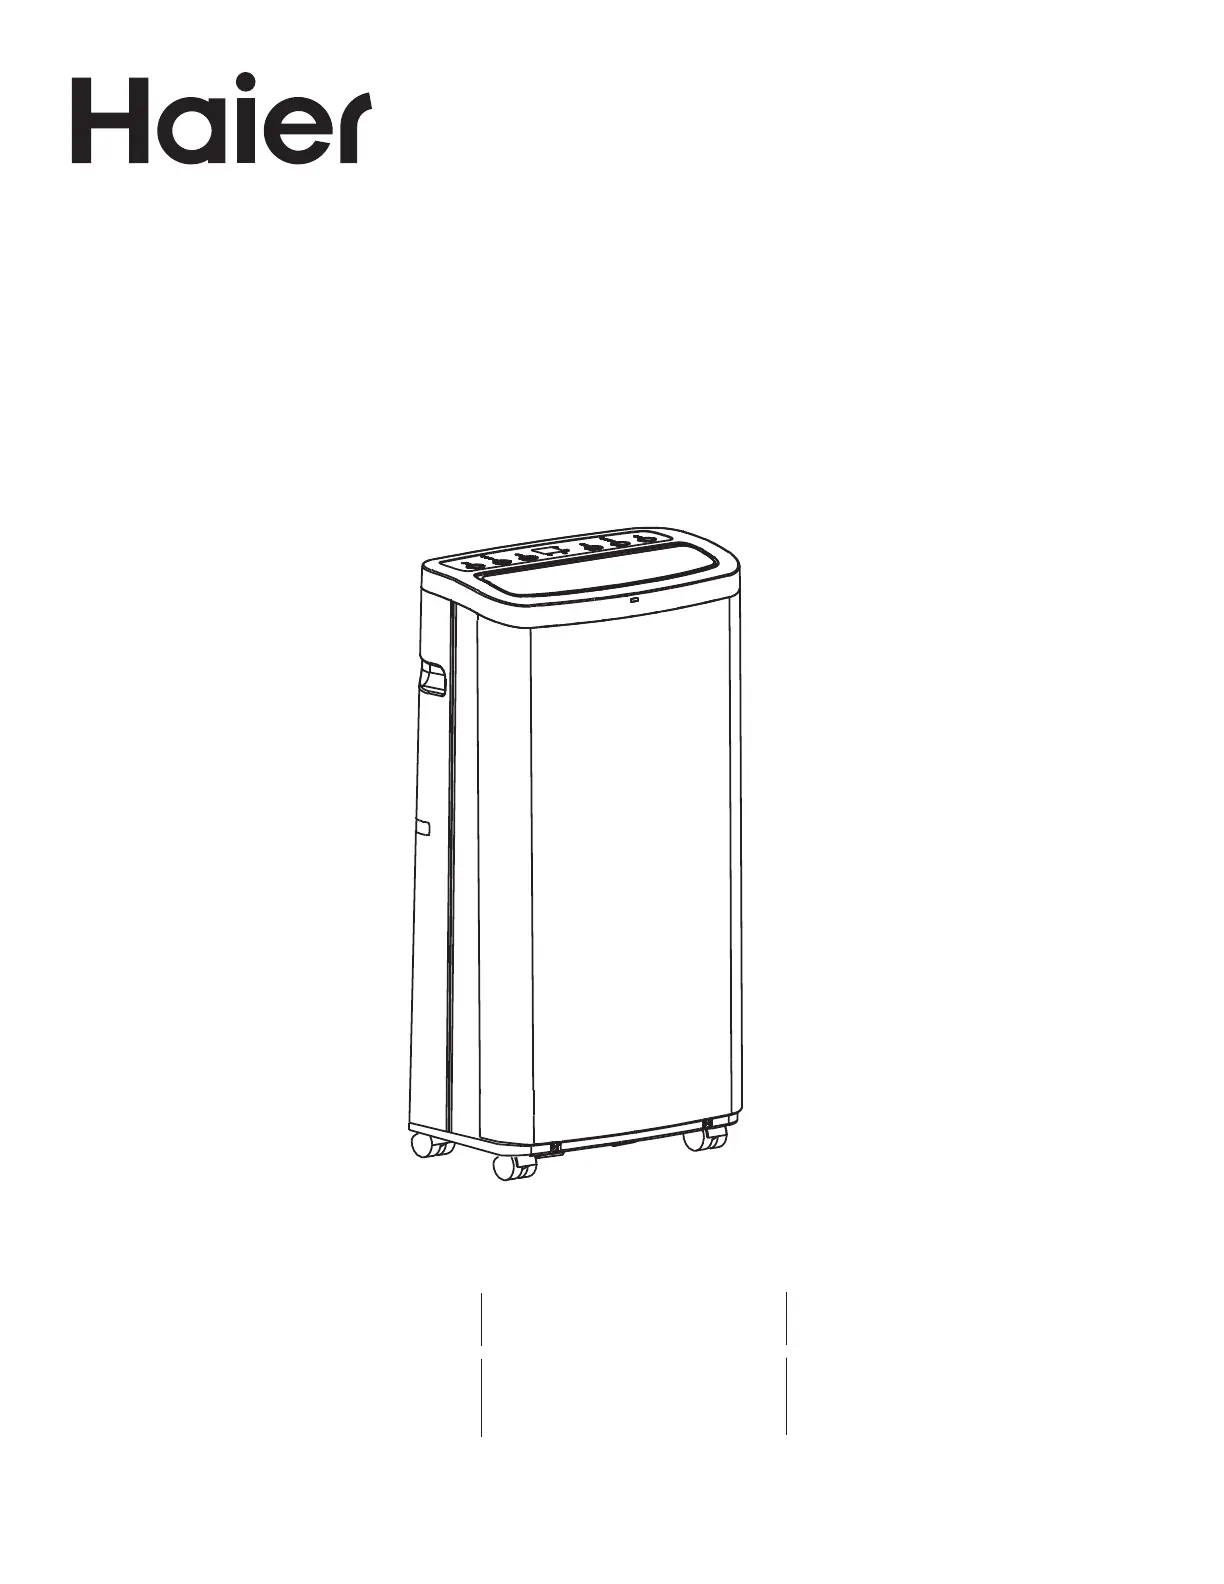
Owner’s Manual and
Installation Instruction
Manuel d’utilisation et
instructions d’installation
Manual del propietario y
instrucciones de instalación
QPSA13
QPCA14
QPWA14
Design may vary by model number. La conception peut varier
en fonction du numéro de
modèle
El diseño puede variar según
el número de modelo
Portable Air Conditioner
Climatiseurs portables
Accondicionadores De Aire Para Sala
249-5000467 Rev. 1
ENGLISH
49-5000467 Rev. 1 3
ENGLISH
TABLE OF CONTENTS
RECORD KEEPING
Thank you for purchasing this Haier product. This user manual
will help you get the best performance from your new air
conditioner.
Para referencia futura, registre el modelo y el número de serie
ubicados en el deshumidicador y la fecha de compra.
Staple your proof of purchase to this manual to aid in
obtaining warranty service if needed.
____________________________________________________
Model number
____________________________________________________
Serial number
____________________________________________________
Date of purchase
HAIER WEBSITE
Have a question or need assistance with your appliance? Try the Haier Website 24 hours a day, any day of the year! You
can also shop for more great Haier products and take advantage of all our on-line support services designed for your
convenience. In the US: Haierappliances.com
IMPORTANT SAFETY INFORMATION . . . . . . . . . . . . . . . . . . . . . . . . . . . . . . . . . . . . . . . . . . . . . . . . . . . . . . . . . . . . . . . . . . . . . . . . . . . . . . 4
CONTROLS . . . . . . . . . . . . . . . . . . . . . . . . . . . . . . . . . . . . . . . . . . . . . . . . . . . . . . . . . . . . . . . . . . . . . . . . . . . . . . . . . . . . . . . . . . . . . . . . . . . . . . . 5
CARE AND CLEANING . . . . . . . . . . . . . . . . . . . . . . . . . . . . . . . . . . . . . . . . . . . . . . . . . . . . . . . . . . . . . . . . . . . . . . . . . . . . . . . . . . . . . . . . . . . . 8
INSTALLATION INSTRUCTIONS . . . . . . . . . . . . . . . . . . . . . . . . . . . . . . . . . . . . . . . . . . . . . . . . . . . . . . . . . . . . . . . . . . . . . . . . . . . . . . . . . 10
TROUBLESHOOTING . . . . . . . . . . . . . . . . . . . . . . . . . . . . . . . . . . . . . . . . . . . . . . . . . . . . . . . . . . . . . . . . . . . . . . . . . . . . . . . . . . . . . . . . . . . 14
WIFI SETUP . . . . . . . . . . . . . . . . . . . . . . . . . . . . . . . . . . . . . . . . . . . . . . . . . . . . . . . . . . . . . . . . . . . . . . . . . . . . . . . . . . . . . . . . . . . . . . . . . . . . . 15
LIMITED WARRANTY . . . . . . . . . . . . . . . . . . . . . . . . . . . . . . . . . . . . . . . . . . . . . . . . . . . . . . . . . . . . . . . . . . . . . . . . . . . . . . . . . . . . . . . . . . . . .16
49-5000467 Rev. 1 5
ENGLISH
Features and appearance will vary.
Lights next to the touch pads on the air conditioner control panel indicate the selected settings.
A. Control Panel Display
Displays the Set Temperature in degrees Fahrenheit or
degrees Celsius, or the hours remaining in a Time Delay. The
corresponding indicator light will illuminate.
B. Power Button
Turns ON/OFF power to the air conditioner.
NOTE: Turning o power by pressing the Power button does
NOT disconnect the appliance from the power supply.
Press the Power button. The Power indicator will illuminate.
C. Mode Button
Press the Mode button to toggle among the operating
options. The corresponding indicator will illuminate:
Heat (on some models) - Heats the room to the set
temperature
Cool – Cools the room to the set temperature
DRY – Reduces the humidity in the room
Fan – Circulates the air in the room without cooling
D. Timer / Temperature Set Controls
Adjusts the Temperature or Hours in Time Delay.
To Set the Temperature:
The temperature can be set between 61ºF and 89ºF (17ºC
and 30º C) when the air conditioner is in Cool mode.
1. Press the Mode button until the Cool mode is selected.
2. Press the Up Arrow or Down Arrow buttons to select the
Temperature.
NOTE: The temperature cannot be set when the air
conditioner is in either Fan or DRY mode.
NOTE: The Up Arrow and Down Arrow buttons, when pressed
at the same time, allow you to select between displaying
the temperature in ºC or ºF. The corresponding indicator will
illuminate.
E. Fan Speed Button
The fan speed can be adjusted from Low, Medium, to High
speed when the air conditioner is in operation.
NOTE: The fan speed cannot be adjusted when the unit is in
DRY mode.
Press the Fan Speed button to toggle among the three speeds.
The corresponding fan speed indicator will illuminate.
F. Timer Button
Program a time from (1-hour to 24-hours) for the air
conditioner to turn O or On. When a Time Delay is
programmed, the Timer indicator light will illuminate.
While the air conditioner is operating:
1. Press the Timer button.
2. Press the Up/Down arrow buttons to select the number of
hours you want the air conditioner to continue to operate
before turning O.
NOTE: Wait approximately 5 seconds for the Turn-O time to
be saved.
While the air conditioner is o:
1. Press the Timer button.
2. Press the Up/Down arrow buttons to select the number
of hours you want the air conditioner to remain o before
turning On.
NOTE: Wait approximately 5 seconds for the Turn-On time to
be saved.
To cancel the timer:
Press the Timer button once, the hours remaining will ash,
press the timer button again and the timer will be canceled.
G. WiFi Connect Pad (on some Models)
1. Connect your air conditioner to WiFi router.
2. Press and hold the timer button for 3 seconds to connect
the app or disconnect the app.
Refer to theWiFi Set up” section for more information.
Temp / Time
HighMedLowCool Fan DryHeat
F G (on some models)
E
DC
B
A
CONTROLS
49-5000467 Rev. 1 7
ENGLISH
Features and appearance may vary.
Icons on the remote control indicate the selected settings
ć
C
A
B
C
D
E
F
REMOTE CONTROL
1. Insert the two batteries (provided).
2. Aim the remote control at the signal receiver on the
control panel to operate the air conditioner.
A. Power
Turns ON/OFF power to the air conditioner.
NOTE: Turning o power by pressing the Power button does
NOT disconnect the appliance from the power supply.
Press the Power button. The Power indicator will illuminate.
B. Mode
Press the Mode button to toggle among the operating
options. The corresponding indicator will illuminate:
Heat (on some models) - Heats the room to the set
temperature
Cool – Cools the room to the set temperature
DRY – Reduces the humidity in the room
Fan – Circulates the air in the room without cooling
C. Temperature
Adjusts the Temperature or Hours in Time Delay.
To Set the Temperature:
The temperature can be set between 61ºF and 89ºF (17ºC
and 30º C) when the air conditioner is in Cool mode.
1. Press the Mode button until the Cool mode is selected.
2. Press the Up Arrow or Down Arrow buttons to select the
Temperature.
NOTE: The temperature cannot be set when the air
conditioner is in either Fan or DRY mode.
NOTE: The Up Arrow and Down Arrow buttons, when pressed
at the same time, allow you to select between displaying
the temperature in ºC or ºF. The corresponding indicator will
illuminate.
D. Fan Speed
The fan speed can be adjusted from Low, Medium, to High
speed when the air conditioner is in operation.
NOTE: The fan speed cannot be adjusted when the unit is in
DRY mode.
Press the Fan Speed button to toggle among the three speeds.
The corresponding fan speed indicator will illuminate.
E. Timer
Program a time from (1-hour to 24-hours) for the air conditioner
to turn O or On. When a Time Delay is programmed, the
Timer indicator light will illuminate.
F. Swing Button
The louvers on your portable air conditioner will open
automatically (do not pry them open or push them shut).
Use the Swing Button on your remote to adjust the louvers
in the position you would like them to be in, or to operate in
Swing mode the louvers will continue to move up and down.
Cool
WiFi Swing Fan Speed
Fan
Dry
Heat
CONTROLS
849-5000467 Rev. 1
ENGLISH
Air Filter
The air lters should be cleaned at least every two weeks for
your unit to operate at optimum eciency.
CAUTION DO NOT operate the air conditioner
without a lter because dirt and lint will clog it and reduce
performance.
To remove:
1. Unplug or disconnect power.
2. Pull to remove upper lter panel.
3. Wash or vacuum the dust from the air lters.
NOTE: If washed, gently shake the lter to remove the
excess water and dust particles trapped in the lter.
4. Reinstall the lters.
5. Plug in or reconnect power.
CLEANING
1. Unplug or disconnect power.
2. Use only a soft cloth dampened with water to clean the
cabinet.
NOTE:
•Do not use a liquid or spray cleaner to clean the air
conditioner.
•DO NOT use chemicals, abrasives, ammonia, chlorine
bleach, concentrated detergents, solvents or scouring
pads. Some of these chemicals/items may damage and/or
discolor your air conditioner.
3. Dry thoroughly with a soft cloth.
4. Plug in or reconnect power.
WARNING
Electrical Shock Hazard
Disconnect power before cleaning.
Failure to do so can result in death or electrical shock.
CARE AND CLEANING
10 49-5000467 Rev. 1
ENGLISH
LOCATION REQUIREMENTS
Place the air conditioner on a at, level surface in a
location that is at least 30” (76.2 cm) from any wall.
NOTE: A minimum clearance of 30” (76.2 cm) from the
air conditioner to the wall must be maintained to ensure
proper airow.
Maintain a minimum 30” (76.2 cm) clearance around the
air conditioner to not block airow.
Keep the air conditioner free of any obstructions such as
drapes, curtains, blinds, etc.
The exhaust hose should be free of any obstructions.
Do not place the air conditioner on an unstable or raised
surface because it could fall and cause damage or injury.
Do not place the air conditioner in direct sunlight or near
a heat source such as baseboard heaters, stoves, etc.
The window panel can be installed in a window with a
minimum 20” (55.88 cm) to a maximum 46” (121.92 cm)
opening.
Questions? visit our Website at: haierappliances.com.
BEFORE YOU BEGIN
Read these instructions completely and carefully.
IMPORTANT Save these instructions for local
inspector’s use.
IMPORTANT Observe all governing codes and
ordinances.
Note to Installer Be sure to leave these instructions
with the Consumer.
Note to Consumer Keep these instructions for future
reference.
Skill level Installation of this appliance requires basic
mechanical skills.
Completion time Approximately 1 hour
We recommend that two people install this product.
Proper installation is the responsibility of the installer.
Product failure due to improper installation is not
covered under the Warranty.
You MUST use all supplied parts and use proper
installation procedures as described in these
instructions when installing this air conditioner.
ÎÕÎÌÝÛÒÌÊÕÛÎÚÞÒÛÎÖÎ×ÝÜ
Some models require a 115/120-volt AC,
60-Hz grounded outlet protected with a 15-amp
time-delay fuse or circuit breaker.
The 3-prong grounding plug minimizes the possibility of
electric shock hazard. If the wall outlet you plan to use is
only a 2-prong outlet, it is your responsibility to have it
replaced with a properly grounded 3-prong wall outlet.
CAUTION
Do not, under any circumstances, cut or remove the third
(ground) prong from the power cord.
Do not change the plug on the power cord of this air
conditioner.
Aluminium house wiring may present special problems—
consult a qualified electrician.
Power cord includes a current
interrupter device. A test and reset
button is provided on the plug case. The
device should be tested on a periodic
åäöìöåüéìõö÷óõèööìñê÷ëèÝÎÜÝåø÷÷òñ
äñç÷ëèñ÷ëèÛÎÜÎÝåø÷÷òñúëìïè
plugged into the outlet. If the
ÝÎÜÝåø÷÷òñçòèöñò÷÷õìóòõìé÷ëè
ÛÎÜÎÝåø÷÷òñúìïïñò÷ö÷äüèñêäêèç
discontinue use of the air conditioner
and contact a qualified service
technician.
RESET
TEST
INSTALLATION INSTRUCTIONS

Produktspecifikationer

Varumärke: Haier
Kategori: Luftkonditionering
Modell: QPSA13

Behöver du hjälp?

Om du behöver hjälp med Haier QPSA13 ställ en fråga nedan och andra användare kommer att svara dig


Luftkonditionering Haier Manualer

Luftkonditionering Manualer

Nyaste Luftkonditionering Manualer