Infinity BassLink Bruksanvisning
Läs gratis den bruksanvisning för Infinity BassLink (8 sidor) i kategorin Subwoofer. Guiden har ansetts hjälpsam av 25 personer och har ett genomsnittsbetyg på 4.9 stjärnor baserat på 5 recensioner. Har du en fråga om Infinity BassLink eller vill du ställa frågor till andra användare av produkten? Ställ en fråga
Sida 1/8
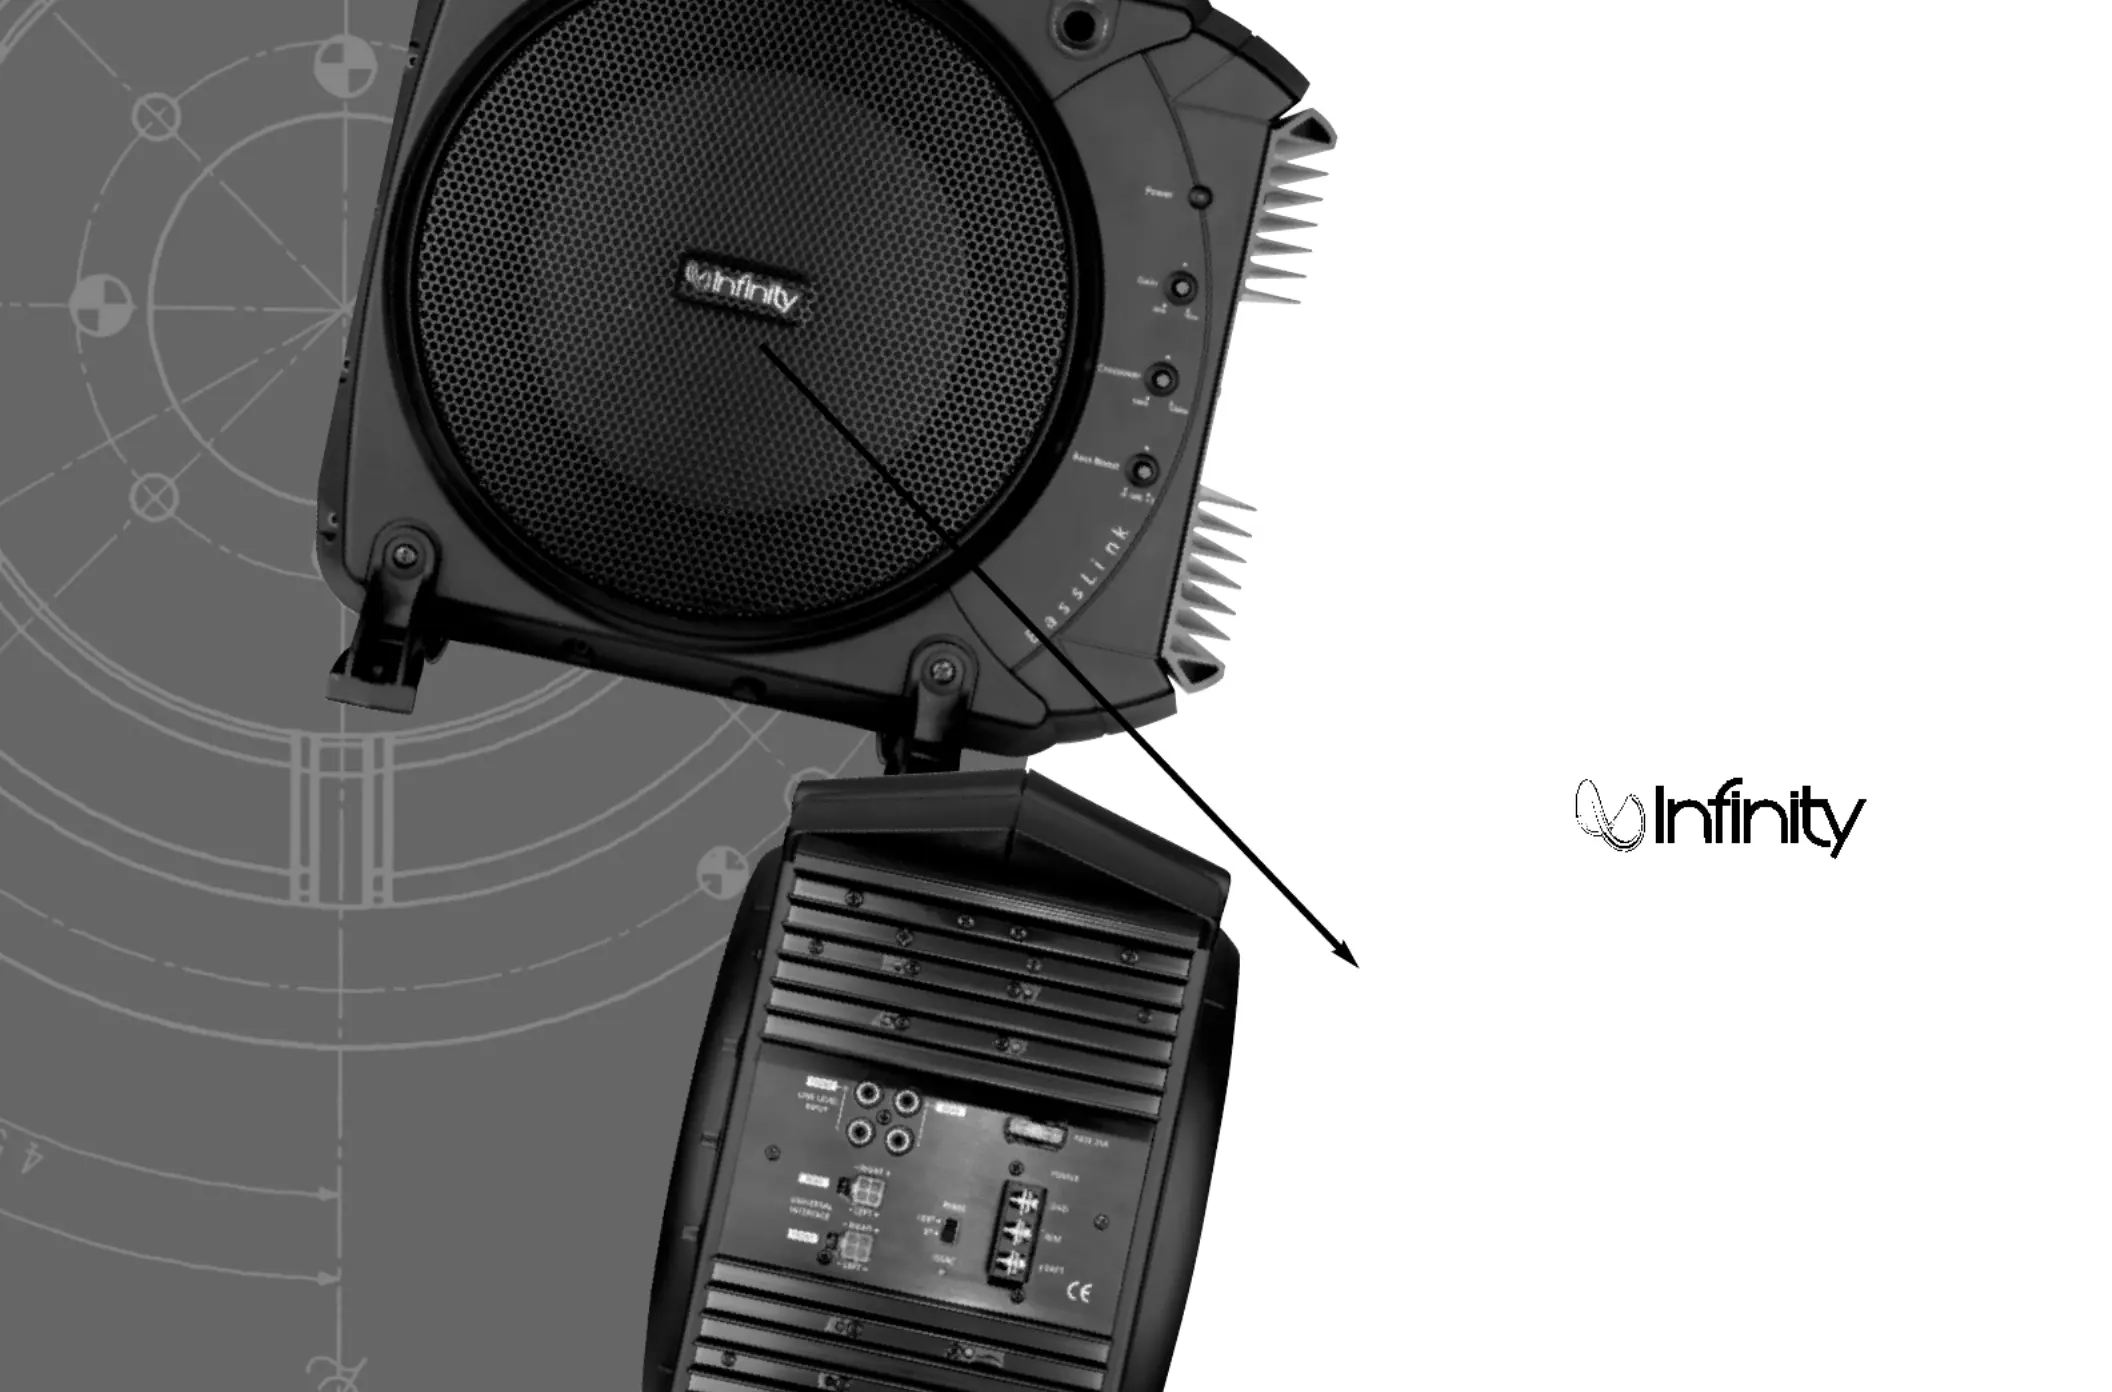
Thank you
for choosing the Infinity BassLink.
BassLink has been designed to provide the kind of
high-performance low-frequency reproduction that used
to require big, clumsy enclosures, large amplifiers, and
complex installation. To ensure maximum performance,
we strongly recommend that installation be entrusted to
a qualified professional. Although these instructions
explain how to install the BassLink in a general sense,
they do not show the specific installation methods for
your particular vehicle. If you feel you do not have the
necessary tools or experience, do not attempt the
installation yourself; rather, ask your authorized Infinity
car-audio dealer about professional installation options.
Remember to keep this manual and your sales receipt
in a safe place for future reference.
instructions
®
BassLink
™
Produktspecifikationer
| Varumärke: | Infinity |
| Kategori: | Subwoofer |
| Modell: | BassLink |
| Produkttyp: | Inbyggd subwoofer |
| Bredd: | 318 mm |
| Djup: | 369 mm |
| Höjd: | 216 mm |
| Gränssnitt: | Terminal |
| Bakgrundsbelysning: | Nej |
| Antal förare: | 1 |
| Fjärrstyrd: | Ja |
| Basreflex: | Ja |
| Subwoofertyp: | Aktiv subwoofer |
| Produktens färg: | Svart |
| Typ av fjärrkontroll: | Kabel |
| Material, hölje: | Metal, Plastic |
| Subwoofer RMS-effekt: | 200 W |
| Subwooferns frekvensomfång: | 20 - 120 hz |
| Subwooferns högtalarelement, diameter (imperial): | 10 " |
| Subwooferns högtalarelement, diameter: | 254 mm |
| Typ av hölje: | Inkluderat |
| På / av-knapp: | Ja |
| Kylning: | Ja |
| Subwoofer övergångsfrekvens: | 50 - 120 hz |
Behöver du hjälp?
Om du behöver hjälp med Infinity BassLink ställ en fråga nedan och andra användare kommer att svara dig
Subwoofer Infinity Manualer

10 September 2025
9 September 2025
9 September 2025
9 September 2025
23 Juni 2025
23 Juni 2025
22 Juni 2025
22 Juni 2025
22 Juni 2025
22 Juni 2025
Subwoofer Manualer
Nyaste Subwoofer Manualer
29 Mars 2026
27 Mars 2026
18 Mars 2026
18 Mars 2026
16 Mars 2026
12 Mars 2026
6 Mars 2026
19 Februari 2026
17 Februari 2026
15 Februari 2026