Sanyo Xacti VPC-E7 Bruksanvisning
Läs gratis den bruksanvisning för Sanyo Xacti VPC-E7 (154 sidor) i kategorin Kamera. Guiden har ansetts hjälpsam av 33 personer och har ett genomsnittsbetyg på 4.5 stjärnor baserat på 5 recensioner. Har du en fråga om Sanyo Xacti VPC-E7 eller vill du ställa frågor till andra användare av produkten? Ställ en fråga
Sida 1/154
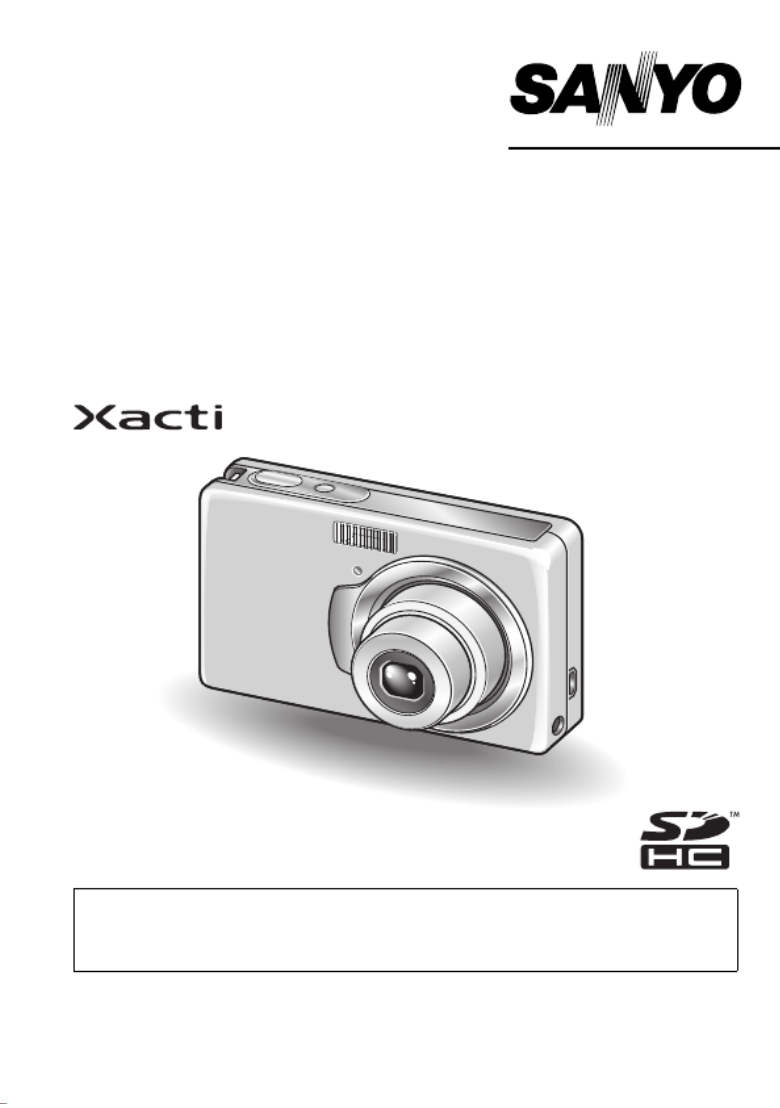
VPC-E7EX
VPC-E7
INSTRUCTION MANUAL
Digital Camera
Please read these instructions carefully before using the camera.
Make sure to read and understand the separate booklet “
SAFETY MANUAL”.
Keep this manual in a safe place for later reference.
Important note
This manual explains how to safely operate the VPC-E7EX and VPC-E7.
Any information regarding only one of these products will be labeled as such.
Produktspecifikationer
| Varumärke: | Sanyo |
| Kategori: | Kamera |
| Modell: | Xacti VPC-E7 |
Behöver du hjälp?
Om du behöver hjälp med Sanyo Xacti VPC-E7 ställ en fråga nedan och andra användare kommer att svara dig
Kamera Sanyo Manualer

23 September 2024
1 September 2024
31 Augusti 2024
26 Augusti 2024
24 Augusti 2024
23 Augusti 2024
22 Augusti 2024
21 Augusti 2024
20 Augusti 2024
19 Augusti 2024
Kamera Manualer
Nyaste Kamera Manualer
9 April 2025
9 April 2025
3 April 2025
3 April 2025
1 April 2025
29 Mars 2025
29 Mars 2025
27 Mars 2025
27 Mars 2025
27 Mars 2025