Adler AD 4084 Bruksanvisning
Läs gratis den bruksanvisning för Adler AD 4084 (80 sidor) i kategorin Blandare. Guiden har ansetts hjälpsam av 30 personer och har ett genomsnittsbetyg på 4.8 stjärnor baserat på 8 recensioner. Har du en fråga om Adler AD 4084 eller vill du ställa frågor till andra användare av produkten? Ställ en fråga
Sida 1/80
1
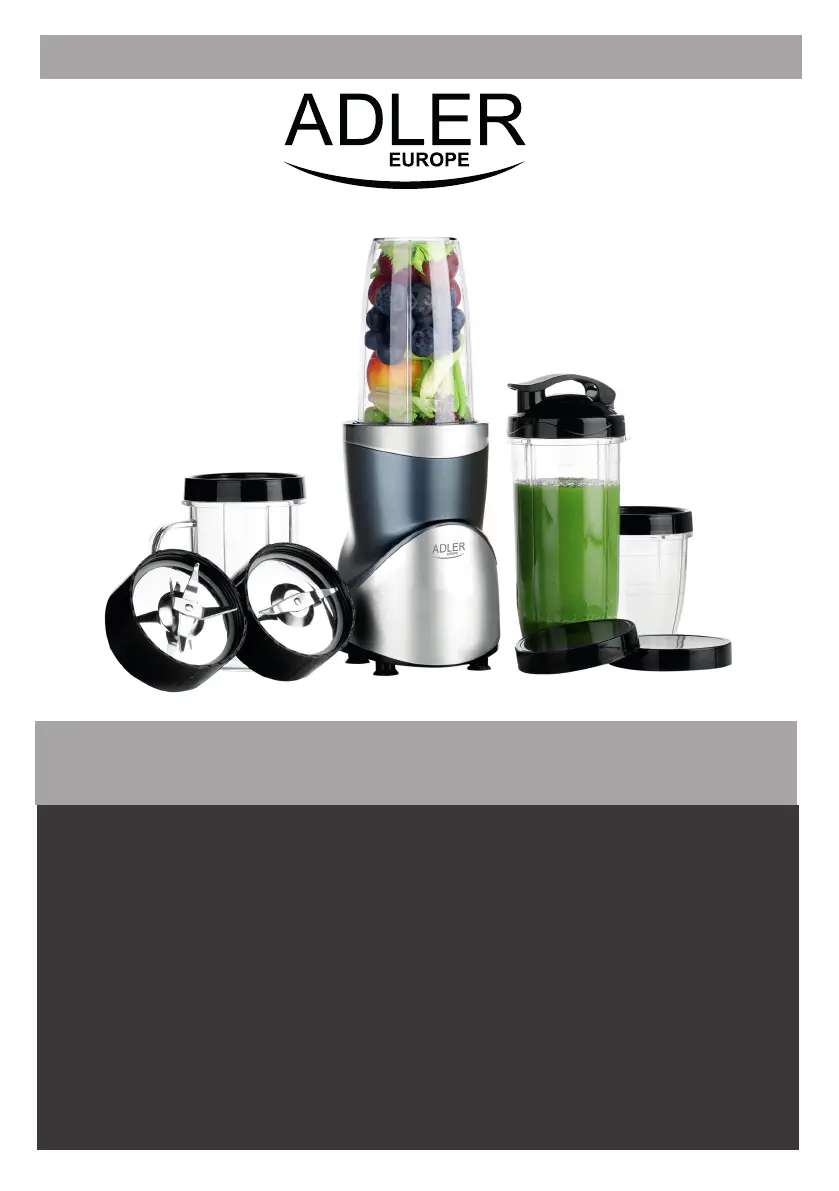
AD 4084
(PT) manual de serviço - 12 (LT) naudojimoinstrukcija - 15
(LV) lietošanasinstrukcija - 17 (EST) kasutusjuhend - 19
(HU) felhasználói kézikönyv - 26 (BS) upute za rad - 24
(RO) Instrucţiunea de deservire - 22 (CZ) návod k obsluze - 34
(FR) mode d'emploi - 7 (ES) manualdeuso - 10
(RU) инструкция обслуживания - 36 (GR) οδηγίες χρήσεως - 29
(MK) упатство за корисникот - 31 (NL) handleiding - 38
(SL) navodila za uporabo - 41 (FI) manwal ng pagtuturo - 46
(PL) instrukcja obsługi - 74 (IT) istruzioni operative - 53
(GB) user manual - 3 (DE) bedienungsanweisung - 5
(HR) upute za uporabu - 43 (SV) instruktionsbok - 48
(DK) brugsanvisning - 57 (UA) інструкція з експлуатації - 60
(SR) Корисничко упутство - 55 (SK) Používateľská príručka - 50
(AZ) istifadəçi kitabçası - 67 (ALB) Udhëzime për përdorim - 70
(AR) تﺎﻣﯾﻠﻌﺗﻟا لﯾﻟد - 62 (BG) Инструкция за употреба - 65
Produktspecifikationer
| Varumärke: | Adler |
| Kategori: | Blandare |
| Modell: | AD 4084 |
Behöver du hjälp?
Om du behöver hjälp med Adler AD 4084 ställ en fråga nedan och andra användare kommer att svara dig
Blandare Adler Manualer

10 December 2024
10 September 2024
24 Augusti 2024
20 Augusti 2024
1 Augusti 2024
1 Augusti 2024
28 Juli 2024
27 Juli 2024
25 Juli 2024
25 Juli 2024
Blandare Manualer
Nyaste Blandare Manualer
3 April 2025
2 April 2025
1 April 2025
1 April 2025
1 April 2025
1 April 2025
1 April 2025
1 April 2025
30 Mars 2025
24 Mars 2025