Artsound HPRE650BT Bruksanvisning
Läs gratis den bruksanvisning för Artsound HPRE650BT (2 sidor) i kategorin högtalare. Guiden har ansetts hjälpsam av 54 personer och har ett genomsnittsbetyg på 4.5 stjärnor baserat på 6 recensioner. Har du en fråga om Artsound HPRE650BT eller vill du ställa frågor till andra användare av produkten? Ställ en fråga
Sida 1/2
441
Ontdek het volledige ArtSound aanbod
op www.artsound.be
Découvrez la gamme ArtSound
complète sur www.artsound.be
Discover the complete ArtSound
range at www.artsound.be
TM
Art_Sound
FR
Installation
1 Faites une découpe à la scie sauteuse en accor-
dance avec les dimensions de découpe illustrées
dans la notice ou à l'aide du gabarit d'installation.
Vous obtenez un beau trou rond, carré ou rectan-
gulaire selon la réf. du HP.
2 Prenez l’enceinte encastrable. Vous pouvez
aisément retirer la grille en tirant dessus.
Elle n’est maintenue que par un aimant.
3 Ramenez-les maintenant vers l’extrémité et
faites-les tourner vers l’intérieur.
4 Prévoyez un câble HP entre l'HP actif et passif dans
le plafond.
5 Optionnellement connecter une source externe sur
l'entrée AUX indiquée par L/G/R. La borne G défi nit
le "-" commun.
Problèmes
Pour tout problème, contactez votre revendeur agréé,
qui vous posera quelques questions précises.
Pour préparer votre appel, vous pouvez déjà vérifi er
les points suivants :
•Vous n'entendez plus rien, autrement dit, l'enceinte
ne fonctionne plus ou ne diffuse plus que les graves
ou les aigus.
•L'autre enceinte fonctionne-t-elle encore ?
Ou sont-elles toutes les deux défectueuses ?
ans ce cas, mieux vaut vérifi er votre amplifi cateur.
•L'enceinte/les enceintes émet(tent) des
craquements.
•Si vous enfoncez légèrement le moteur de
l'enceinte (woofer), celui-ci frotte-t-il ?
De la sorte, votre revendeur saura dans quelle
direction s'orienter pour poser son diagnostic.
Merci de votre collaboration.
Garantie
2 ans à partir de la date d'achat, dans le cadre d'une
utilisation normale. Les conditions de la facture
s'appliquent.
sa House of Music nv
Ronse, Belgium
+32 9 380 81 80 +32 9 386 12 35
www.artsound.be [email protected]␣
@Art_Sound ArtSound.Audio
6 Connectez l'enceinte active à l'enceinte passive.
Raccordez-la à l'alimentation secteur
7 Placez l’enceinte dans le trou. Serrez les vis.
8 Les pinces sur l’arrière vont ainsi automatiquement
tourner vers l’extérieur, de sorte que l’enceinte va
se coincer.
9 Vous pouvez aussi peindre la grille, utilisez une
brosse à poils fi ns ou un aérosol.
10 Pour retirer l’enceinte ou peindre la grille, vous
devez d’abord retirer la grille. Pour ce faire, il suffi t
de tirer dessus ; elle n’est maintenue que par un
aimant.
11 Établissez une connexion Bluetooth, formez la
code de pairage "0000" et profi tez de votre
musique!
HPRE650BT
HPRE650BT
Technische fi che
PASSIEVE LUIDSPREKER
•2 weg coaxiaal
•5.25" aluminum cone rubber
edge woofer
•0.75" neodymium alu dome
tweeter
•draaibare tweeter
•86 dB
•8 Ω
•70 Hz - 20 kHz
•245 x 160 mm uitsnit (h x b)
•200 x 190 x 70mm (h x b x d)
•1.5 kg stuk
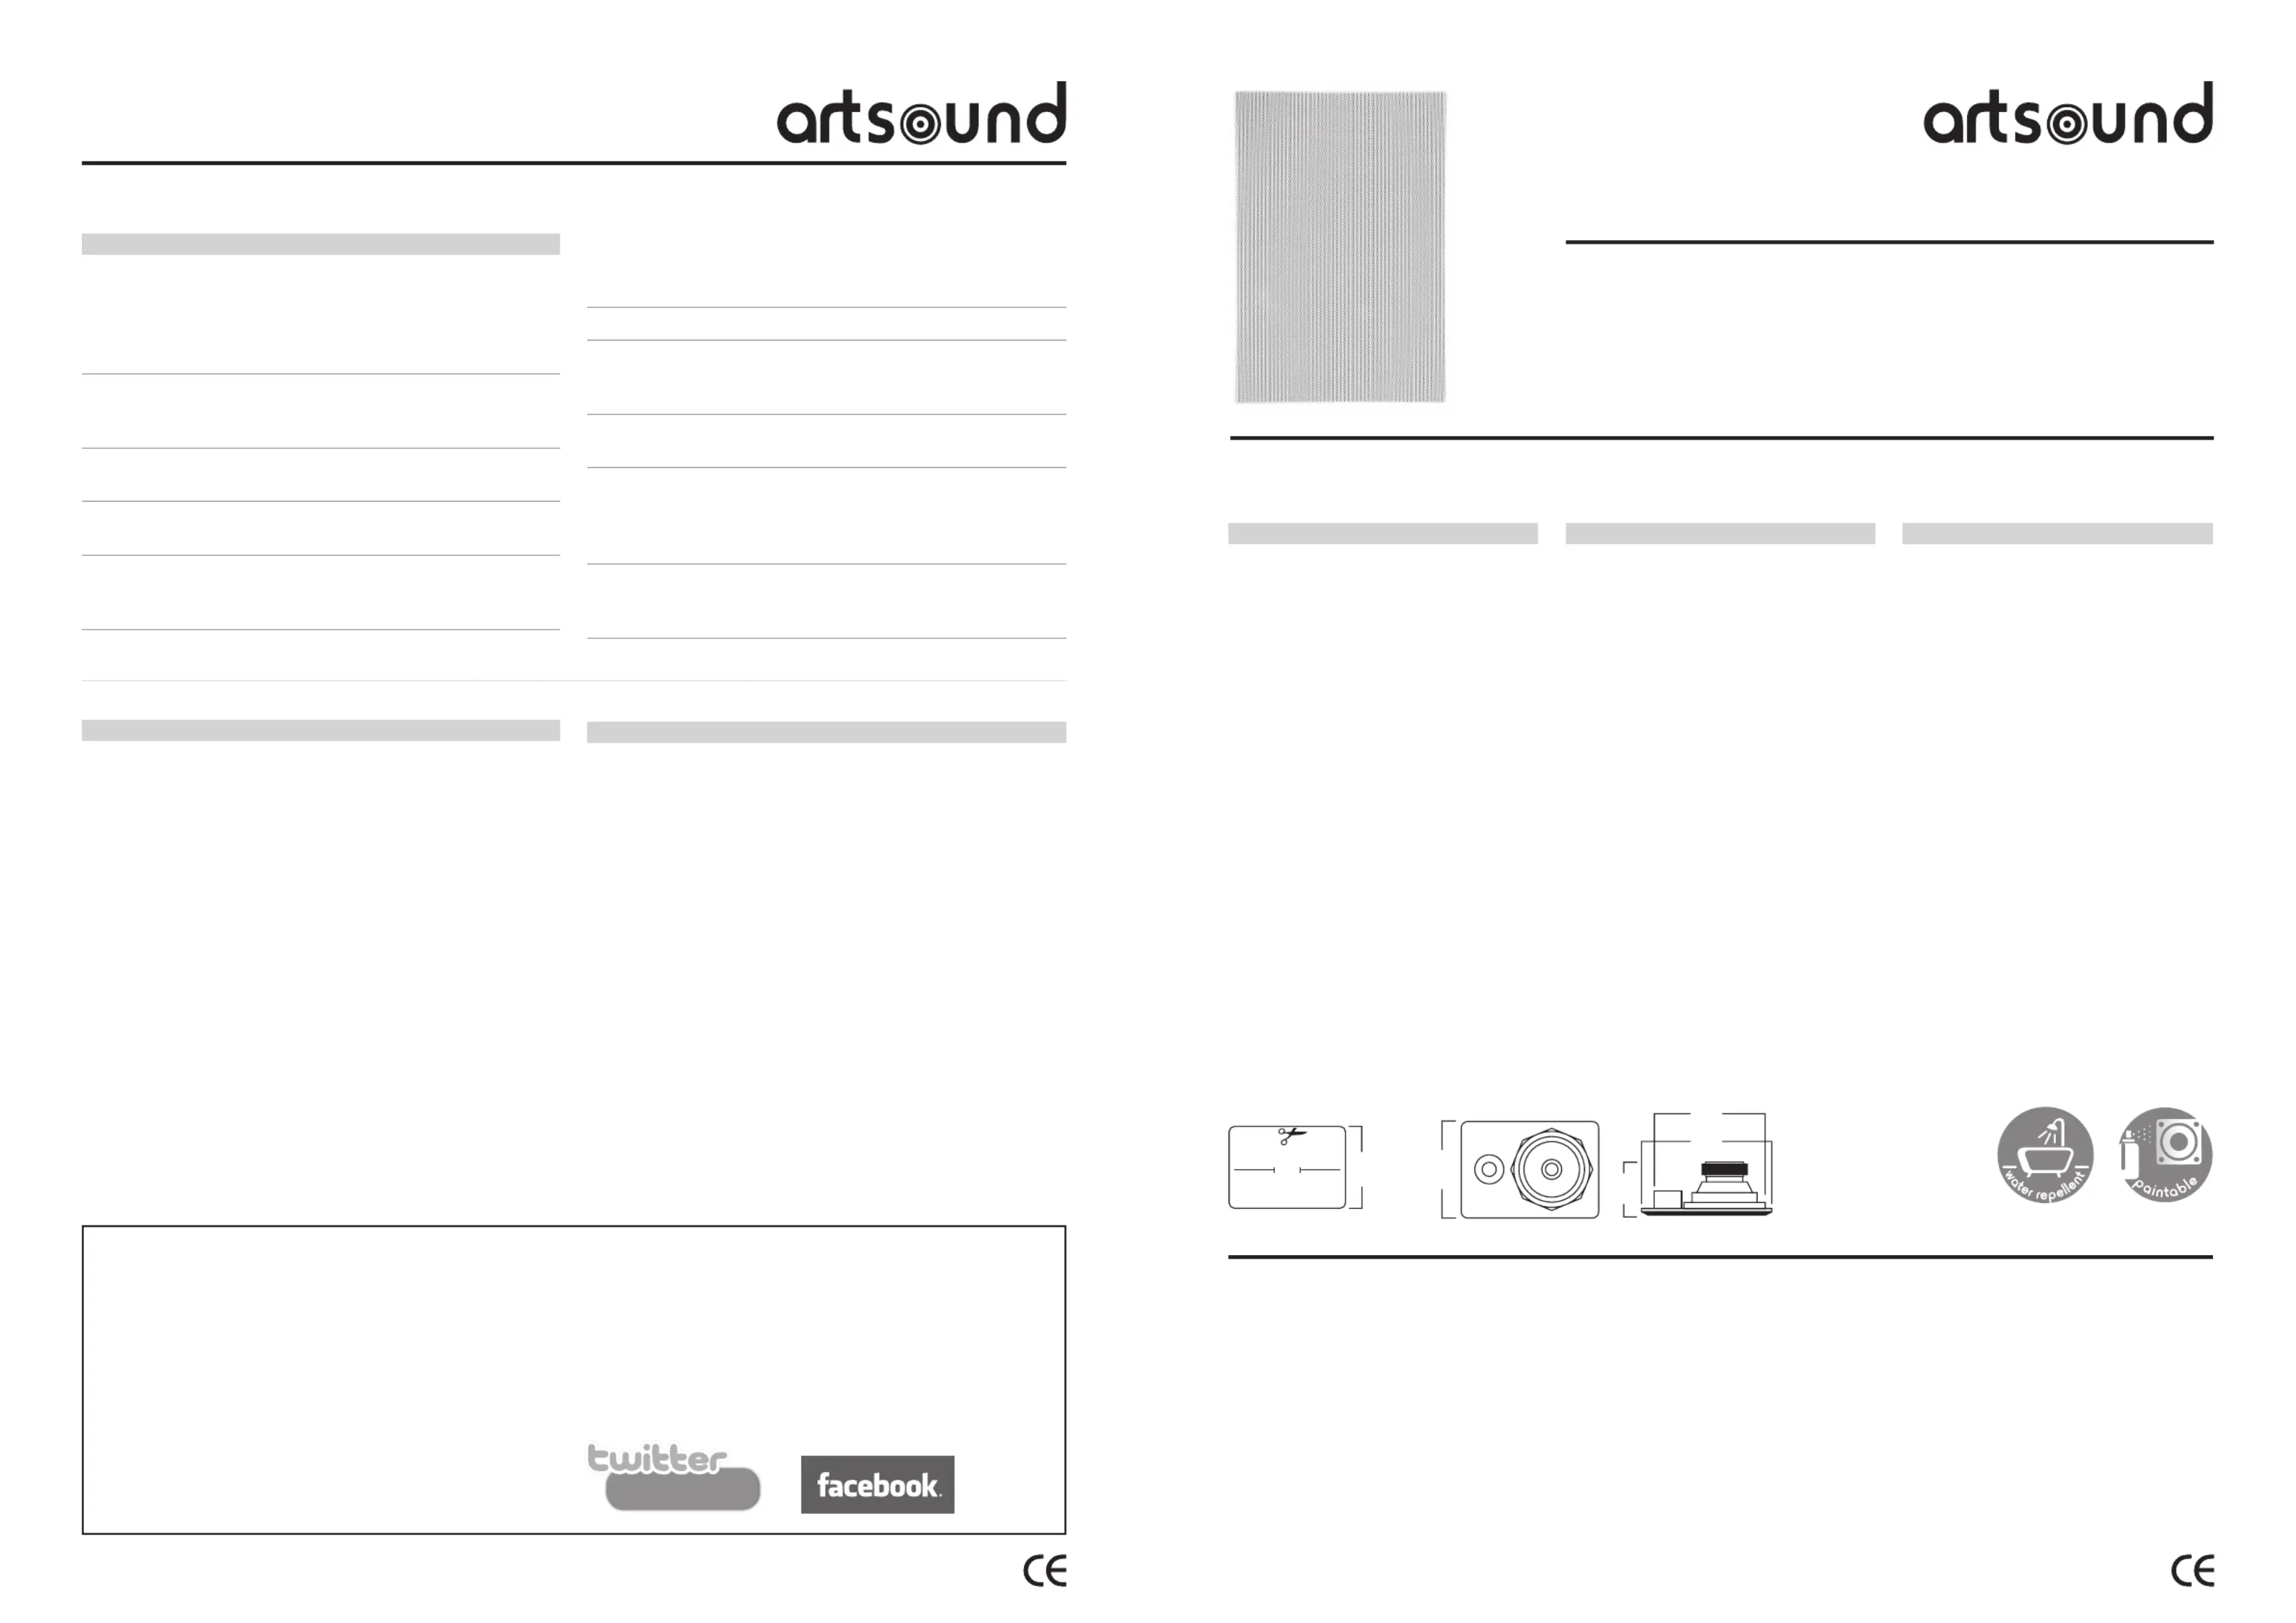
•wit, optioneel zwarte grille
•overschilderbaar
ACTIEVE LUIDSPREKER
•idem passieve speaker +
•ingebouwde klasse D-versterker
2x 45 W nominaal
•AUX-IN
•Bluetooth
Fiche technique
ENCEINTE PASSIVE
•coaxial 2 voies
•woofer cône alu bord caout-
chouc 5,25"
•tweeter néodyme dôme pivo-
tant alu 0,75"
•tweeter pivotant
•86 dB
•8 Ω
•70 Hz - 20 kHz
•découpe 245 x 160 mm (h x l)
•200 x 190 x 70 mm (h x l x p)
•1,5 kg pièce
•blanc, grille noire en option
•peut être peint
ENCEINTE ACTIVE
•idem enceinte passive +
•amplifi cateur classe D intégré,
2 x 45 W de puissance nominale
•AUX-IN
•Bluetooth
Technical specifi cations
PASSIVE LOUDSPEAKER
•2-way coaxial
•5,25” aluminium cone rubber
edge woofer
•0,75” swivel neodymium alu.
dome tweeter
•swivel tweeter
•86dB
•8Ω
•70Hz - 20kHz
•245 x 160mm cut-out (h x w)
•200 x 190 x 70mm (h x w x d)
•1,5kg piece
•white with optional black grill
•paintable
ACTIVE LOUDSPEAKER
•same as passive speaker +
•built-in class D amplifi er
2 x 45W nominal
•AUX-IN
•Bluetooth
245
245
160190
200
70
Produktspecifikationer
| Varumärke: | Artsound |
| Kategori: | högtalare |
| Modell: | HPRE650BT |
| Vikt: | 1500 g |
| Bredd: | 190 mm |
| Djup: | 70 mm |
| Höjd: | 280 mm |
| Rekommenderad användning: | Hem |
| Impedans: | 8 Ω |
| Ljudutgångskanaler: | - kanaler |
| Högtalarplacering: | Bordsskiva/bokhylla |
| Antal förare: | 2 |
| Bashögtalare: | Ja |
| Känslighet: | 86 dB |
| Förstärkare: | Inbyggd |
| Förstärkarklass: | D |
| Produktens färg: | Black, White |
| Uteffekt (RMS): | 90 W |
| diskanthögtalare: | Ja |
| Material, hölje: | Acrylonitrile butadiene styrene (ABS), Aluminium |
| Frekvensområde: | 70 - 20000 hz |
| Anslutningsteknologi: | Kabel & Trådlös |
| Woofer diameter: | 133.35 mm |
| Woofer diameter (imperial): | 5.25 " |
| Bluetooth: | Ja |
| Högtalartyp: | 2-vägs |
| Aux-In: | Ja |
| Antal woofer-drivenheter: | 1 |
| Disktanthögtalare diameter: | 19.05 mm |
| Antal tweeter förare: | 2 |
| Driver Konmaterial: | Gjuten aluminium |
Behöver du hjälp?
Om du behöver hjälp med Artsound HPRE650BT ställ en fråga nedan och andra användare kommer att svara dig
högtalare Artsound Manualer

13 Oktober 2025
17 Augusti 2025
16 Augusti 2025
16 Augusti 2025
16 Augusti 2025
16 Augusti 2025
16 Augusti 2025
16 Augusti 2025
14 Augusti 2025
14 Augusti 2025
högtalare Manualer
Nyaste högtalare Manualer
3 April 2026
3 April 2026
2 April 2026
2 April 2026
1 April 2026
1 April 2026
30 Mars 2026
30 Mars 2026
29 Mars 2026
29 Mars 2026