Asko DSD767UXXL.AU Bruksanvisning
Asko Diskmaskin DSD767UXXL.AU
Läs gratis den bruksanvisning för Asko DSD767UXXL.AU (50 sidor) i kategorin Diskmaskin. Guiden har ansetts hjälpsam av 22 personer och har ett genomsnittsbetyg på 5.0 stjärnor baserat på 5 recensioner. Har du en fråga om Asko DSD767UXXL.AU eller vill du ställa frågor till andra användare av produkten? Ställ en fråga
Sida 1/50
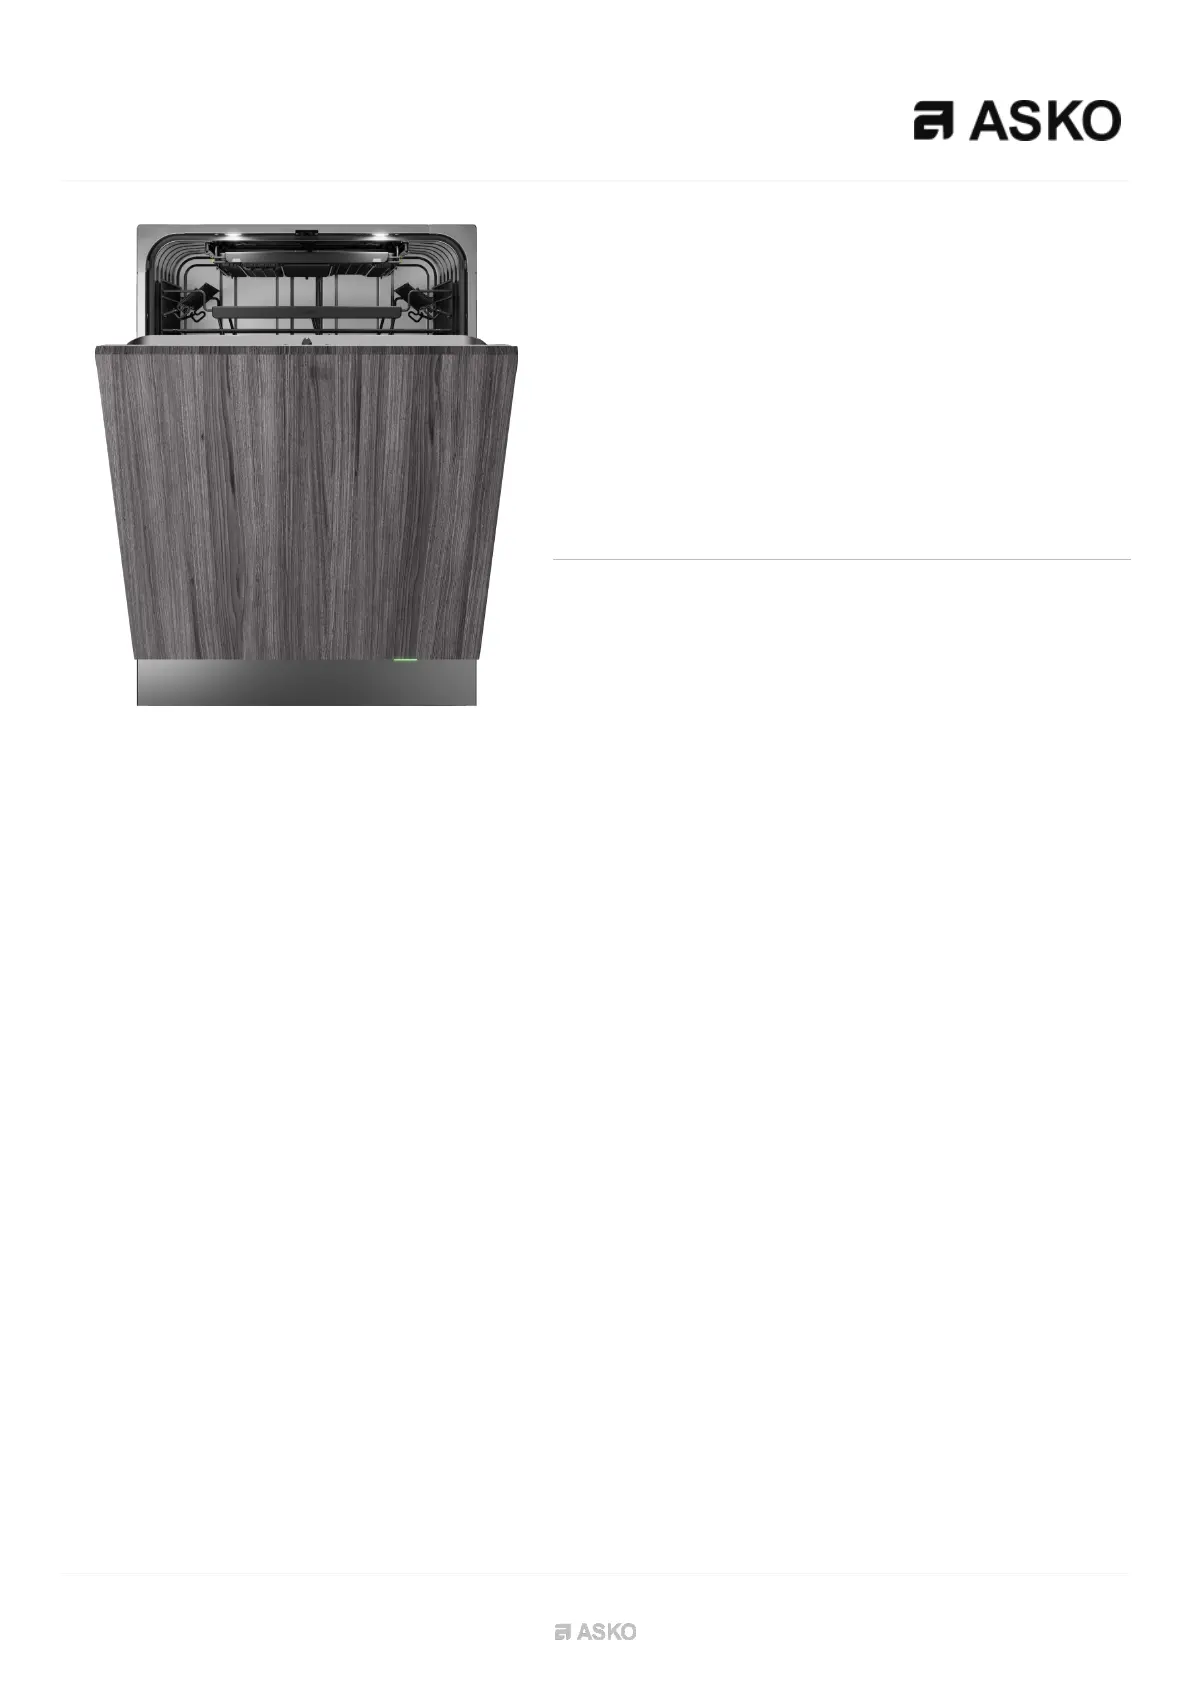
Dishwasher
DSD767UXXL.AU
Noise level (max): 38 dB(A)
Style
Number of place settings: 16 pcs
Number of baskets: 3
Upper basket type: Exclusive - Basket wiring in steel, all pin rows foldable,
divisble/foldable wine shelves, Light Lock™ for fastening lightweight
items
Size: XXL, 860 mm high
Auto Door Open Drying™
Residual heat
Automatic dosing system: Yes, integrated
Installation: Fully integrated
Energy stars: 4.5
Construction and performance
• 8 Steel™ - Vital parts of the dishwasher made in stainless steel: Yes
• No need to rinse the dishes thanks to Super Cleaning System™: Yes
• Automatic water-softener for better washing performance: No
• Number of spray arms: 3 pcs
• Number of spray zones: 9
• Cleaning systems: Cutlery Spray™ - Extra dishwashing power for the
cutlery basket, No need to rinse the dishes thanks to Super Cleaning
System™, Aqua Level™ Sensor, Sensi Clean™ Sensor - measures dirtiness
level, Stainless steel spray arms, Adjustable power zones that can be set for
cleaning Pots & Pans or Bottles & Vases. Can also be turned off., The water
pressure is adapted depending on program, type of dishes and dirtiness level.
Use and flexibility
• Number of place settings: 16 pcs
• Number of baskets: 3
• Top tray: Easy height adjustment, With telescopic rails, Handle, Removable,
Guide rails with ball bearings
• Upper basket type: Exclusive - Basket wiring in steel, all pin rows foldable,
divisble/foldable wine shelves, Light Lock™ for fastening lightweight items
• Upper basket system: Easy height adjustable with lever
• Upper basket: Dividable pin rows, Wine glass fixings in TPE, Sliding tines for
easy adaptation to stone ware etc., Perfect ergonomy with easy sliding
telescopic rails, Light Lock™ for fastening lightweight items, China Guard -
Protects fragile load from the rotating spray arm, Extra wide knife stand, Two
foldable glass supports, Divisble/foldable wine shelves to left, Foldable wine
shelves to right, Handle with ASKO logo, Small distance between the basket
threads - makes loading easy and prevents small items to fall through
• Middle basket: Without middle basket
• Lower basket type: Exclusive
• Lower basket: Small distance between the basket threads - makes loading
easy and prevents small items to fall through., Handle with ASKO logo,
Foldable/divisible rear pin row, Foldable/divisible front pin row, Vase/bottle
holder for cleaning vases/baby bottles, Cutlery basket, Sliding tines for easy
adaptation to stone ware etc.
• Automatic dosing system: Yes, integrated
• Interior light: Yes, 4 LED lights
Interaction and control
• Wifi: Yes
• Type of display: Graphic TFT display
• Status Light™ - Visual indication of dishwashing progress: Yes
• Remaining time indication: Yes
• Wash end indication: Displayed with sound and light
• Language settings: Chinese simpified, Chinese traditional, Swedish,
Slovenian, Slovak, Russian, Portuguese, Polish, Norwegian, Dutch, Latvian,
Lithuanian, Japanese, Italian, Croatian, French, Finnish, Estonian, Spanish,
English, German, Danish, Czech
Functions, programs and modes
Produktspecifikationer
| Varumärke: | Asko |
| Kategori: | Diskmaskin |
| Modell: | DSD767UXXL.AU |
| Färg på produkten: | Zwart |
| Vikt: | 2200 g |
| Bredd: | 440 mm |
| Höjd: | 420 mm |
| Förpackningens vikt: | 2630 g |
| Förpackningens bredd: | 445 mm |
| Djuppackning: | 62 mm |
| Förpackningshöjd: | 250 mm |
| Användarmanual: | Ja |
| Husmaterial: | Staal |
| Typ av förpackning: | Doos |
| Monteringsverktyg: | Ja |
| Monteringsmetod: | Muur |
| Maximal viktkapacitet: | 35 kg |
| Antal per paket: | 1 stuk(s) |
| Roterbar: | Ja |
| Horisontellt vridbar: | -90 - 90 ° |
| Kompatibilitet med monteringsgränssnitt (min): | 100 x 100 mm |
| Kompatibilitet med monteringsgränssnitt (max): | 400 x 400 mm |
| Antal skärmar som stöds: | 1 |
| (Ytter) huvudpaketets höjd: | 270 mm |
| (Ytter) huvudförpackningens bredd: | 520 mm |
| (Ytter) huvudförpackningens bruttovikt: | 22950 g |
| (Ytre) huvudpaketets längd: | 460 mm |
| Kvantitet per (yttre) huvudkartong: | 8 stuk(s) |
| Tiltvinkelområde: | -15 - 3 ° |
| Maximal skärmstorlek: | 55 " |
| Minsta skärmstorlek: | 32 " |
| Inbyggt vattenpass: | Ja |
| Avstånd till väggen (min): | 63 mm |
| Avstånd till vägg (max.): | 358 mm |
| Djup (max): | 358 mm |
| lutningsjusteringar: | Ja |
| Justerbart djup: | Ja |
Behöver du hjälp?
Om du behöver hjälp med Asko DSD767UXXL.AU ställ en fråga nedan och andra användare kommer att svara dig
Diskmaskin Asko Manualer

30 Mars 2026
30 Mars 2026
29 Mars 2026
19 Mars 2026
9 Mars 2026
1 Mars 2026
27 Februari 2026
27 Februari 2026
25 Februari 2026
11 Oktober 2025
Diskmaskin Manualer
Nyaste Diskmaskin Manualer
3 April 2026
2 April 2026
2 April 2026
2 April 2026
1 April 2026
1 April 2026
1 April 2026
1 April 2026
1 April 2026
1 April 2026