AudioControl PNW-1 Bruksanvisning
AudioControl
bilhögtalare
PNW-1
Läs gratis den bruksanvisning för AudioControl PNW-1 (8 sidor) i kategorin bilhögtalare. Guiden har ansetts hjälpsam av 3 personer och har ett genomsnittsbetyg på 5.0 stjärnor baserat på 2 recensioner. Har du en fråga om AudioControl PNW-1 eller vill du ställa frågor till andra användare av produkten? Ställ en fråga
Sida 1/8

User Guide
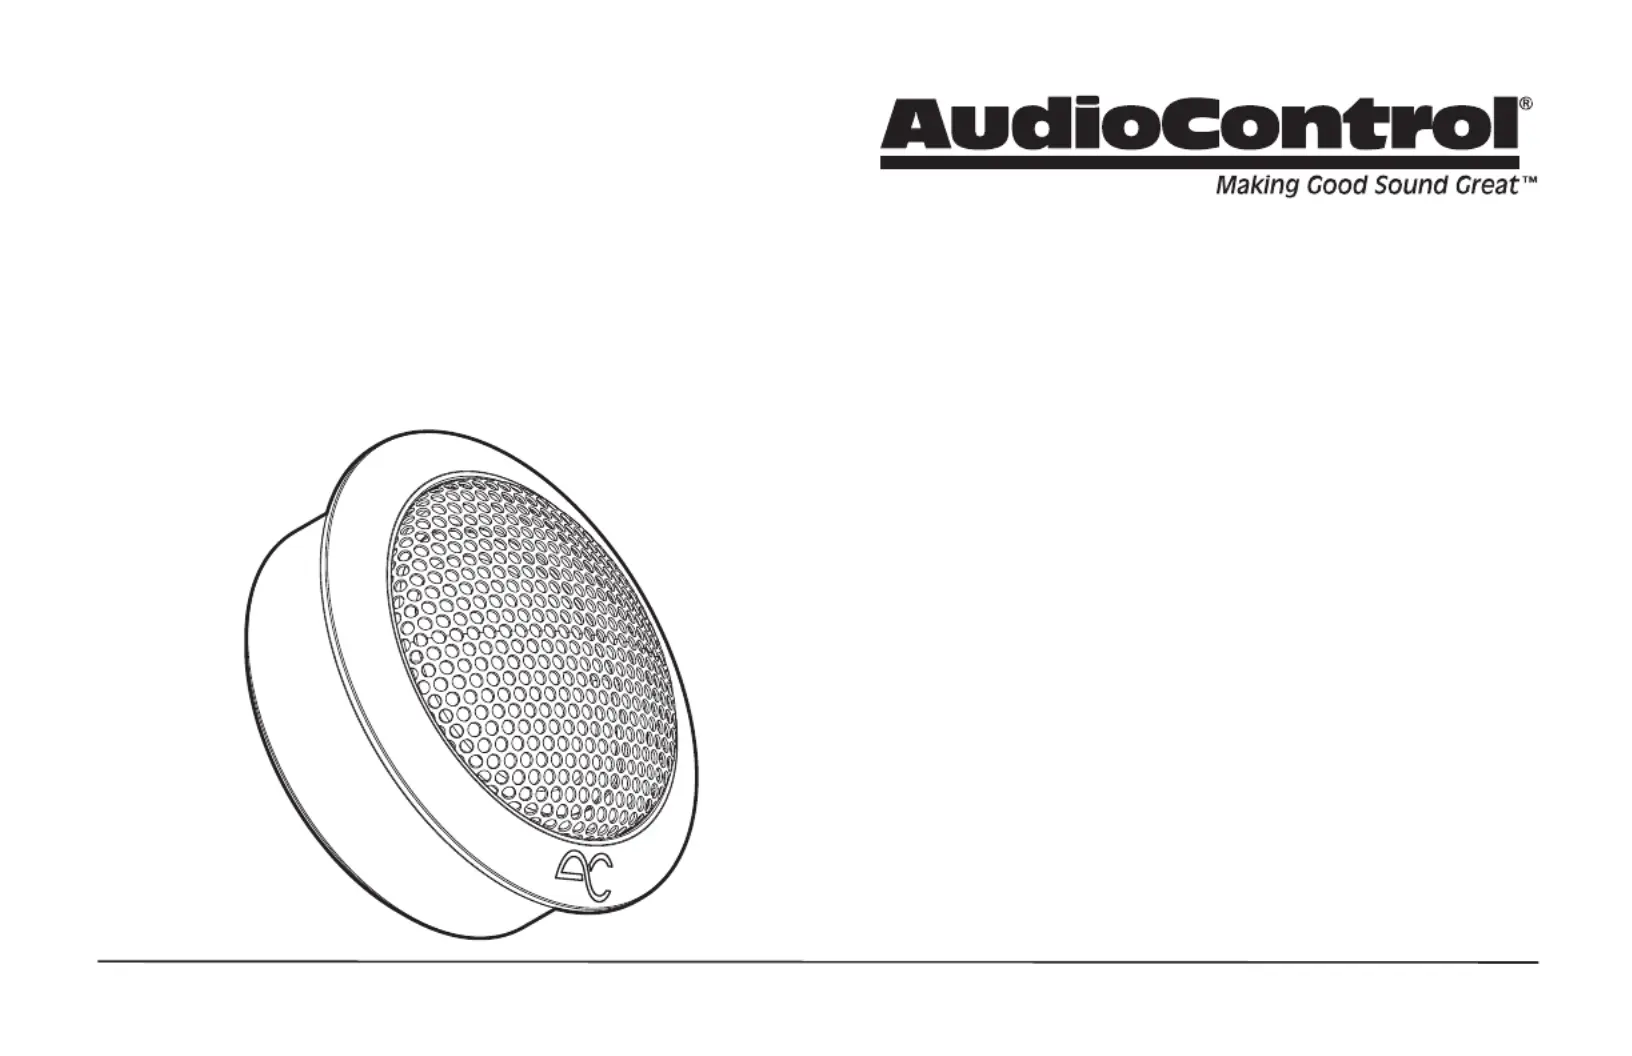
HIGH-FIDELITY TWEETERS
PNW-1
FEATURES
• High delity silk dome diaphragm
• Precision aluminum housing
• Embedded sonic damping pad
• Neodymium magnet
• Detachable assembly for OE applications
• Rear dampened hybrid silk dome tweeter for extended frequency response
• Includes multiple mounting accessories
• Umbrella not included

2
User Guide
PNW-1
Tweeter Installation
Wow! Look how far we have come, you made it to page 2! For those brave
enough to tackle the installation on their own, proceed to the next steps. For
those feeling out of their comfort zone, don't be threatened, help is available.
Our suggestion is that you seek out a qualied AudioControl dealer. They
have the skill set and experience to get your new PNW-1 installed properly.
• Blue wire = positive (+).
• Black wire = negative (-).
High-Pass Crossover
Tweeter
U-Bracket
PNW-adapter
Screws
and
Washers
Flush mount
First, remove the factory grille or panel to gain access to the factory driver.
Next, remove the factory driver and disconnect the necessary wiring. Before
installing the new tweeter, decide whether your system will be wired as
passive or active. With a Passive system, the included High-Pass Crossover will
be required. With an Active system, we recommend not using the included in-
line crossover, but using the crossover in your digital signal processor instead.
When setting up your DSP, ensure your crossover is set so that the PNW-1 will
play frequencies above 3000Hz. After the driver has been wired, mount the
speaker where you removed the factory driver using the factory hardware.
Fig 1
Fig 2
Dash mount
1. Insert the tweeter into the PNW-adapter (Fig 1)
Place the U-bracket on the back side of the tweeter and adapter. (Fig 1)
Use the supplied screw and washers to secure the U-bracket. (Fig 1)
2. Mount assembly using factory hardware. (Fig 2)

3
Dash mount installation (PNW-275)
*PNW-275 sold separately
1. Break o the inside plastic tabs on the PNW adapter: (Fig 1)
2. Insert the PNW-275 onto the top of the adapter. (Fig 2)
3. Mount assembly using factory hardware. (Fig 3)
4. The U-bracket can also mount the PNW-275 to the adapter if needed. (Fig 4)
OE mount installation using PNW-1
1. Unscrew the top housing in a counterclockwise direction. (Fig 4)
2. Insert the PNW-1 into the OE mount plastic housing. (Fig 5)
3. Push the tweeter into the housing until all 4 spots snap in place. (Fig 6)
4. Mount the assembly into the OE factory location using original hardware or
snap t to factory panel. (Fig 7)
PNW Adapter (Included w/PNW-1 & PNW-65CS2 / 69CS2 Models)
Snap
locations
Break o
Dotted lines
PNW-1
tweeter
Top housing
PNW-1
tweeter
OE plastic
housing
Fig 1
Fig 4
Fig 3
Fig 4
Fig 6
Fig 7
Fig 2
Fig 5
Back of
tweeter
Produktspecifikationer
Varumärke: | AudioControl |
Kategori: | bilhögtalare |
Modell: | PNW-1 |
Behöver du hjälp?
Om du behöver hjälp med AudioControl PNW-1 ställ en fråga nedan och andra användare kommer att svara dig
bilhögtalare AudioControl Manualer
2 Augusti 2025
31 Juli 2025
bilhögtalare Manualer
- Exibel
- Emphaser
- Ices
- Hertz
- Infinity
- JVC
- Crunch
- Soundstream
- Denver
- Clarion
- Axton
- Magnat
- Philips
- JBL
- Dynex
Nyaste bilhögtalare Manualer
25 Juli 2025
23 Juli 2025
23 Juli 2025
22 Juli 2025
22 Juli 2025
22 Juli 2025
18 Juli 2025
15 Juli 2025
22 Juni 2025
22 Juni 2025