Berner Low Profile 7 Bruksanvisning
Berner ej kategoriserat Low Profile 7
Läs gratis den bruksanvisning för Berner Low Profile 7 (12 sidor) i kategorin ej kategoriserat. Guiden har ansetts hjälpsam av 13 personer och har ett genomsnittsbetyg på 4.1 stjärnor baserat på 3 recensioner. Har du en fråga om Berner Low Profile 7 eller vill du ställa frågor till andra användare av produkten? Ställ en fråga
Sida 1/12
-1-
TABLE OF CONTENTS
I. UNCRATING........................................................................................................................................................................2 ..
II. MOUNTING INSTRUCTIONS...........................................................................................................................................4 ..
III. WALL MOUNTING........................................................................................................................................................... ..5
IV. SUSPENDED MOUNTING..............................................................................................................................................5 ...
V. ELECTRICAL CONNECTIONS 6 ...........................................................................................................................................
VI. FIELD CONNECTIONS ....................................................................................................................6 ..................................
VII. OPERATING INSTRUCTIONS .................................................................................................................................7 ........
VIII. MAINTENANCE AND CLEANING ..................................................................................................................8 ...............
IX. SERVICE .............................................................................................................................................................9 ................
X. TROUBLESHOOTING .......................................................................................................................................................10
XI. WARRANTY ...................................................................................................................................................... ...............12
ANSI/NSF 37
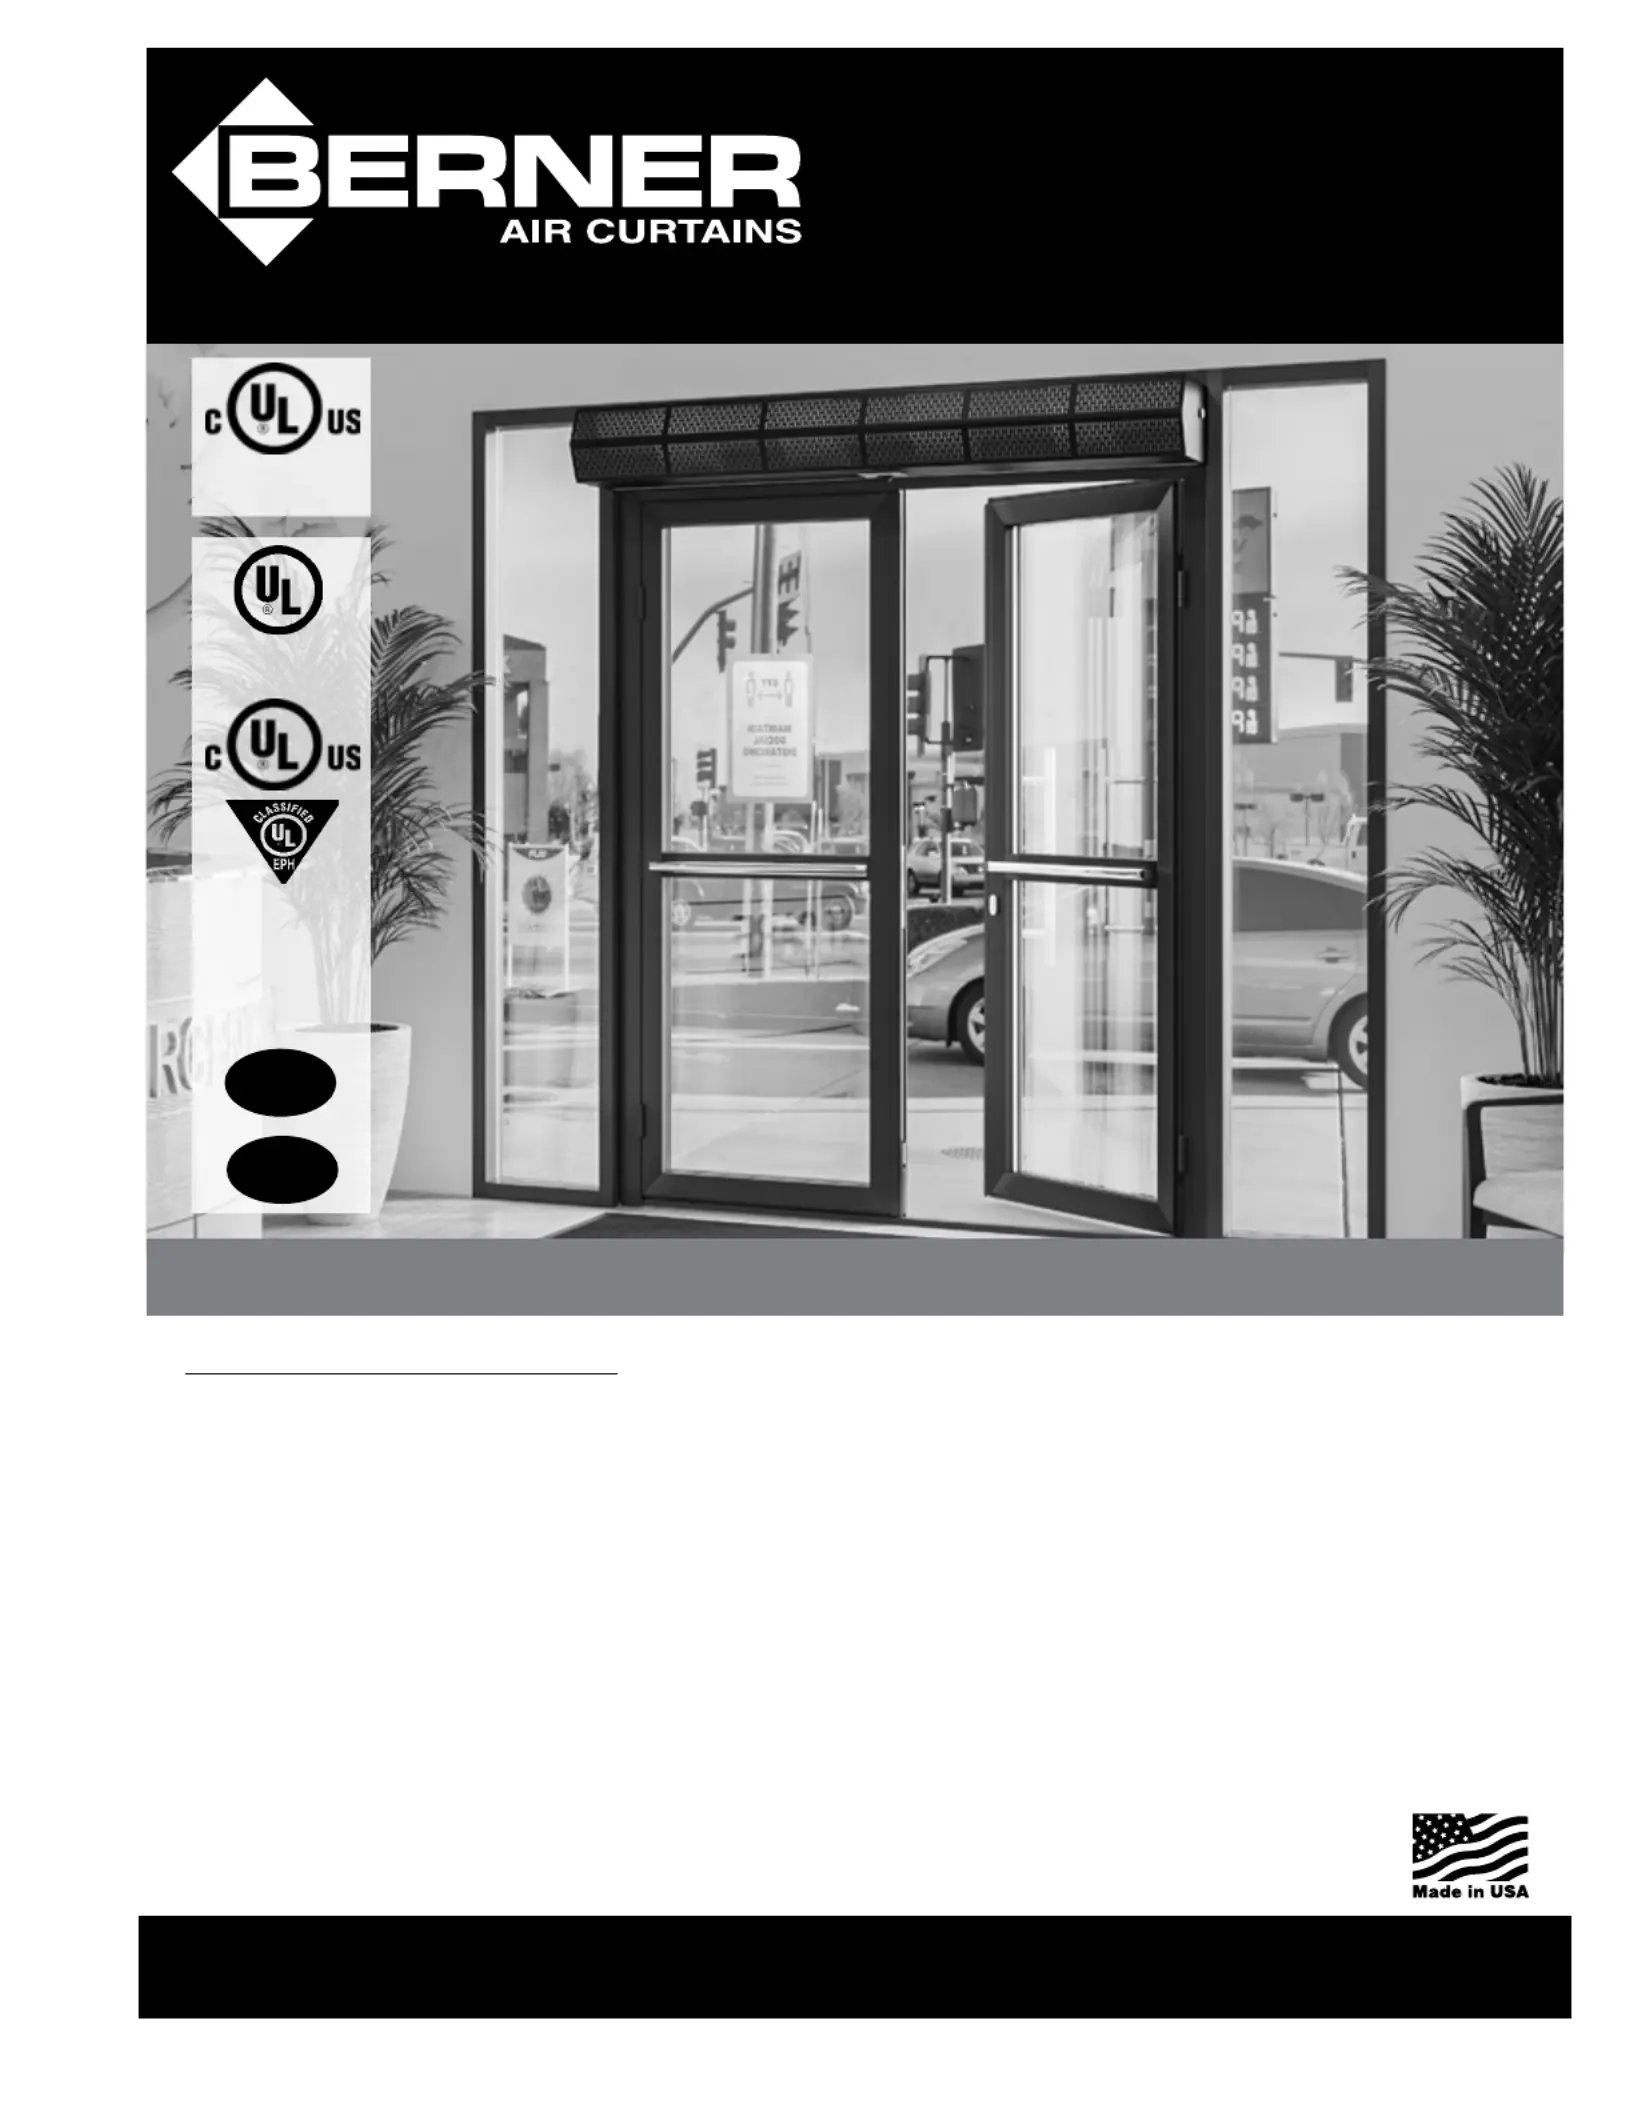
Air Curtain Fans
for Customer Entry
max.mounting
height is 7’
SLC07
for outdoor use
SLC07
indoor use
CLC08
II-480
July, 2024
©Copyright, 2024 Berner International
READ ALL INSTRUCTIONS BEFORE INSTALLING OR USING AIR CURTAIN
Commercial Low Prole 8
Sanitation Certied Low Prole 7
Air Curtain Series
#CLC08 & #SLC07
www.Berner.com
®
WHEN THE DOORS ARE OPEN
™
save energy & create healthy, comfortable environments
Installation & Maintenance Instructions
USDA
COMPLIANCE
FDA
RECOMMENDED
Thank you for choosing Berner.
Berner International has been saving energy and creating healthy, comfortable environments for our customers
for over 60 years. Berner oers unmatched quality, performance, and dependability—not to mention our service.
At Berner, we stand behind our products.
Produktspecifikationer
| Varumärke: | Berner |
| Kategori: | ej kategoriserat |
| Modell: | Low Profile 7 |
Behöver du hjälp?
Om du behöver hjälp med Berner Low Profile 7 ställ en fråga nedan och andra användare kommer att svara dig
ej kategoriserat Berner Manualer

9 Augusti 2025
4 Augusti 2025
4 Augusti 2025
4 Augusti 2025
4 Augusti 2025
4 Augusti 2025
4 Augusti 2025
4 Augusti 2025
4 Augusti 2025
4 Augusti 2025
ej kategoriserat Manualer
Nyaste ej kategoriserat Manualer
3 April 2026
3 April 2026
3 April 2026
3 April 2026
3 April 2026
3 April 2026
3 April 2026
3 April 2026
3 April 2026