Denver TCU-61 Bruksanvisning
Denver CD-spelare/brännare TCU-61
Läs gratis den bruksanvisning för Denver TCU-61 (132 sidor) i kategorin CD-spelare/brännare. Guiden har ansetts hjälpsam av 25 personer och har ett genomsnittsbetyg på 4.0 stjärnor baserat på 5 recensioner. Har du en fråga om Denver TCU-61 eller vill du ställa frågor till andra användare av produkten? Ställ en fråga
Sida 1/132
Mp3
Mp3
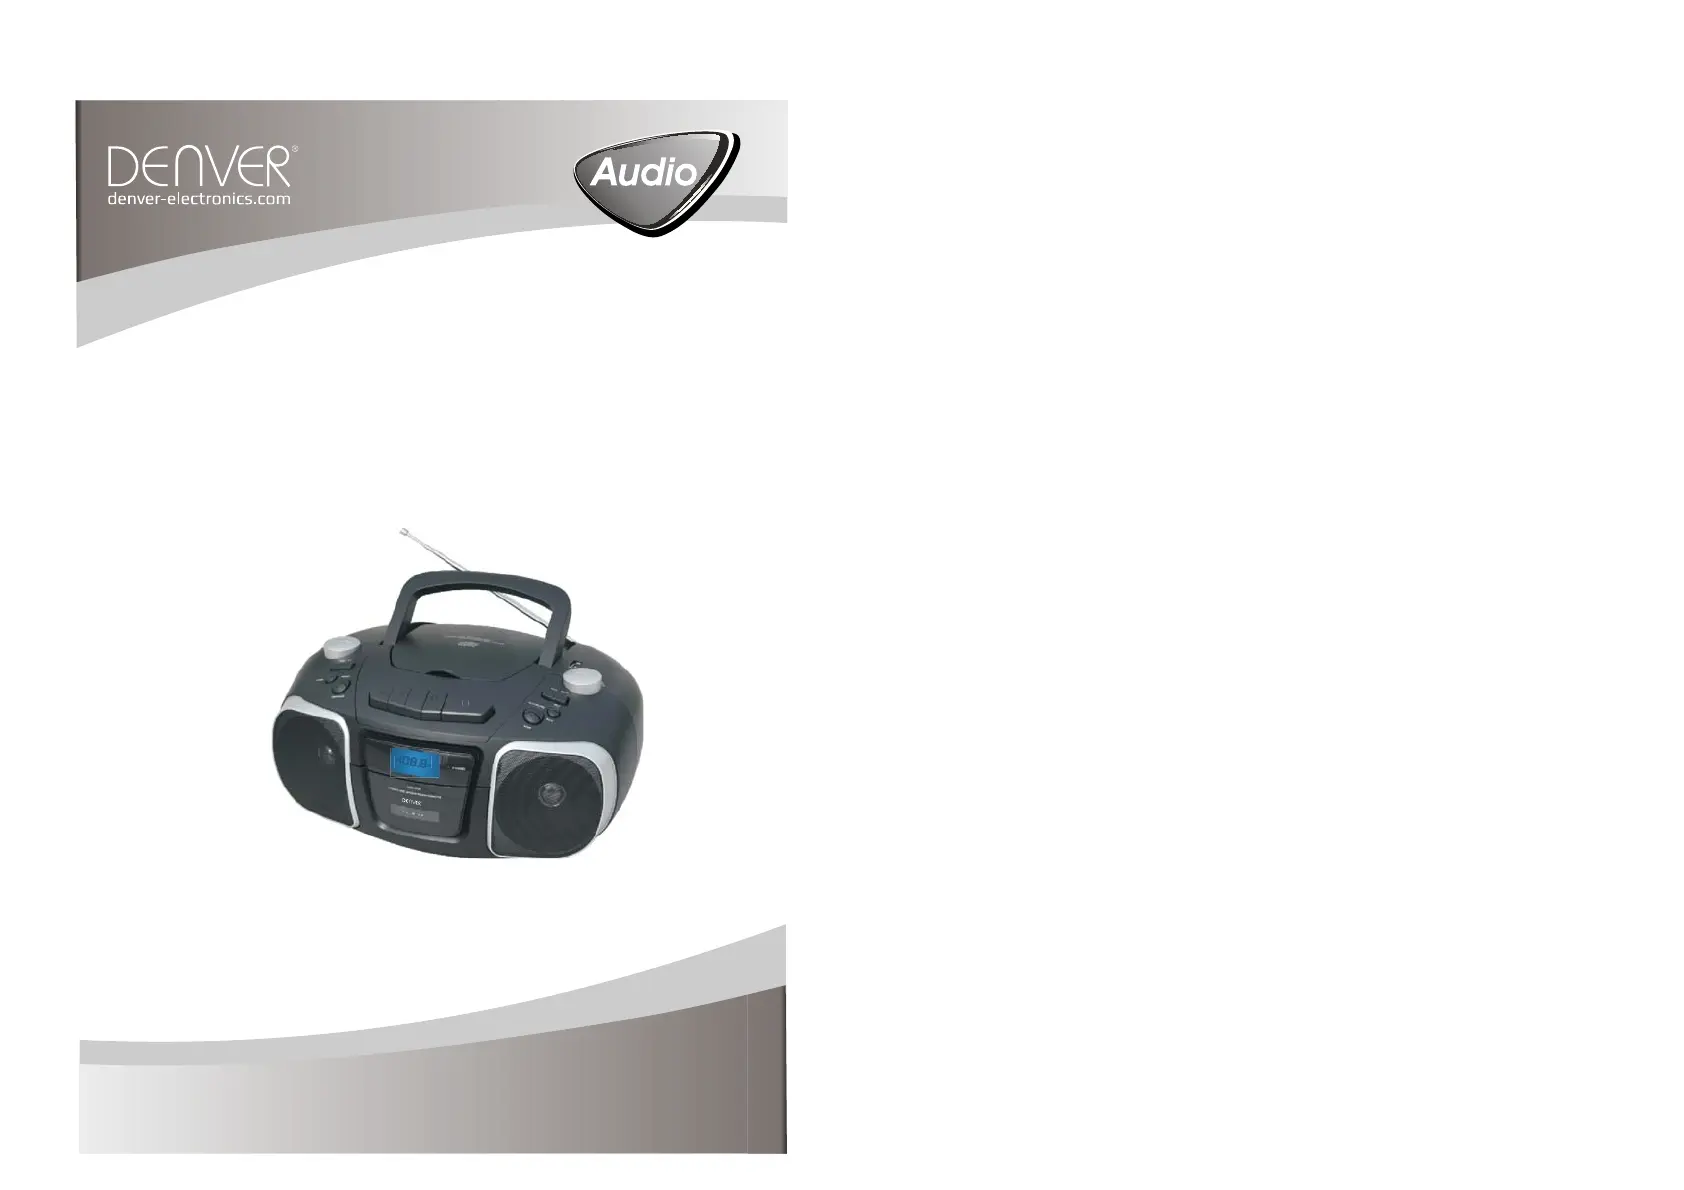
INSTRUCTIONMANUAL
TCU-61
Before connection operating or adjusting this product
Please read these instructions completely
Please keep this manual.
Produktspecifikationer
| Varumärke: | Denver |
| Kategori: | CD-spelare/brännare |
| Modell: | TCU-61 |
| Vikt: | 932 g |
| Bredd: | 270 mm |
| Djup: | 268 mm |
| Höjd: | 156 mm |
| Frekvensband: | FM |
| Inbyggda högtalare: | Ja |
| Kassettdäck: | Ja |
| CD-växlare: | Nej |
| Produktens färg: | Red, Silver |
| Skärmtyp: | LCD |
| MP3-uppspelning: | Ja |
| Uteffekt (RMS): | 5.6 W |
| Enhetstyp: | Bärbar CD-spelare |
| Strömkälla av typen: | AC, Battery |
| Antal USB 2.0 anslutningar: | 1 |
| Aux-In: | Ja |
| Uppspelning av CD-R: | Ja |
| Uppspelning av CD-RW: | Ja |
Behöver du hjälp?
Om du behöver hjälp med Denver TCU-61 ställ en fråga nedan och andra användare kommer att svara dig
CD-spelare/brännare Denver Manualer

2 Oktober 2024
2 September 2024
29 Augusti 2024
23 Augusti 2024
23 Augusti 2024
22 Augusti 2024
21 Augusti 2024
21 Augusti 2024
20 Augusti 2024
18 Augusti 2024
CD-spelare/brännare Manualer
Nyaste CD-spelare/brännare Manualer
5 April 2025
10 Mars 2025
5 Mars 2025
20 Februari 2025
20 Februari 2025
20 Februari 2025
20 Februari 2025
20 Februari 2025
20 Februari 2025
20 Februari 2025