GlowShift GS-W706-SM Bruksanvisning
Läs gratis den bruksanvisning för GlowShift GS-W706-SM (3 sidor) i kategorin mätning. Guiden har ansetts hjälpsam av 34 personer och har ett genomsnittsbetyg på 4.0 stjärnor baserat på 2 recensioner. Har du en fråga om GlowShift GS-W706-SM eller vill du ställa frågor till andra användare av produkten? Ställ en fråga
Sida 1/3
INSTALLATIONINSTRUCTIONS
856.768.8300• TechSupport@GlowShiftGauges.com
GlowShift Gauges, LLC • 444 Commerce Lane Suite A • West Berlin, NJ 08091 • GlowShift.com
• Water Temperature Gauge
• 1/8-27 NPT Water Temperature Sensor
• Power & Sensor Harnesses
• Mounting Bracket
• Gauge Visor
1. There are several dierent ways to connect a Water
Temperature Gauge to your vehicle. In some cases an
adapter is needed to adapt the 1/8-27 NPT Sensor.
Note: If you install the sensor after the vehicles
thermostat, the gauge will not display a reading
until the vehicle thermostat has been opened.
• Coolant Fluid Port: Identify a coolant uid port
located on your engine and remove the port plug.
Directly install the water temperature sensor to the
coolant port. Additional adapters may be required if
the coolant port is not threaded to 1/8-27 NPT.
• Stock Sensor Location: Use a T-tting to “T” o your
stock sensor location. This will allow you to keep your
stock sensor installed, while also allowing you to install
an aftermarket temperature sensor.
The following instructions are for the installation of your Water Temperature Gauge. Before you
begin, lay out all items and ensure there are no missing parts. If any items are missing, please STOP
immediately and contact GlowShift Gauges.
7 Color Water Temperature Gauge
Wire Schematic
Disconnect negative battery terminals before starting any work on the vehicle.
• Water Temp Adapter: Please take a look at
www.GlowShift.com for available adapters including
Thread Adapters and T-Fittings. We also oer several
dierent-sized Water Sender Hose Attachment
adapters ranging from 13mm-52mm. Simply measure
the inside diameter of your radiator hose and install in
between two cut halves, securing it with the supplied
hose clamps.
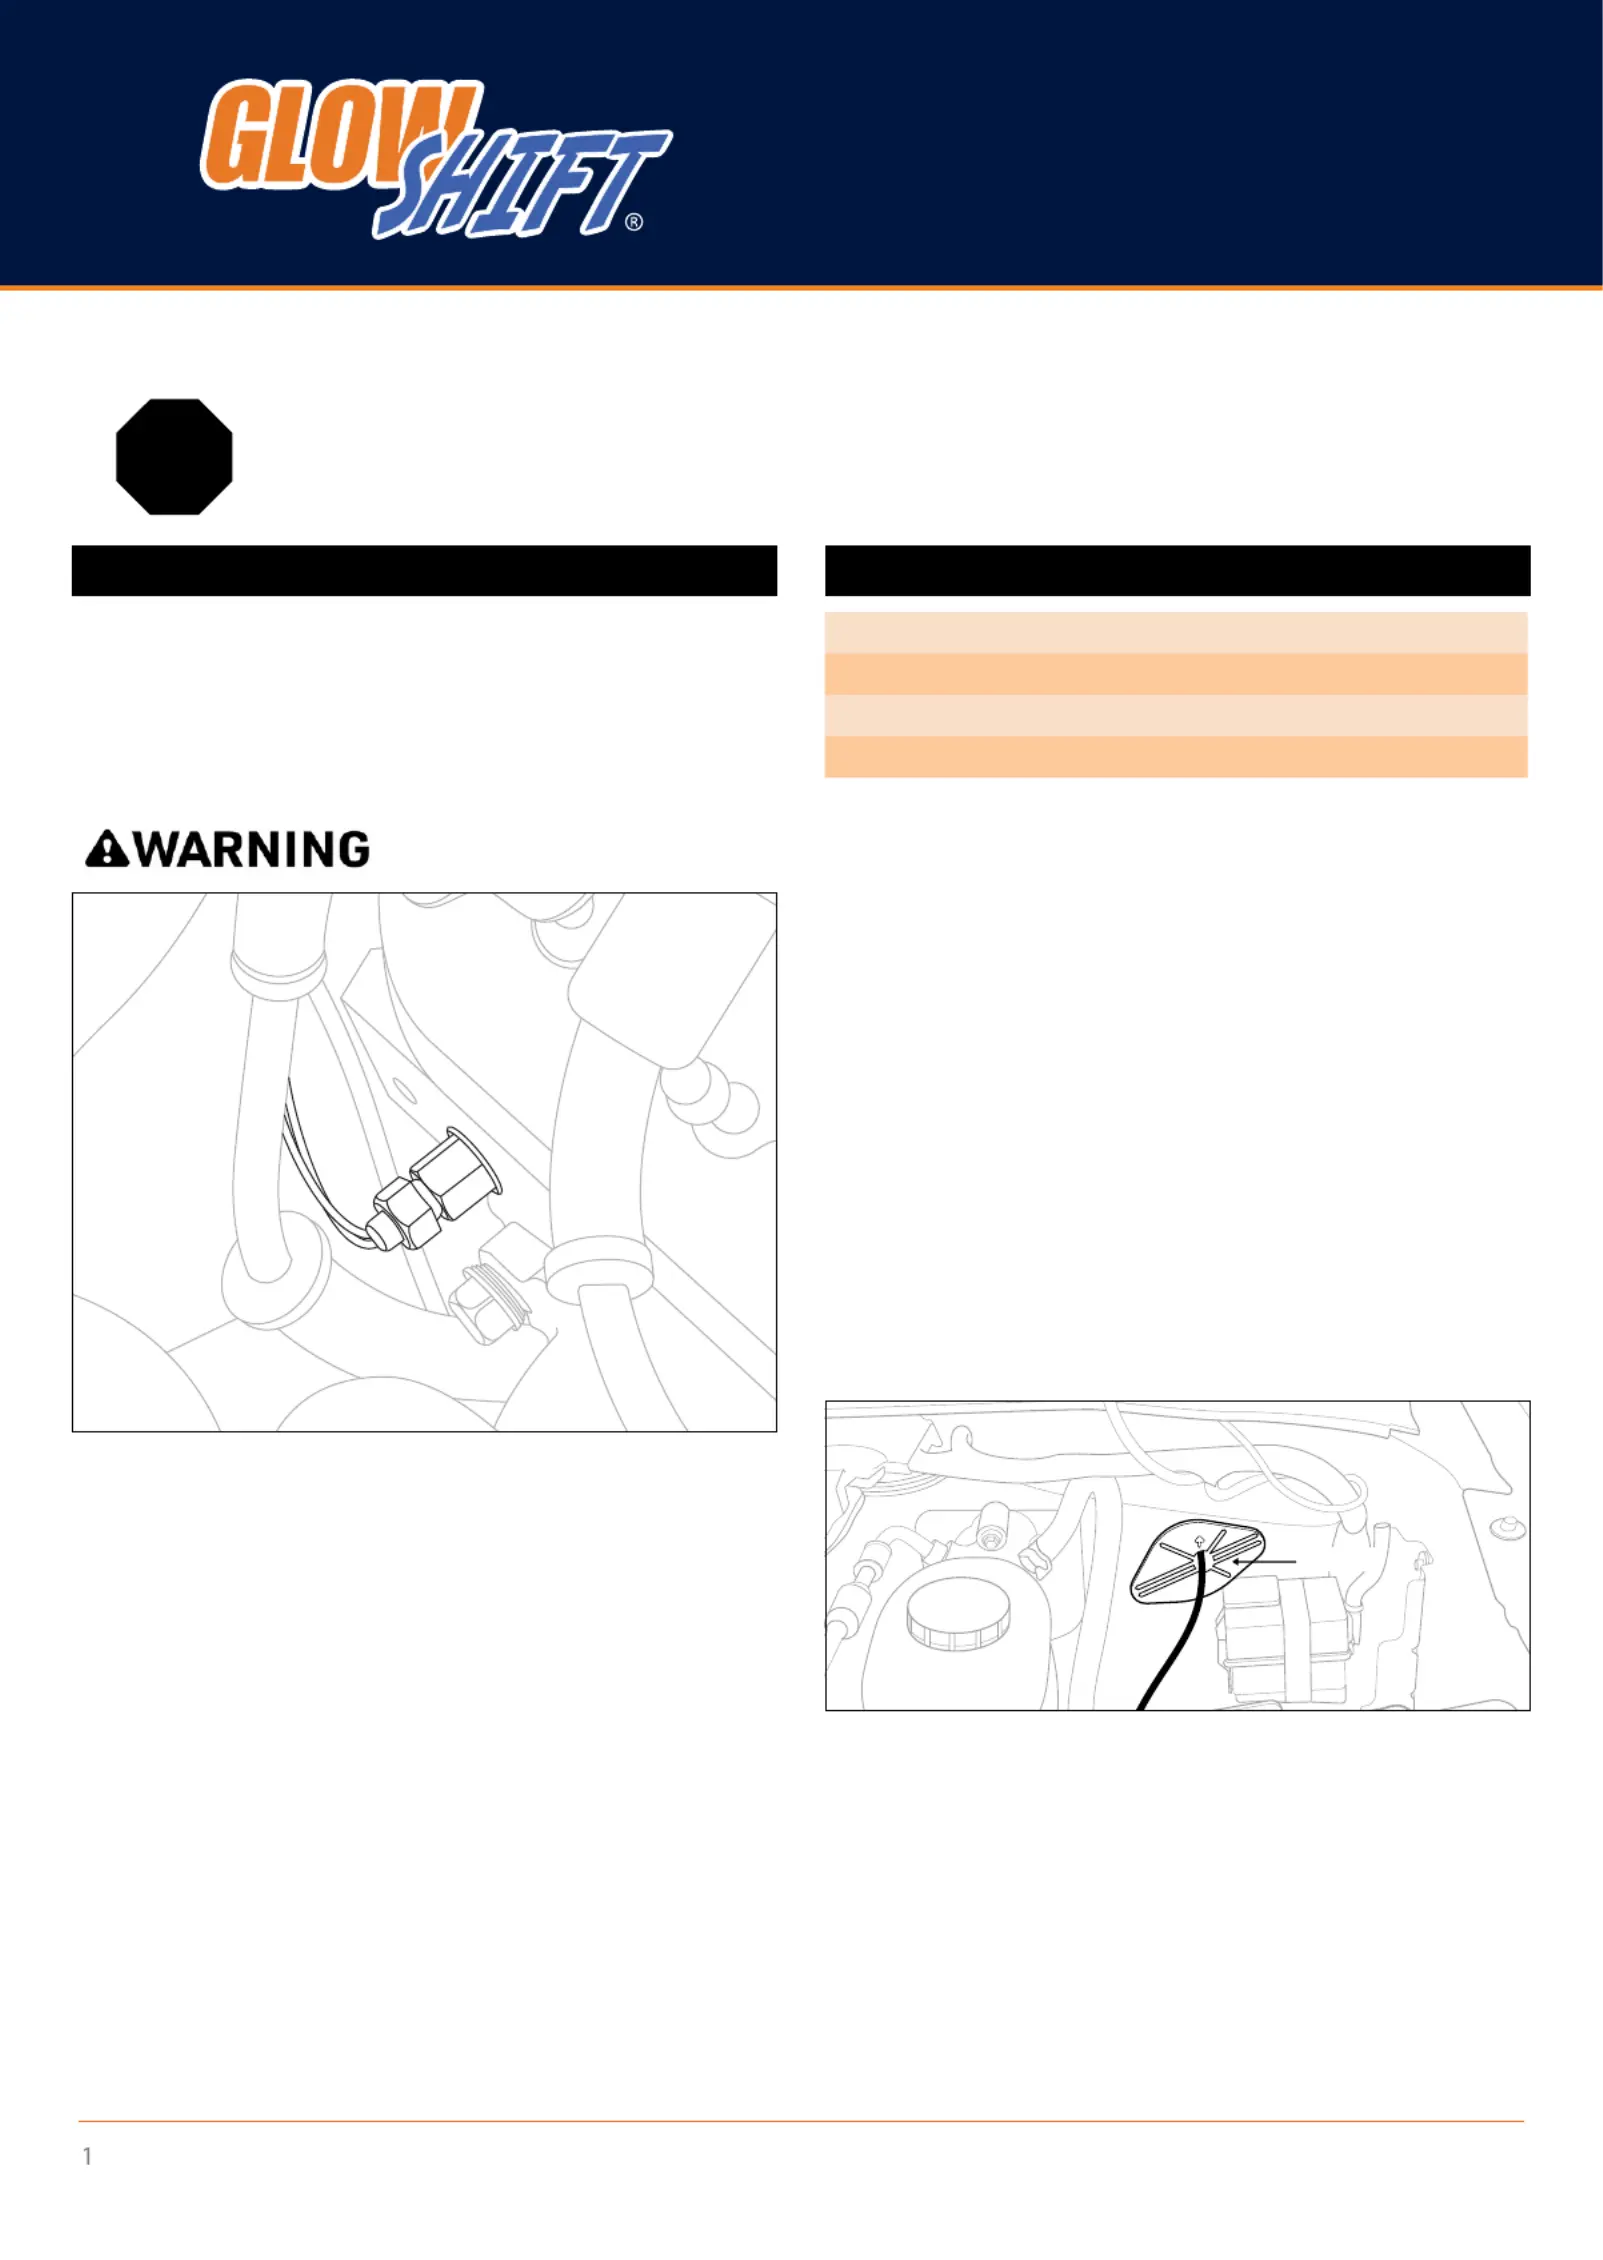
2. To install the Water Temperature Sensor, start by applying
Teon tape to the Water Temperature Sensor threads.
Install the 1/8-27 NPT Water Temperature Sensor to your
vehicle’s system using one of the mentioned methods
that will work best for your application. Tighten the sensor
using a 14mm wrench.
3. Plug the Water Temperature Harness into the back of the
gauge.
Grommet
4. Route the Green Signal Wire through the engine bay and
rewall using a grommet, keeping it clear of any moving
parts and heat sources.
5. Splice the Green Wire from the gauge to the White Wire
of the water temperature sensor. Use an 18ga automotive
grade wire to extend if necessary.
6. Connect the Black Wire of the water temperature sensor
to any good, clean ground connection. You may also route
a wire directly to the negative side of the vehicle’s battery.
7. Before starting the vehicle be sure to rell the system
following the manufacturer’s recommended procedures.
STOP
Revised Mar 2020
Yellow: 12v Constant Source (+)
Red: 12v Ignition Switched Source (+)
Orange: 12v Headlight Switched Source (+)
Black: Vehicle/Engine Ground (-)
What’s Included
Produktspecifikationer
| Varumärke: | GlowShift |
| Kategori: | mätning |
| Modell: | GS-W706-SM |
Behöver du hjälp?
Om du behöver hjälp med GlowShift GS-W706-SM ställ en fråga nedan och andra användare kommer att svara dig
mätning GlowShift Manualer

29 Juli 2025
mätning Manualer
Nyaste mätning Manualer
3 April 2026
3 April 2026
2 April 2026
2 April 2026
31 Mars 2026
30 Mars 2026
30 Mars 2026
30 Mars 2026
28 Mars 2026
24 Mars 2026