Manhattan QuickDock Duo Bruksanvisning
Manhattan Vagga/dockningsstation QuickDock Duo
Läs gratis den bruksanvisning för Manhattan QuickDock Duo (12 sidor) i kategorin Vagga/dockningsstation. Guiden har ansetts hjälpsam av 20 personer och har ett genomsnittsbetyg på 5.0 stjärnor baserat på 2 recensioner. Har du en fråga om Manhattan QuickDock Duo eller vill du ställa frågor till andra användare av produkten? Ställ en fråga
Sida 1/12
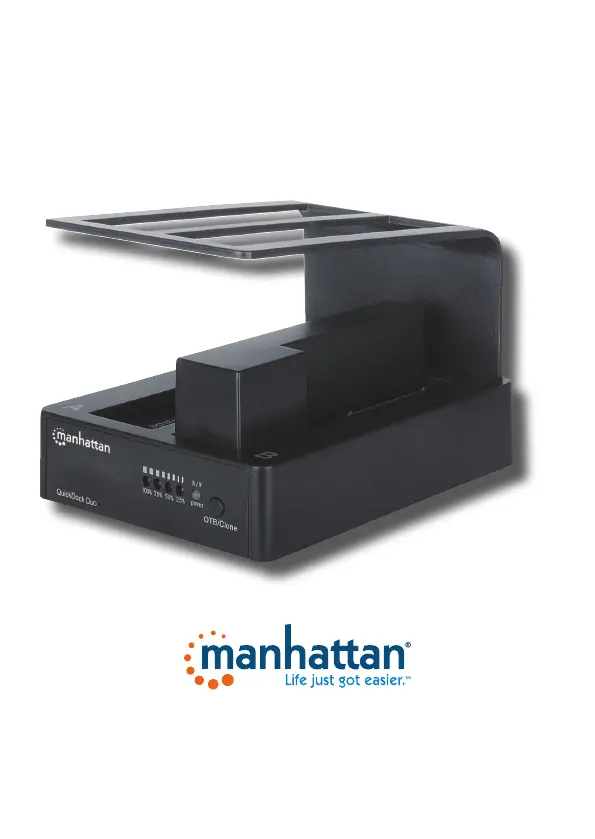
QUICKDOCK DUO
INSTRUCTIONS
MODEL 130363
MAN-130363-UM-ML1-0713-02-0
manhattan-products.com
Important: Read before use. • Importante: Leer antes de usar.
Produktspecifikationer
| Varumärke: | Manhattan |
| Kategori: | Vagga/dockningsstation |
| Modell: | QuickDock Duo |
| Vikt: | 215 g |
| Bredd: | 95 mm |
| Djup: | 92 mm |
| Höjd: | 129 mm |
| LED-indikatorer: | Ja |
| Certifiering: | CE, RoHS, WEEE |
| Typ av lagringsmedia: | HDD |
| Uteffekt: | 3 A |
| Anslutning till PC: | Ja |
| Standardgränssnitt: | USB 3.2 Gen 1 (3.1 Gen 1) |
| Antal USB 3.2 Gen 1 (3.1 Gen 1)-portar: | 1 |
| Antal lagringsenheter som stöds: | 2 |
| Produktens färg: | Svart |
| bruksanvisning: | Ja |
| Mac-operativsystem som stöds: | Mac OS 9.0, Mac OS 9.1, Mac OS 9.2, Mac OS X 10.0 Cheetah, Mac OS X 10.1 Puma, Mac OS X 10.2 Jaguar, Mac OS X 10.3 Panther, Mac OS X 10.4 Tiger, Mac OS X 10.5 Leopard, Mac OS X 10.6 Snow Leopard, Mac OS X 10.7 Lion, Mac OS X 10.8 Mountain Lion |
| Utgångsspänning: | 12 V |
| AC-inspänning: | 100-240 V |
| Kabel inkluderad: | USB |
| Likströmsingång: | Ja |
| Växelström Frekvens: | 50 - 60 hz |
| AC-adapter inkluderad: | Ja |
| På / av-knapp: | Ja |
| Linux operativsystem som stöds: | Ja |
| Ingående ström: | 1.2 A |
| Lagringsenhetens gränssnitt: | Serial ATA II |
| Storlekar som stöds på lagringsenhet: | 2.5, 3.5 " |
| Maximal överföringshastighet: | 5 Gbit/s |
Behöver du hjälp?
Om du behöver hjälp med Manhattan QuickDock Duo ställ en fråga nedan och andra användare kommer att svara dig
Vagga/dockningsstation Manhattan Manualer

3 Februari 2025
30 December 2025
24 September 2024
20 September 2024
20 September 2024
3 September 2024
2 September 2024
1 September 2024
1 September 2024
31 Augusti 2024
Vagga/dockningsstation Manualer
Nyaste Vagga/dockningsstation Manualer
5 April 2025
31 Mars 2025
26 Mars 2025
12 Mars 2025
12 Mars 2025
10 Mars 2025
27 Februari 2025
27 Februari 2025
16 Februari 2025
11 Februari 2025