Marmitek DS90 Bruksanvisning
Läs gratis den bruksanvisning för Marmitek DS90 (17 sidor) i kategorin övervakningskamera. Guiden har ansetts hjälpsam av 24 personer och har ett genomsnittsbetyg på 4.0 stjärnor baserat på 9 recensioner. Har du en fråga om Marmitek DS90 eller vill du ställa frågor till andra användare av produkten? Ställ en fråga
Sida 1/17
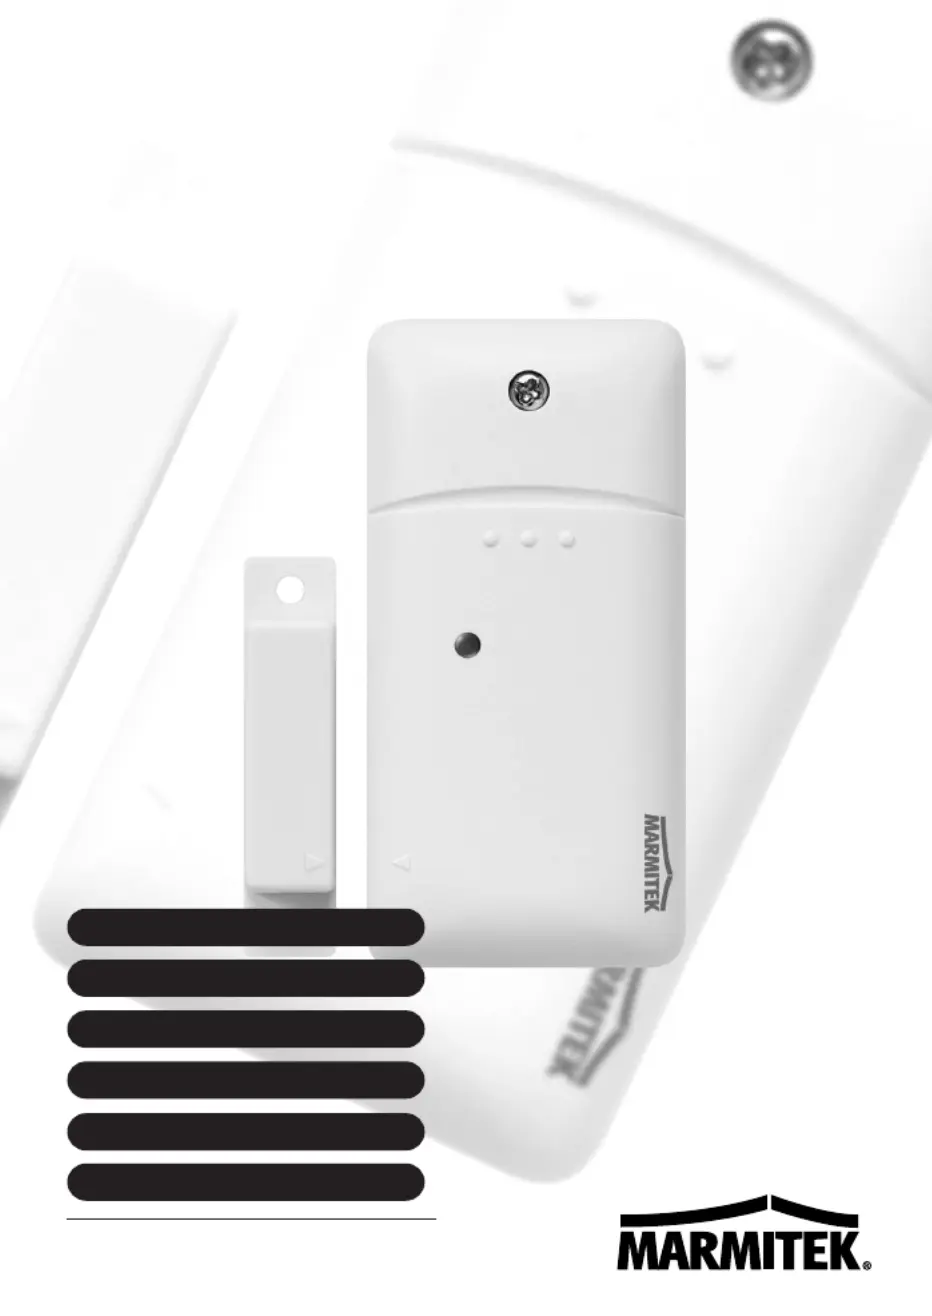
DS90
DOOR/WINDOW
SENSOR
20073 / 20070228 • DS90
TM
DOOR/WINDOW SENSOR
© ALL RIGHTS RESERVED MARMITEK®2006
DS90
DOOR/WINDOW
SENSOR
TM
USER MANUAL3
GEBRAUCHSANLEITUNG5
GUIDE UTILISATEUR7
MODO DE EMPLEO9
MANUALE D’ISTRUZIONI11
GEBRUIKSAANWIJZING13
Produktspecifikationer
| Varumärke: | Marmitek |
| Kategori: | övervakningskamera |
| Modell: | DS90 |
| Färg på produkten: | Zilver |
| Laddningstid: | 240 min |
| Batteri/Batterispänning: | 3.6 V |
| Frekvens: | 50/60 Hz |
| Utström: | 0.4 A |
| Spännande: | 4.2 V |
| Vikt (imperialistisk): | 0.61 lbs |
| Förpackningsvikt (imperial): | 0.86 lbs |
| Kompatibilitet: | Nikon EN-EL9, Olympus BLS-1, Sony NP-BG1 |
| Kemisk sammansättning: | LI-ION |
Behöver du hjälp?
Om du behöver hjälp med Marmitek DS90 ställ en fråga nedan och andra användare kommer att svara dig
övervakningskamera Marmitek Manualer

3 Augusti 2025
1 Augusti 2025
1 Augusti 2025
1 Augusti 2025
31 Juli 2025
22 Augusti 2024
21 Augusti 2024
19 Augusti 2024
19 Augusti 2024
19 Augusti 2024
övervakningskamera Manualer
Nyaste övervakningskamera Manualer
2 April 2026
2 April 2026
1 April 2026
1 April 2026
1 April 2026
31 Mars 2026
31 Mars 2026
31 Mars 2026
30 Mars 2026
30 Mars 2026