Metra 95-6535B Bruksanvisning
Metra Inte kategoriserad 95-6535B
Läs gratis den bruksanvisning för Metra 95-6535B (4 sidor) i kategorin Inte kategoriserad. Guiden har ansetts hjälpsam av 18 personer och har ett genomsnittsbetyg på 4.8 stjärnor baserat på 6 recensioner. Har du en fråga om Metra 95-6535B eller vill du ställa frågor till andra användare av produkten? Ställ en fråga
Sida 1/4
REV. 1/25/2017 INST95-6535B
INSTALLATION INSTRUCTIONS FOR PART 95-6535B
METRA. The World’s best kits.
®
metraonline.com
© COPYRIGHT 2017 METRA ELECTRONICS CORPORATION
CAUTION!
All accessories, switches, climate controls panels,
and especially air bag indicator lights must be connected before
cycling the ignition. Also, do not remove the factory radio with
the key in the on position, or while the vehicle is running.
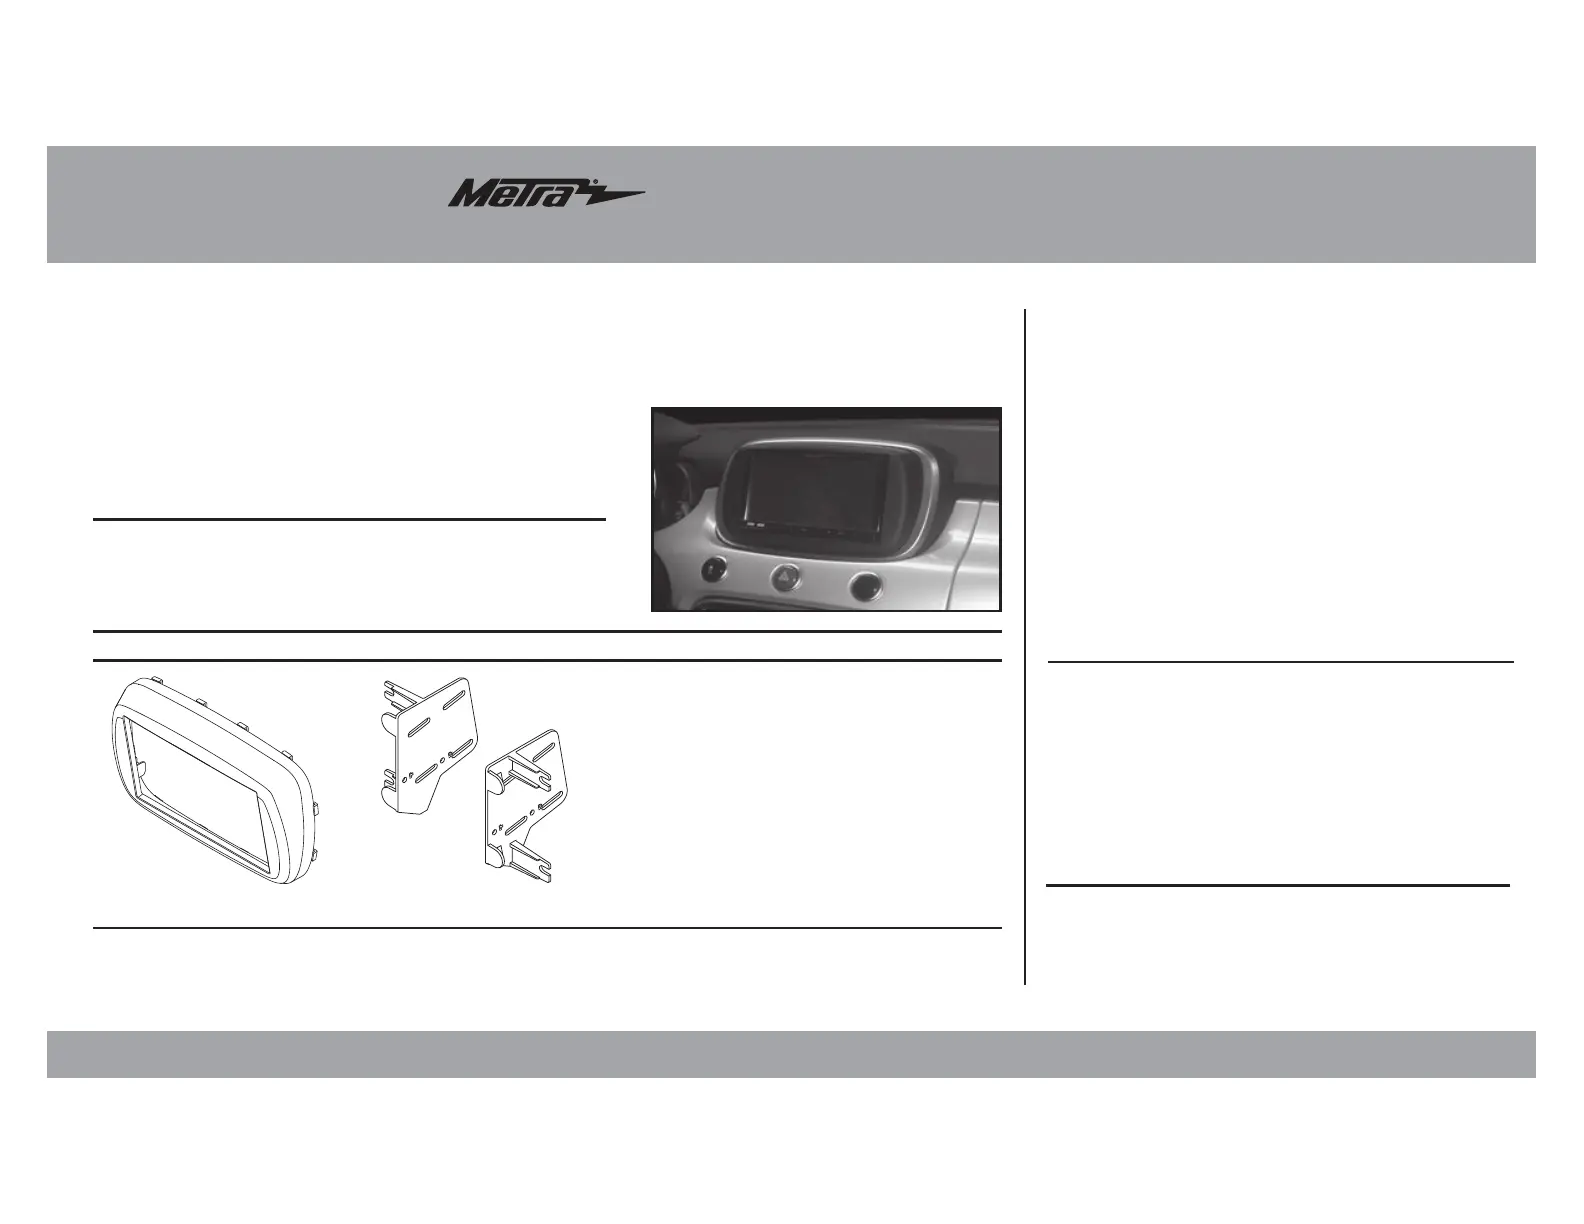
• ISO DDIN radio provision
• Painted matte black
• A) Radio trim panel • B) Radio brackets
20;-,(;<9,:
20;*64765,5;:
>0905.(5;,55(*655,*;065: (sold separately)
Wiring Harness: • XSVI-6523-NAV
Antenna Adapter: • 40-EU55
• Panel removal tool • Cutting tool
• T-25 Torx screwdriver
;663:9,8<09,+
Fiat 500X 2016-up
95-6535B
A
Table of Contents
B
Dash Disassembly .................................................2
Kit Assembly
–ISO DDIN radio provision ......................................3
Produktspecifikationer
| Varumärke: | Metra |
| Kategori: | Inte kategoriserad |
| Modell: | 95-6535B |
Behöver du hjälp?
Om du behöver hjälp med Metra 95-6535B ställ en fråga nedan och andra användare kommer att svara dig
Inte kategoriserad Metra Manualer

3 April 2025
3 April 2025
3 April 2025
12 Mars 2025
24 Februari 2025
24 Februari 2025
14 Januari 2025
14 Januari 2025
2 Januari 2025
2 Januari 2025
Inte kategoriserad Manualer
Nyaste Inte kategoriserad Manualer
9 April 2025
9 April 2025
9 April 2025
9 April 2025
9 April 2025
9 April 2025
9 April 2025
9 April 2025
9 April 2025
9 April 2025