Presto 01282 Bruksanvisning
Läs gratis den bruksanvisning för Presto 01282 (35 sidor) i kategorin Panorera. Guiden har ansetts hjälpsam av 74 personer och har ett genomsnittsbetyg på 4.6 stjärnor baserat på 4 recensioner. Har du en fråga om Presto 01282 eller vill du ställa frågor till andra användare av produkten? Ställ en fråga
Sida 1/35
Instructions and Recipes
Form 72-856D
©2022 by National Presto Industries, Inc.
Visit us on the web at
www.GoPresto.com
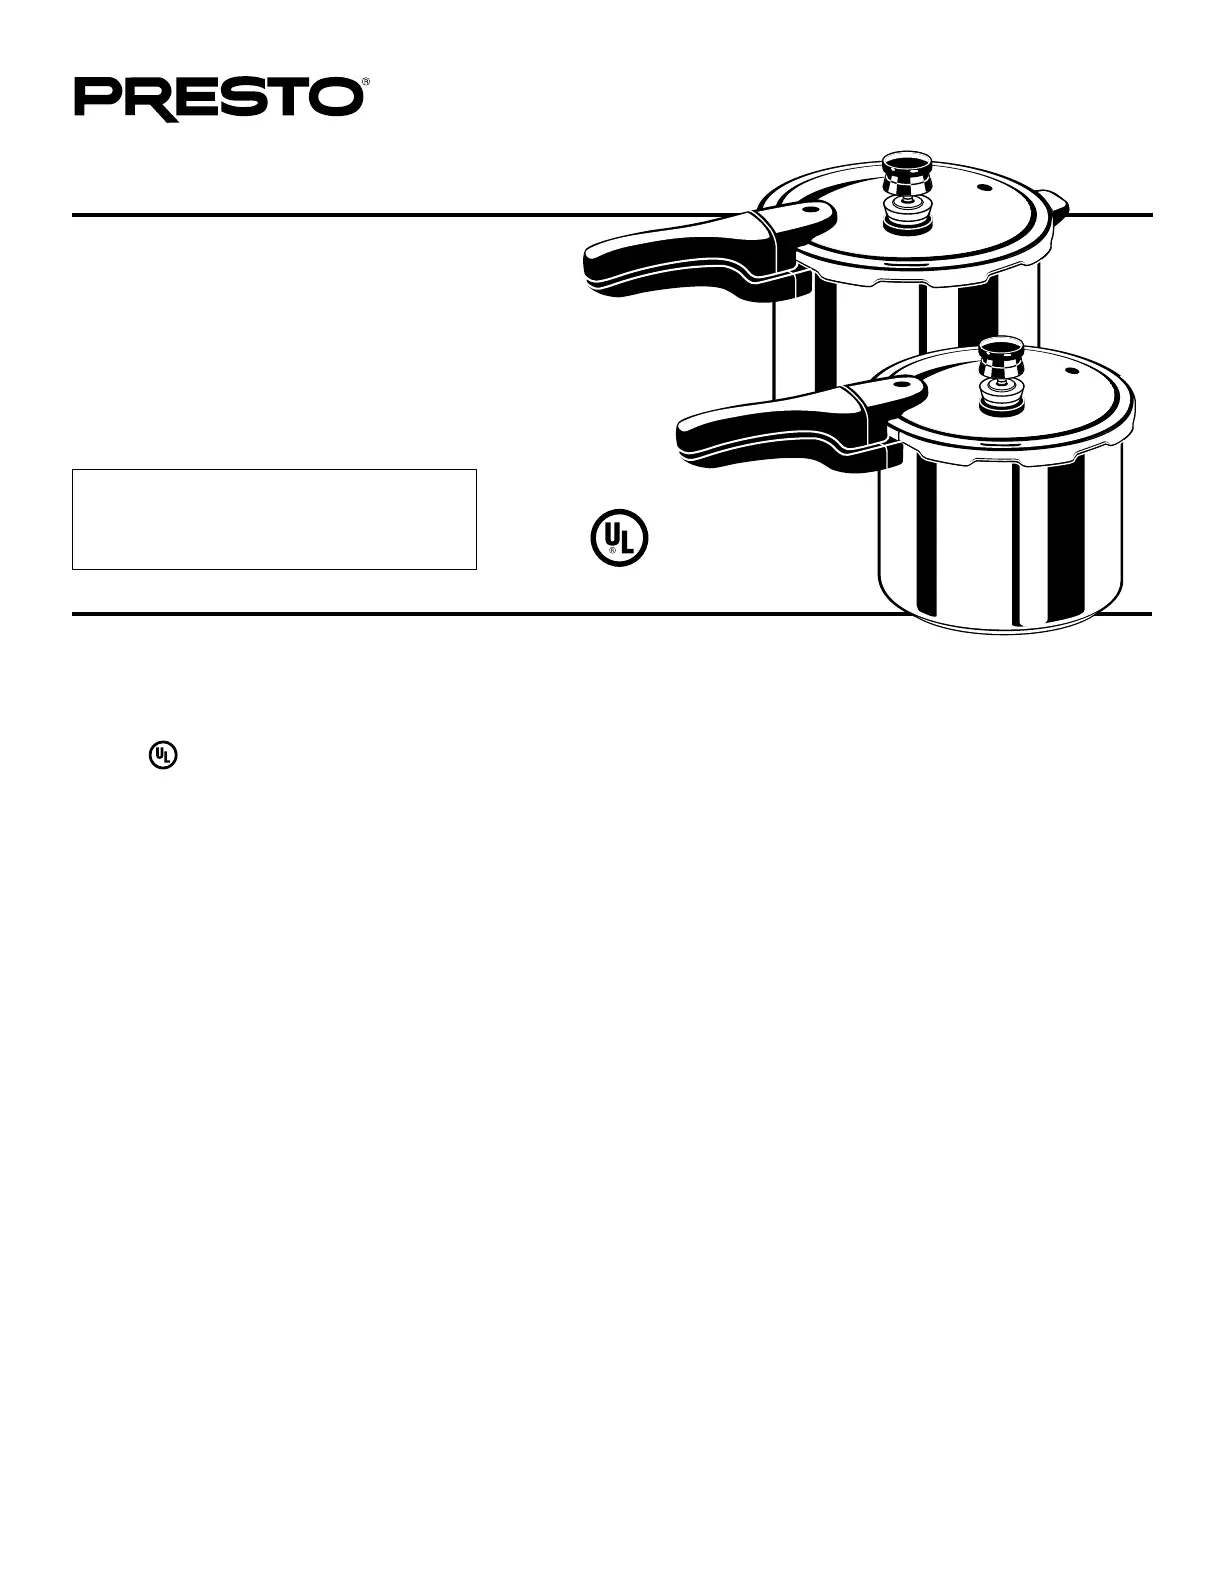
Pressure Cookers
Stock Numbers:
01241 (4-qt. aluminum)
01264 (6-qt. aluminum)
01282 (8-qt. aluminum)
01341 (4-qt. stainless steel)
01362 (6-qt. stainless steel)
The stock number is the rst ve digits of the
model number.
This is a Listed appliance. The following Important Safeguards are recommended by most portable appliance
manufacturers.
IMPORTANT SAFEGUARDS
To reduce the risk of personal injury or property damage, basic safety precautions should always be followed, including the
following:
1. Read all instructions.
2. Be sure that handles are assembled and fastened properly before using this appliance (see page 3). Cracked, broken, or
charred handles should be replaced.
3. Always check the vent pipe before use. Hold cover up to light and look through vent pipe to be certain it is clear.
4. Always check the air vent/cover lock to be sure it moves freely before use.
5.Donotllpressurecookerover⅔full.Whencookingfoodsthatfoam,froth,orexpand,suchasrice,grains,drybeans,
peas,andlentils,orfoodsthataremostlyliquid,suchassoup,neverllthecookerover½full.Overllingmaycausea
riskofblockingtheventpipeanddevelopingexcesspressure.Seefoodpreparationinstructions.
6.Donotpressurecookapplesauce,cranberries,rhubarb,cereals,pasta,splitpeas,anddriedbeansoupmixes.Thesefoods
tend to foam, froth, and sputter and may block the vent pipe, overpressure plug, and air vent/cover lock.
7. This appliance cooks under pressure. WARNING! Improper use may result in scalding injury. Make certain pressure
cookerisproperlyclosedbeforeoperating;coverhandlemustbedirectlyabovethebodyhandle.See“HOWTOUSE”
instructions.
8. Do not place the pressure cooker or attempt to pressure cook in a heated oven.
9.Extremecautionmustbeusedwhenmovingapressurecookercontaininghotliquids.Donottouchhotsurfaces.Use
handles or knobs.
10. Do not open pressure cooker until the unit has cooled and all internal pressure has been released, air vent/cover lock has
dropped,andnosteamescapeswhenthepressureregulatorisremoved.Ifthehandlesaredifculttopushapart,this
indicatesthatthecookerisstillpressurized;donotforceitopen.Anypressureinthecookercanbehazardous.See“HOW
TOUSE”instructions.
Estas instrucciones también están disponibles en español.
Para obtener una copia impresa:
• Descargue en formato PDF en www.GoPresto.com/espanol.
• Envíeuncorreoelectrónicoa[email protected].
• Llame al 1-800-877-0441, oprima 2 y deje un mensaje.
Produktspecifikationer
| Varumärke: | Presto |
| Kategori: | Panorera |
| Modell: | 01282 |
Behöver du hjälp?
Om du behöver hjälp med Presto 01282 ställ en fråga nedan och andra användare kommer att svara dig
Panorera Presto Manualer

19 Oktober 2024
18 September 2024
20 Augusti 2024
19 Augusti 2024
17 Augusti 2024
12 Augusti 2024
11 Augusti 2024
2 Augusti 2024
31 Juli 2024
29 Juli 2024
Panorera Manualer
Nyaste Panorera Manualer
7 April 2025
7 April 2025
14 Mars 2025
13 Mars 2025
13 Mars 2025
13 Mars 2025
13 Mars 2025
13 Mars 2025
12 Mars 2025
12 Mars 2025