Presto Big Kettle 06008 Bruksanvisning
Presto multi kokare Big Kettle 06008
Läs gratis den bruksanvisning för Presto Big Kettle 06008 (11 sidor) i kategorin multi kokare. Guiden har ansetts hjälpsam av 38 personer och har ett genomsnittsbetyg på 5.0 stjärnor baserat på 2 recensioner. Har du en fråga om Presto Big Kettle 06008 eller vill du ställa frågor till andra användare av produkten? Ställ en fråga
Sida 1/11
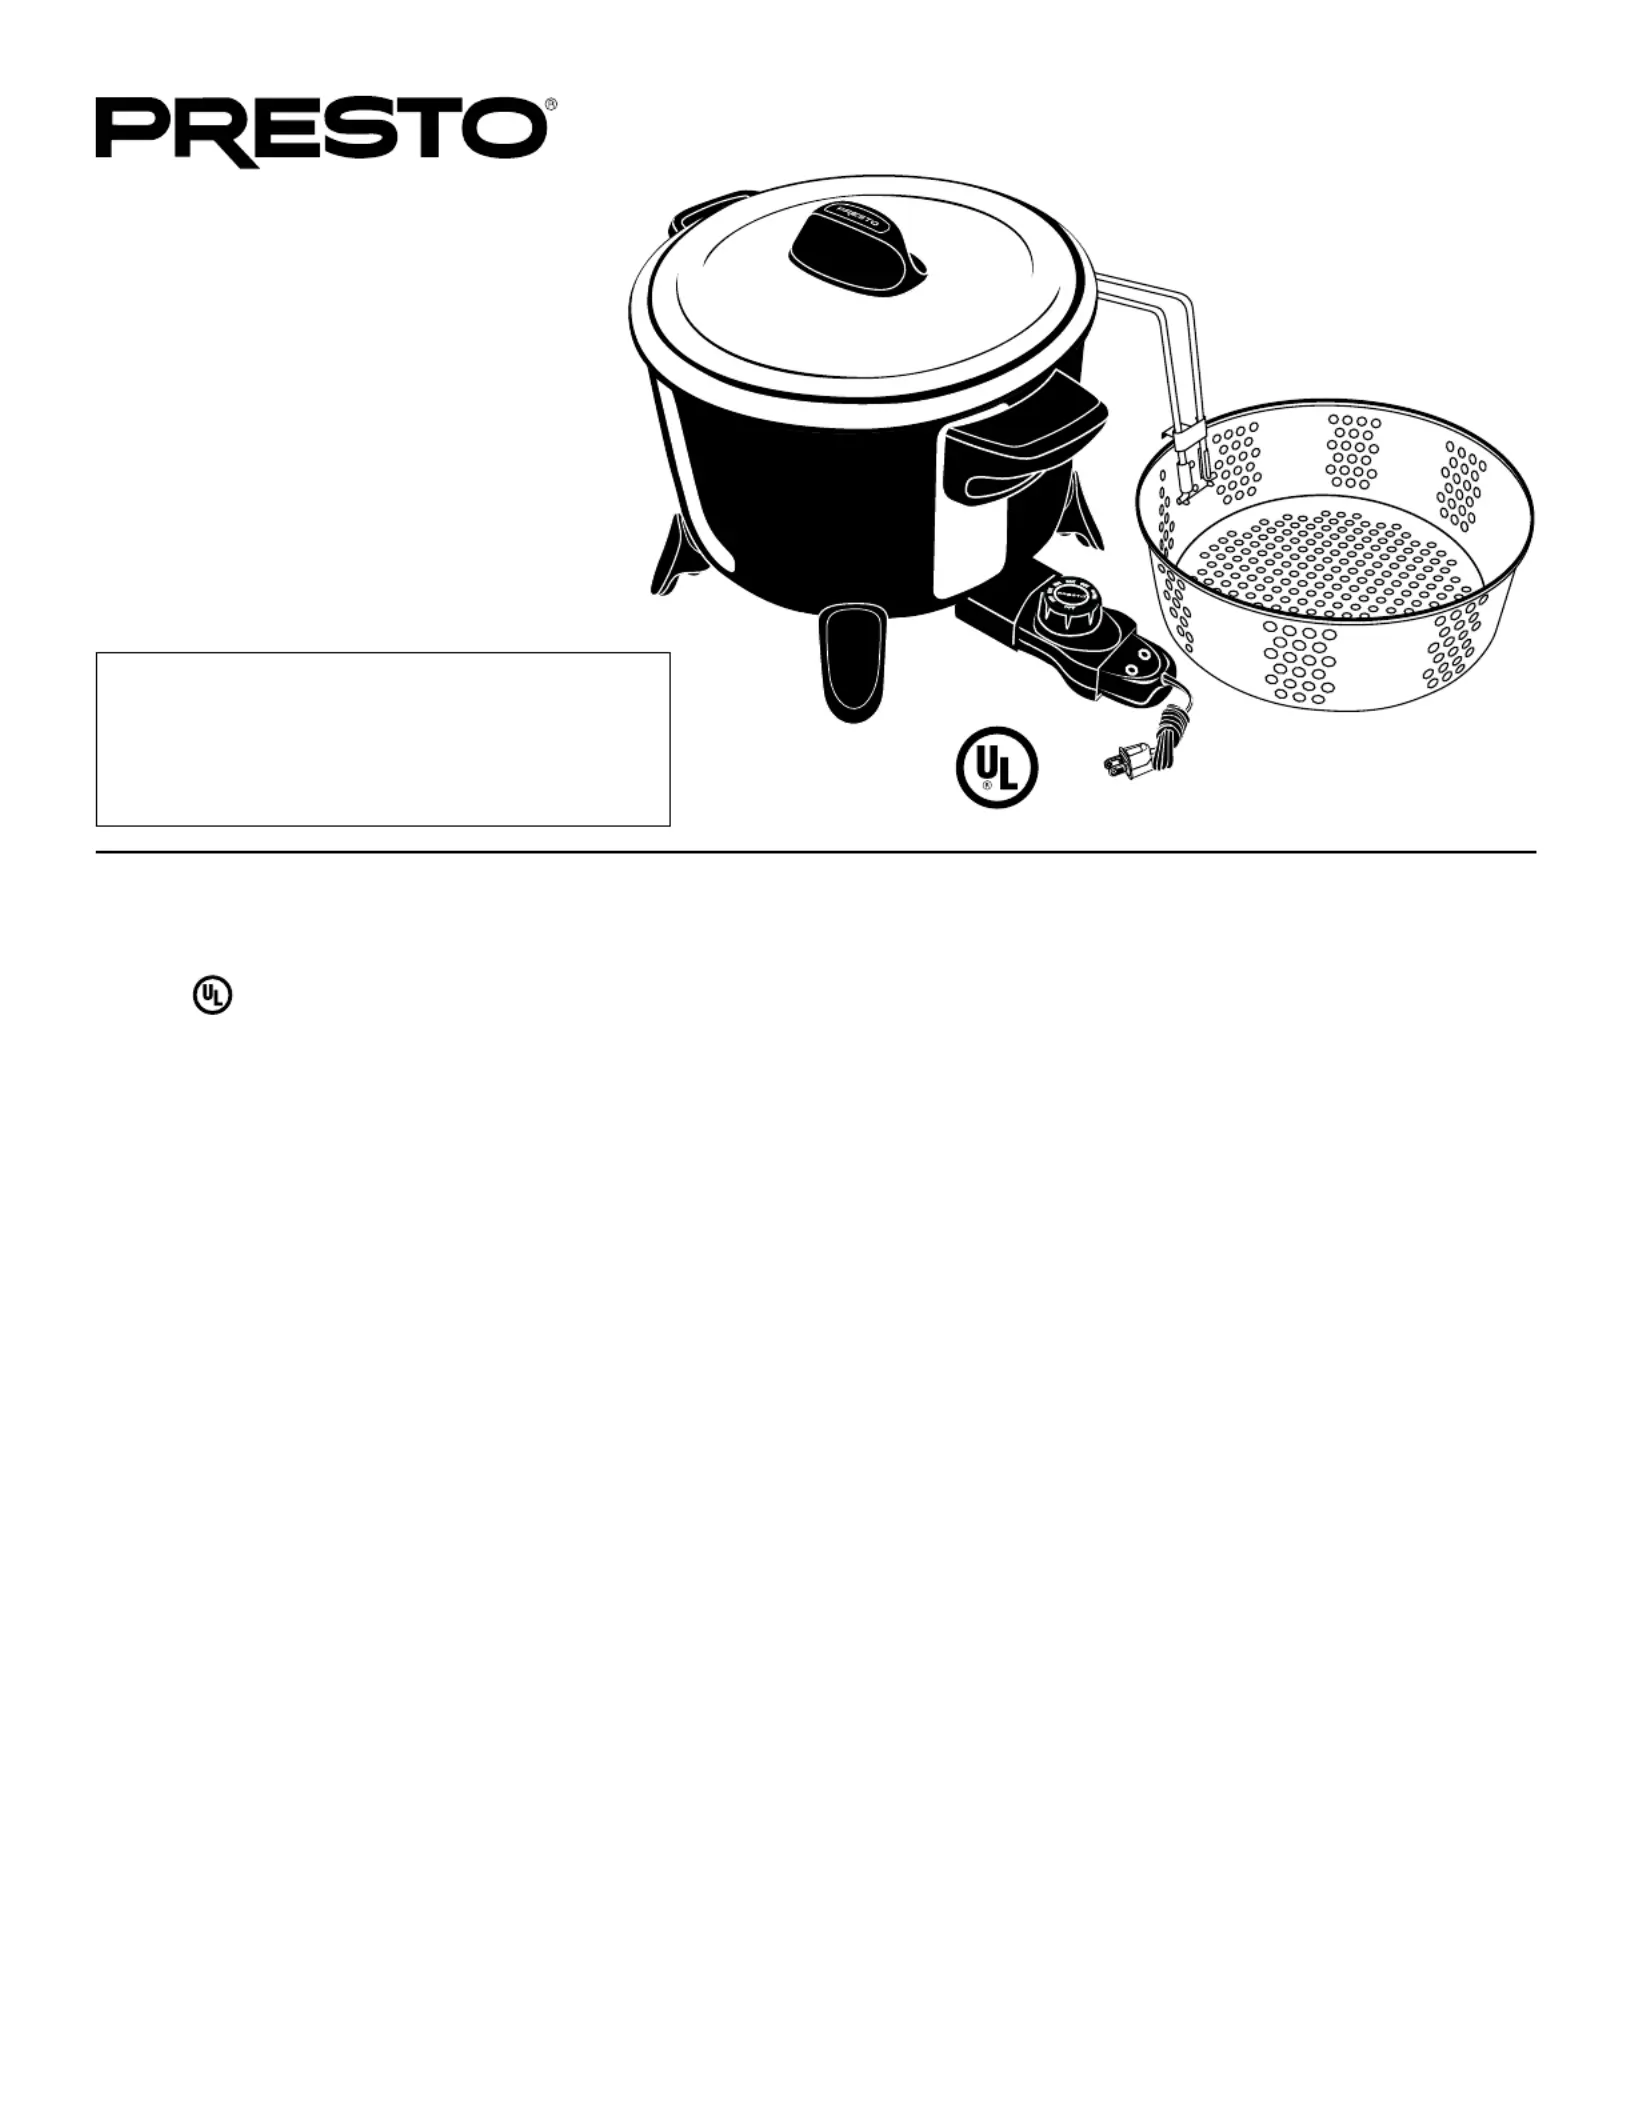
8-Quart
Big Kettle
™
Deep Fryer/Multi-Cooker
©2023 National Presto Industries, Inc.
Form 76-174C
Estas instrucciones también están disponibles en español.
Para obtener una copia impresa:
•Descargue en formato PDF en www.gopresto.com/espanol.
•Envíe un correo electrónico a [email protected].
•Llame al 1-800-877-0441, oprima 2 y deje un mensaje.
INSTRUCTIONS
Visit us on the web at www.GoPresto.com
This is a Listed appliance. The following important safeguards are recommended by most portable appliance manufacturers.
IMPORTANT SAFEGUARDS
To reduce the risk of personal injury or property damage, when using electrical appliances basic safety precautions should always be
followed, including the following:
1. Read all instructions.
2. To protect against electrical shock or burns, do not immerse heat control or magnetic cord assembly in water or other liquid.
3. Be sure that handles and legs are assembled and fastened properly before using this appliance. See detailed assembly
instructions on page 2.
4. Be sure handle is properly attached to basket and locked in place. See detailed assembly instructions on page 2. Failure to
securely attach basket handle can result in release of basket during use which may result in severe burns.
5. Do not touch hot surfaces. Use handles or knobs.
6. Do not let children handle or put electrical cords or plugs in their mouths.
7. Close supervision is necessary when any appliance is used by or near children.
8. It is recommended that this appliance not be moved when it contains hot oil or other hot liquid. If it must be moved when it
contains hot oil or other hot liquid, use extreme caution.
9.Alwaysattachheatcontrolandmagneticcordassemblytoappliancerst,thenplugcordintothewalloutlet.Todisconnect
heat control and magnetic cord, turn control to OFF, remove plug from wall outlet, and then remove magnetic plug end from
heat control. Allow appliance to cool, then remove heat control from appliance.
10. Unplug from outlet and remove heat control from appliance when not in use and before cleaning. Allow appliance to cool
before putting on or taking off parts and before cleaning.
11. Do not operate any appliance with a damaged cord or plug or in the event the appliance malfunctions or has been damaged in
any manner. Return the appliance to the Presto Factory Service Department for examination, repair, or adjustment.
12. The use of accessory attachments not recommended by the appliance manufacturer may cause injuries. Use only genuine
Presto
®
accessory attachments or replacement parts.
13. Do not use outdoors.
Produktspecifikationer
| Varumärke: | Presto |
| Kategori: | multi kokare |
| Modell: | Big Kettle 06008 |
| Ångkokning: | Ja |
| Kapacitet: | 6.9 l |
| Kött: | Ja |
| Grönsaker: | Ja |
| Ris: | Ja |
| Frityrkorg: | Ja |
| Produktens färg: | Black, Stainless steel |
| Effekt: | 1500 W |
| Lätt att rengöra: | Ja |
| Teflonbehandlad: | Ja |
| Frityrfunktion: | Ja |
| Fisk: | Ja |
| Pastaprogram: | Ja |
Behöver du hjälp?
Om du behöver hjälp med Presto Big Kettle 06008 ställ en fråga nedan och andra användare kommer att svara dig
multi kokare Presto Manualer

25 Juli 2025
25 Juli 2025
multi kokare Manualer
Nyaste multi kokare Manualer
31 Mars 2026
24 Februari 2026
23 Februari 2026
6 Februari 2026
3 Februari 2026
28 Januari 2026
12 Oktober 2025
12 Oktober 2025
12 Oktober 2025
9 Oktober 2025