Rane TTM 54 Bruksanvisning
Rane ej kategoriserat TTM 54
Läs gratis den bruksanvisning för Rane TTM 54 (6 sidor) i kategorin ej kategoriserat. Guiden har ansetts hjälpsam av 8 personer och har ett genomsnittsbetyg på 4.7 stjärnor baserat på 7 recensioner. Har du en fråga om Rane TTM 54 eller vill du ställa frågor till andra användare av produkten? Ställ en fråga
Sida 1/6
Manual-1
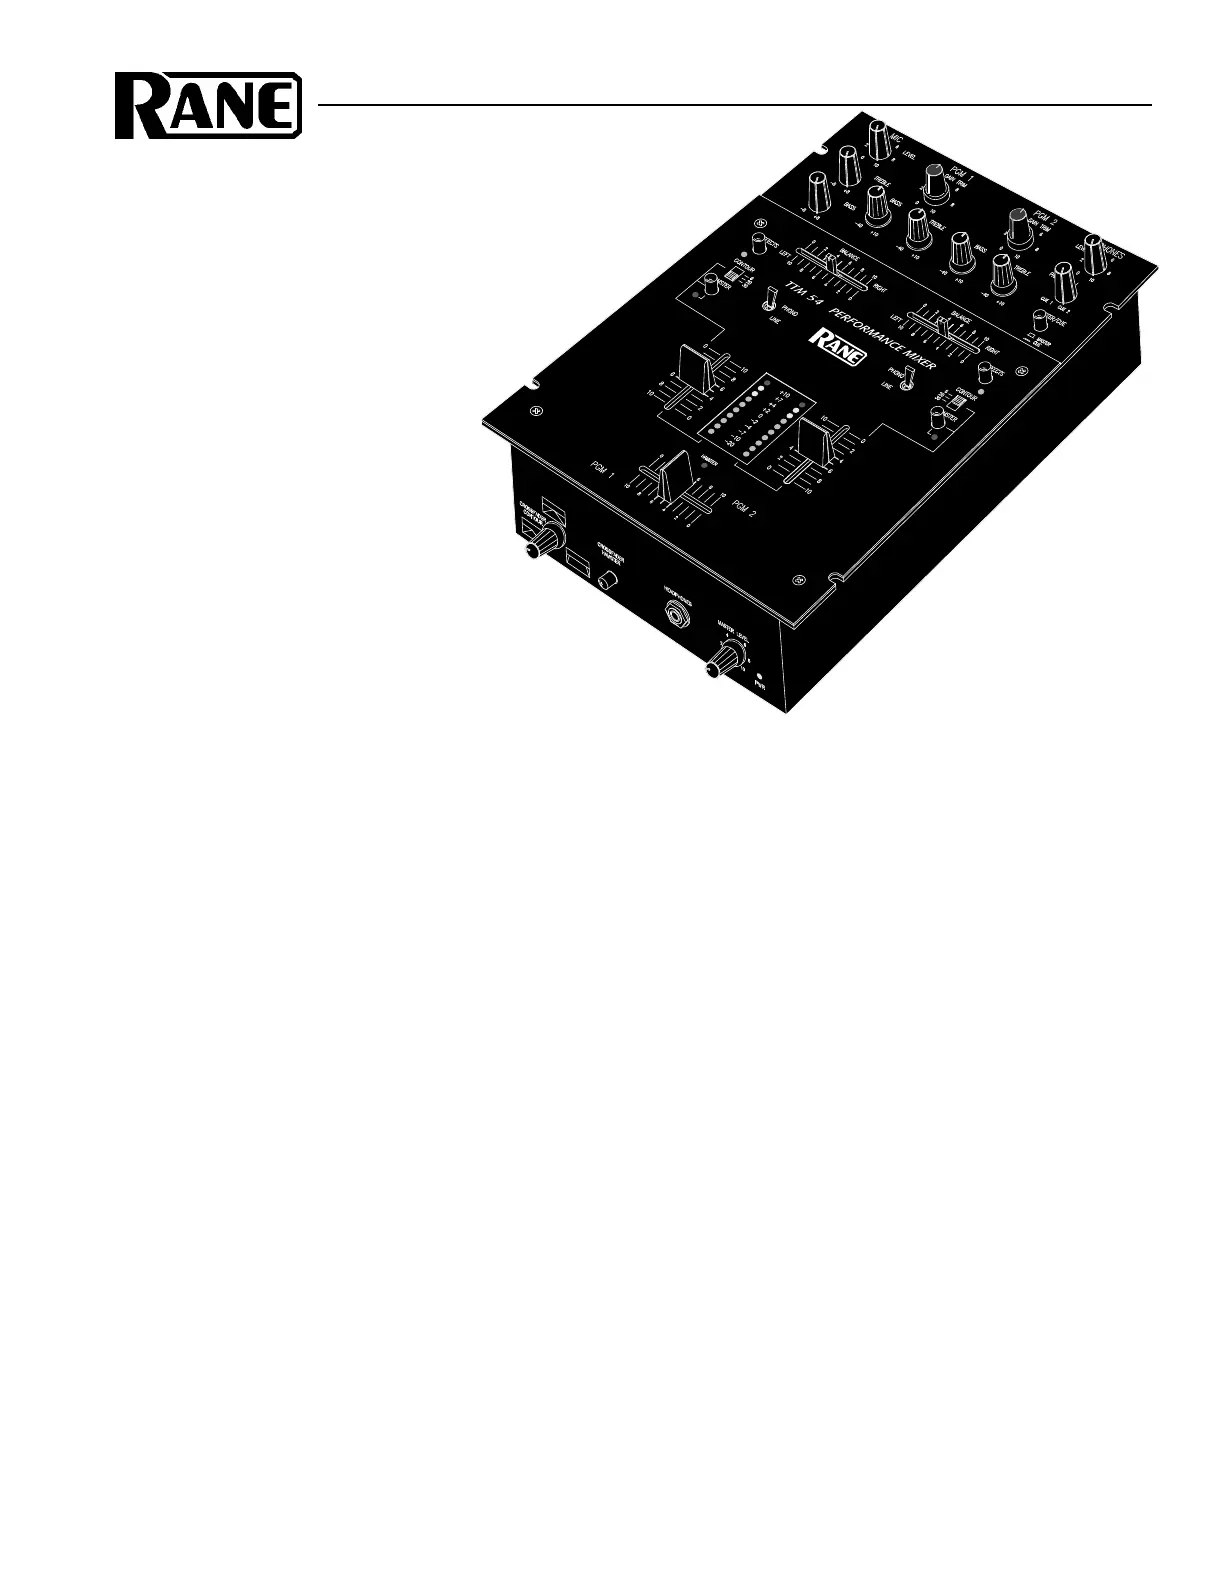
TTM 54
PERFORMANCE
MIXER
OPERATORS MANUAL
Quick Start
Congratulations! You are now the proud owner of the
best Performance Mixer available. For experienced
turntablists, ninety percent of the operation of the
TTM 54 Performance Mixer is obvious —
however, the TTM 54 also has many unique
features. These new features will be mas-
tered more quickly if you read the entire
manual. Right! We know some of you can’t
resist jumping right in, so please read at least
this portion of the manual. It will help you get
a good start.
• GAIN TRIM: These controls are intended to set
the signal level before the Crossfader. Alwaysset the
GAIN TRIM controls to indicate an average signal level
of +4 on the meter with the Program Faders set to maximum.
Never use the GAIN TRIM controls to set the output level. Always
use the MASTER LEVEL control to set the output level. This is a very
simple thing, yet makes a huge difference in the performance of your mixer.
• EFFECTS: The assignable effects loop allows insertion of a stereo effects processor into:
• Pre-Program Fader PGM 1 ....... Engage PGM 1 EFFECTS only.
• Pre-Program Fader PGM 2 ....... Engage PGM 2 EFFECTS only.
• Post-Crossfader MASTER ....... Engage both PGM 1 and PGM 2 EFFECTS switches.
• Read sections 햵 and 헆 for more information.
• PHONES: The headphone output of the TTM 54 is a high power output stage (unlike most you have used before). There
are some notable differences…
• The headphone output of the TTM 54 delivers very high volume into your headphones.
• To avoid pain, never put headphones on your head and then plug them in.
• Alwaysstart with the PHONES LEVEL turned down and then turn it up to the desired level.
• Because of the high current and low output impedance, never short one side to ground or short left and right
together as is possible with mono cup headphones. Note: Low power headphone stages typically use large
resistors on their outputs, which allow shorting, but prevent high power. The TTM 54 gives you high power but
does not allow shorting.
• MIC LEVEL: For best performance, keep this control at 0 when not in use.
• For instructions on rotating Phono/Line switches to the desired location, see page Manual-6.
• Do not spray cleaner or lubricant into the front of the Program Faders or Crossfader. The fluid will just run out the
bottom of the unit. Never use unapproved cleaner or lubricants such as skateboard wheel lube, as corrosive damage may
result, voiding the warranty. See page Manual-6 for cleaning and replacement instructions and cleaner recommendations.
• Never connect anything except an RS 1 or other approved Rane AC power supply to the thing that looks like a telephone
jack on the rear.This is an 18 VAC center-tapped power unit. Consult the Rane factory for replacement or substitution.
• WEAR PARTS: This product contains the following wear parts subject to the ninety (90) day warranty period described on
page Service-1: FT 45 Active Crossfader & Channel Fader Assembly(3); ST 1 Phono/Line Switch Assembly (2).
Produktspecifikationer
| Varumärke: | Rane |
| Kategori: | ej kategoriserat |
| Modell: | TTM 54 |
Behöver du hjälp?
Om du behöver hjälp med Rane TTM 54 ställ en fråga nedan och andra användare kommer att svara dig
ej kategoriserat Rane Manualer

11 September 2025
11 September 2025
10 September 2025
10 September 2025
10 September 2025
10 September 2025
10 September 2025
10 September 2025
10 September 2025
10 September 2025
ej kategoriserat Manualer
Nyaste ej kategoriserat Manualer
3 April 2026
3 April 2026
3 April 2026
3 April 2026
3 April 2026
3 April 2026
3 April 2026
3 April 2026
3 April 2026