Signature Hardware Swing Spout 426713 Bruksanvisning
Signature Hardware Kran Swing Spout 426713
Läs gratis den bruksanvisning för Signature Hardware Swing Spout 426713 (3 sidor) i kategorin Kran. Guiden har ansetts hjälpsam av 13 personer och har ett genomsnittsbetyg på 4.4 stjärnor baserat på 7 recensioner. Har du en fråga om Signature Hardware Swing Spout 426713 eller vill du ställa frågor till andra användare av produkten? Ställ en fråga
Sida 1/3
1
SWING SPOUT
WALL MOUNT FAUCET
SKU: 380330, 416234, 416235, 416236, 416237, 420969, 426713
REVISED 02/19/2020
CODES: 443738, 443709, 443711
443713, 443715, 443716, 482232
GETTING STARTED
BEFORE YOU BEGIN
We recommend consulting a professional if you are
unfamiliar with installing plumbing �xtures. Signature
Hardware accepts no liability for any damage to the
faucet, plumbing, sink, counter top, wall, or for personal
injury during installation.
Observe all local plumbing and building codes.
Unpack and inspect the faucet for shipping damage. If
any damage is found, contact our Customer Relations
team at 1-8-55
7118005-.
Ensure that you have gathered all the required
materials that are needed for the installation.
For these instructions, it is assumed that the old
faucet has been completely removed and any neces-
sary repairs or modi�cations to the water supply have
been completed.
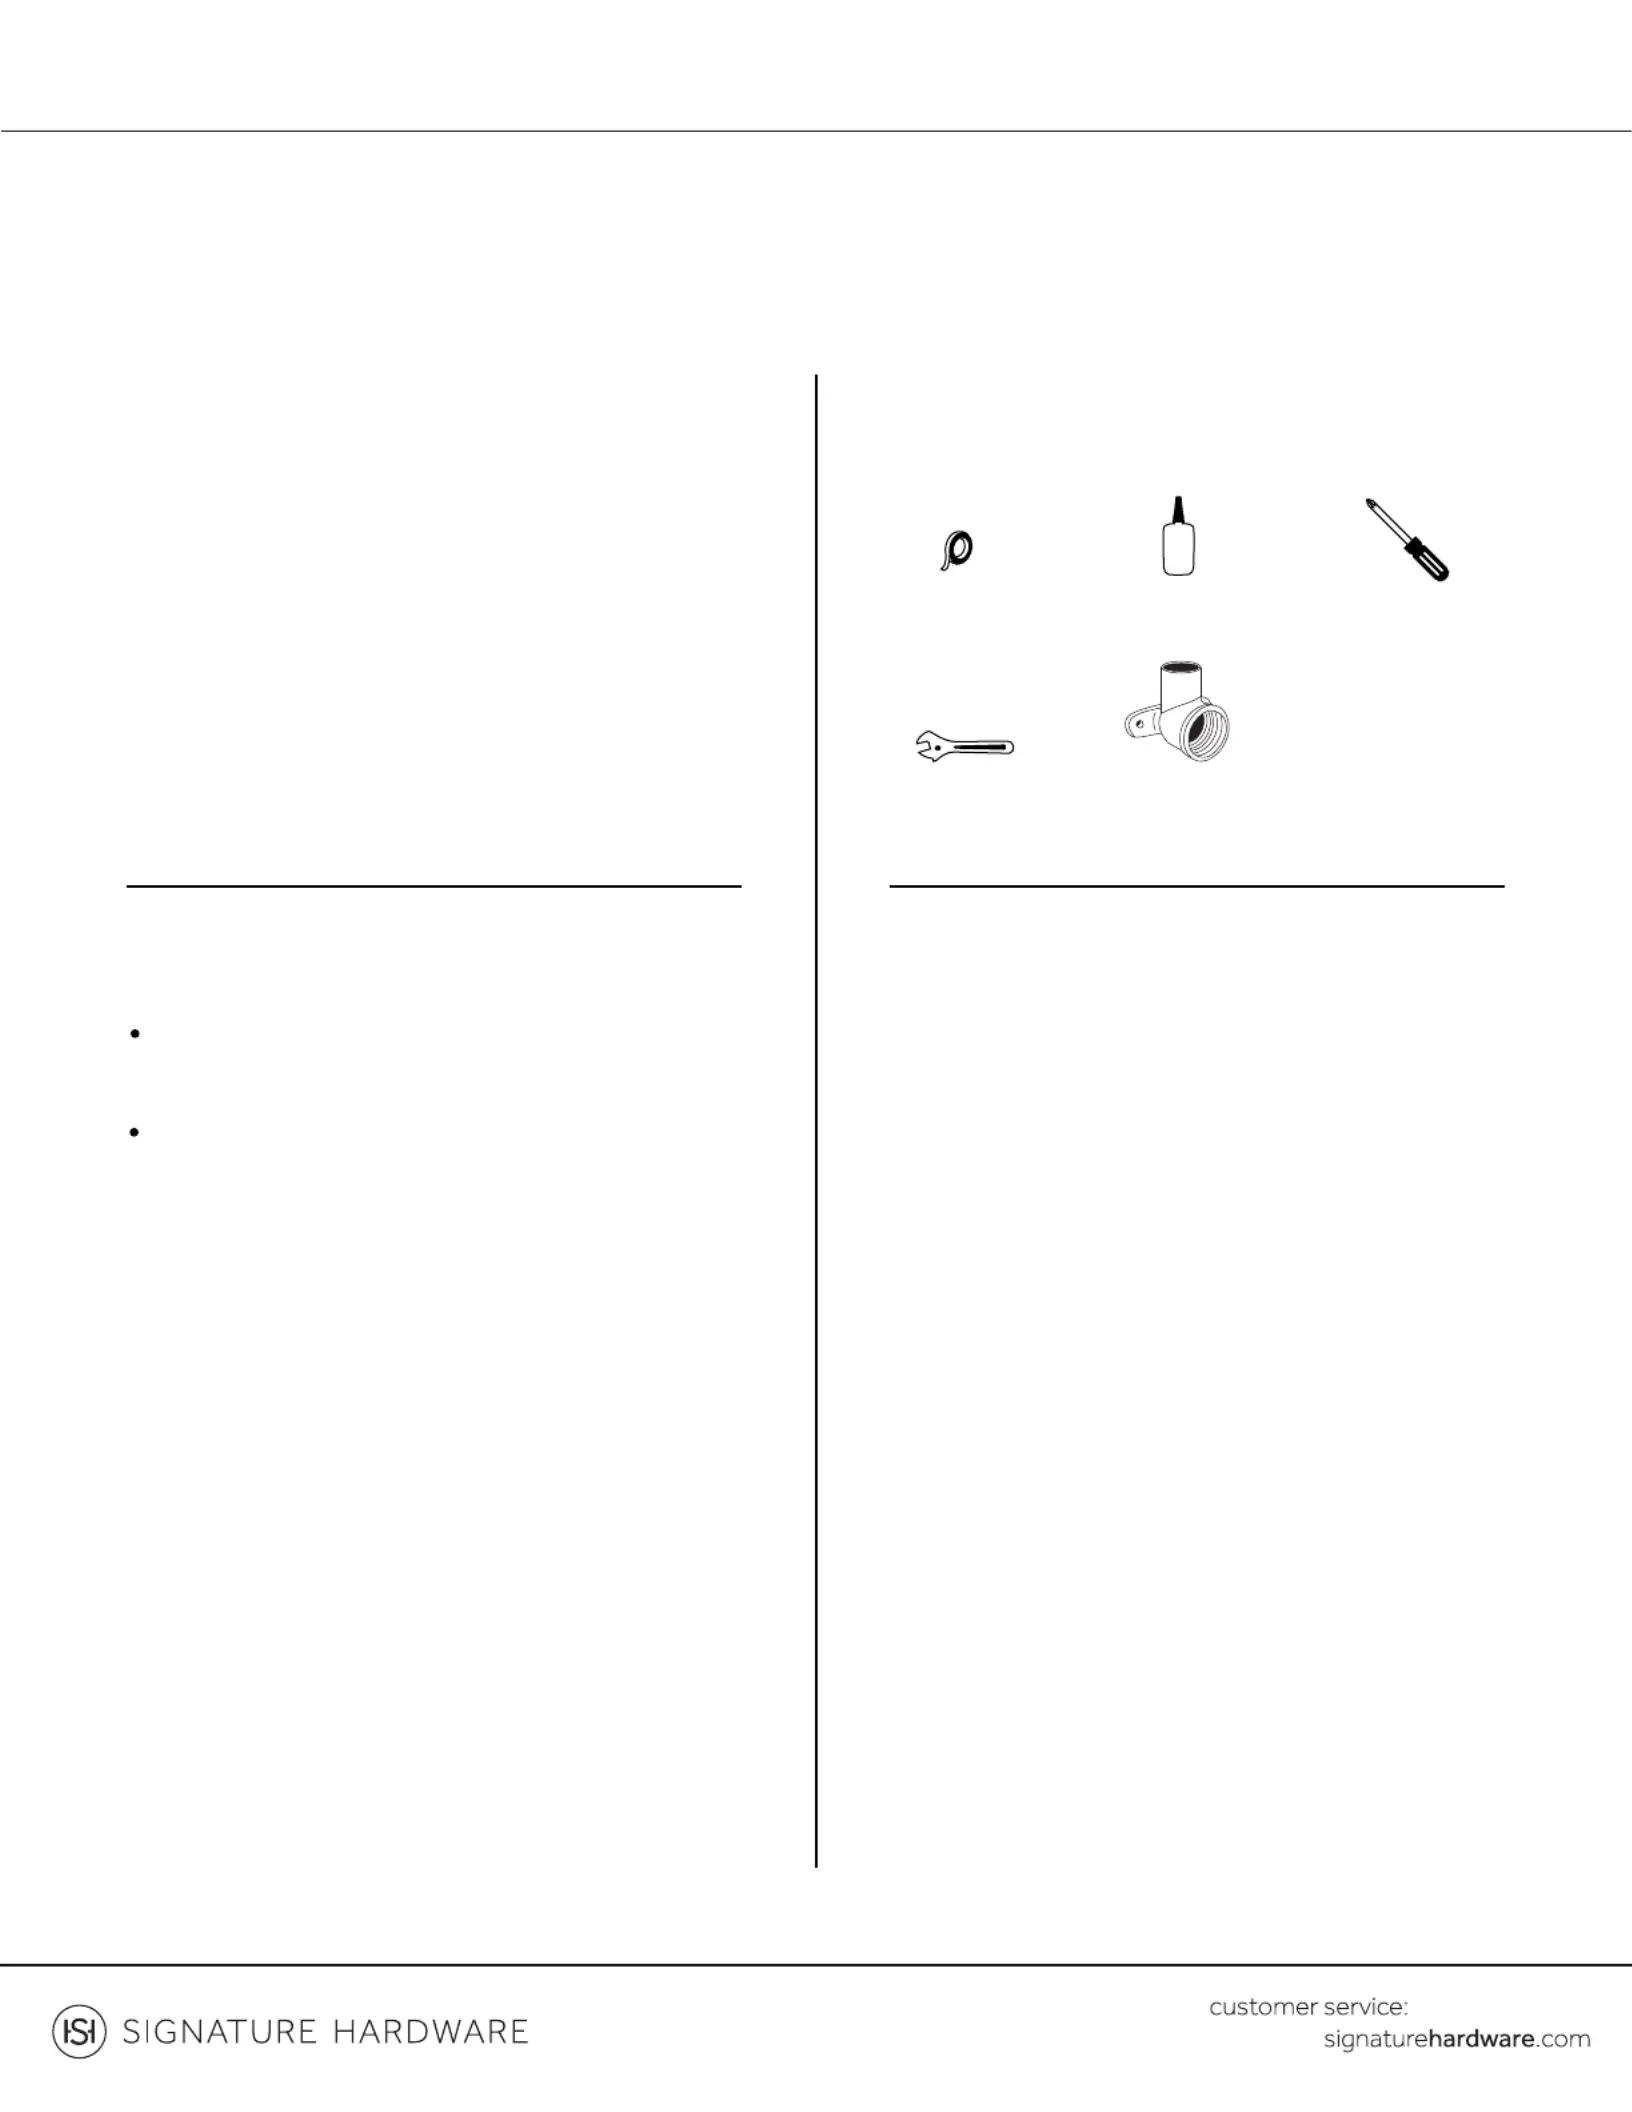
TOOLS AND MATERIALS:
Plumbers
Tape
Thread
Sealant
Adjustable
Wrench
Phillips
Screwdriver
PLANNING
Use the faucet’s PDF speci�cation sheet as a reference
when planning your installation. The speci�cation sheet
can be found and downloaded from the product page
on our website.
Because the faucet speci�cation measurements are
approximate and slight variations may occur, we highly
recommend performing any rough-in procedures with
the faucet on site.
Drop Ear Elbow
(x2)
For Warranty information, please visit: signaturehardware.com/services/warranty
18557151800...
Produktspecifikationer
| Varumärke: | Signature Hardware |
| Kategori: | Kran |
| Modell: | Swing Spout 426713 |
Behöver du hjälp?
Om du behöver hjälp med Signature Hardware Swing Spout 426713 ställ en fråga nedan och andra användare kommer att svara dig
Kran Signature Hardware Manualer

2 Augusti 2025
Kran Manualer
Nyaste Kran Manualer
3 April 2026
3 April 2026
3 April 2026
3 April 2026
3 April 2026
2 April 2026
2 April 2026
26 Mars 2026
26 Mars 2026
26 Mars 2026