StarTech.com ATX2POW400HS Bruksanvisning
StarTech.com
Dator strömförsörjning
ATX2POW400HS
Läs gratis den bruksanvisning för StarTech.com ATX2POW400HS (2 sidor) i kategorin Dator strömförsörjning. Guiden har ansetts hjälpsam av 20 personer och har ett genomsnittsbetyg på 4.6 stjärnor baserat på 10.5 recensioner. Har du en fråga om StarTech.com ATX2POW400HS eller vill du ställa frågor till andra användare av produkten? Ställ en fråga
Sida 1/2

Instruction Manual
DE: Bedienungsanleitung - de.startech.com
FR: Guide de l'utilisateur - fr.startech.com
ES: Guía del usuario - es.startech.com
IT: Guida per l'uso - it.startech.com
NL: Gebruiksaanwijzing - nl.startech.com
PT: Guia do usuário - pt.startech.com
Manual Revision: 07/05/2013
For the most up-to-date information, please visit: www.startech.com
Packaging Contents
• 1x400WATXPowerSupply
• 1xPowerCord(NA)
• 1xInstructionManual
Installation
NOTE: Computerscontainsensitiveelectroniccomponentsthat
areeasilydamagedbystaticelectricityandexcessiveshock.When
handlingthepowersupplyandothercomponents,ensureyouare
properlygroundedusingananti-staticmatorsimilardevice.Ifanti-
staticequipmentisnotavailable,groundyourselfbytouchingthe
exteriorofthecomputercaseoranotherlargemetalsurfacebefore
handlinganyperipherals.
1. Installationofapowersupplyrequiressomemechanicalskill
andrequiresthatyouopenyourcomputercasetodisconnect
andreconnectwires.Ifyouareunfamiliarwiththiskindofwork,
considerbringingyourcomputerandnewStarTech.compower
supplytoyourlocalcomputerstoreforhelp.
2. Checktheredswitchontherearofthepowersupply,nextto
thepowercordplug.Besureitissettothecorrectvoltagefor
yourcountry.InNorthAmerica,itshouldread“115”.InEurope
andAustraliaitshouldread“230”.Tochangetheswitch,use
ascrewdriverinthenotchoftheswitchandslideittothe
oppositeside.Ifyouareunsureofthevoltageusedinyour
country,contactyourelectricityproviderbeforeproceeding.
3. Ifyouarereplacinganoldpowersupplyinyourcomputer,
ensurethecomputerisshutdownanddisconnectthepower
cordfromthebackoftheoldsupply.
4. Openyourcomputercase.Inmostdesigns,thecaseisopened
byremovingtwoorthreescrewsattherearofthecaseandthen
slidingthecoveringpanelbackwarduntilitcomesfree.Ifyour
caseisatowerstyle,ensurethatyouremovethepanelthatwill
exposethetopofthecomputer’smotherboard.Thisisgenerally
theleft-sidepanel.Therearemanydierentcasedesigns,
however,soifyouareunsureofhowtoopenyourparticular
case,consulttheusermanualforyourcaseorcontactyourlocal
computerstoreforhelp.
5. Withthecomputercaseopen,reviewtheconnectorsbeingused
fromyouroldpowersupply.Ifyouarebuildinganewcomputer,
reviewtheconnectorsthatyouwillneedtouse.Checkthetype
ofconnectoronyourmotherboardanduseeitherthe24or20
pinATXpowerconnectoronthepowersupplyasappropriate.
6. Disconnecttheoldpowersupplyconnectionsfrominside
yourcomputer.Harddiskdrive,CDdriveandoppydisk
driveconnectorsdisconnectbypullingontheconnector.The
motherboardconnector(s)haveaclipthatmustbepressed
whilepullingontheconnectortoreleasethem.Arocking
motionwhilepullingwillaidingettingtheconnectorsloose.
Neverpullonthewiresofaconnectortounplugit.
7. Checkthatallthewiresfromyouroldpowersupplyarefree.
Removethefourscrewsontherearofyouroldpowersupplyto
freeitfromthecomputercase.Supportthepowersupplywith
onehandifitcouldfallwhileremovingthelastscrew.(Suchasin
atowerstylecase.)Removethepowersupplybyslidingitback
andthenoutthroughthesideofyourcase.
8. Installyournewpowersupplybypositioningitthroughthe
sideortopofyourcase(dependingonyourcasestyle)andthen
backontothepowersupplymounts.Checkthattheorientation
withthescrewholesinyourcaseiscorrect;allfourholesmust
bealigned.Supportthepowersupplywithonehandwhile
threadingamountingscrewthroughthebackofthecaseand
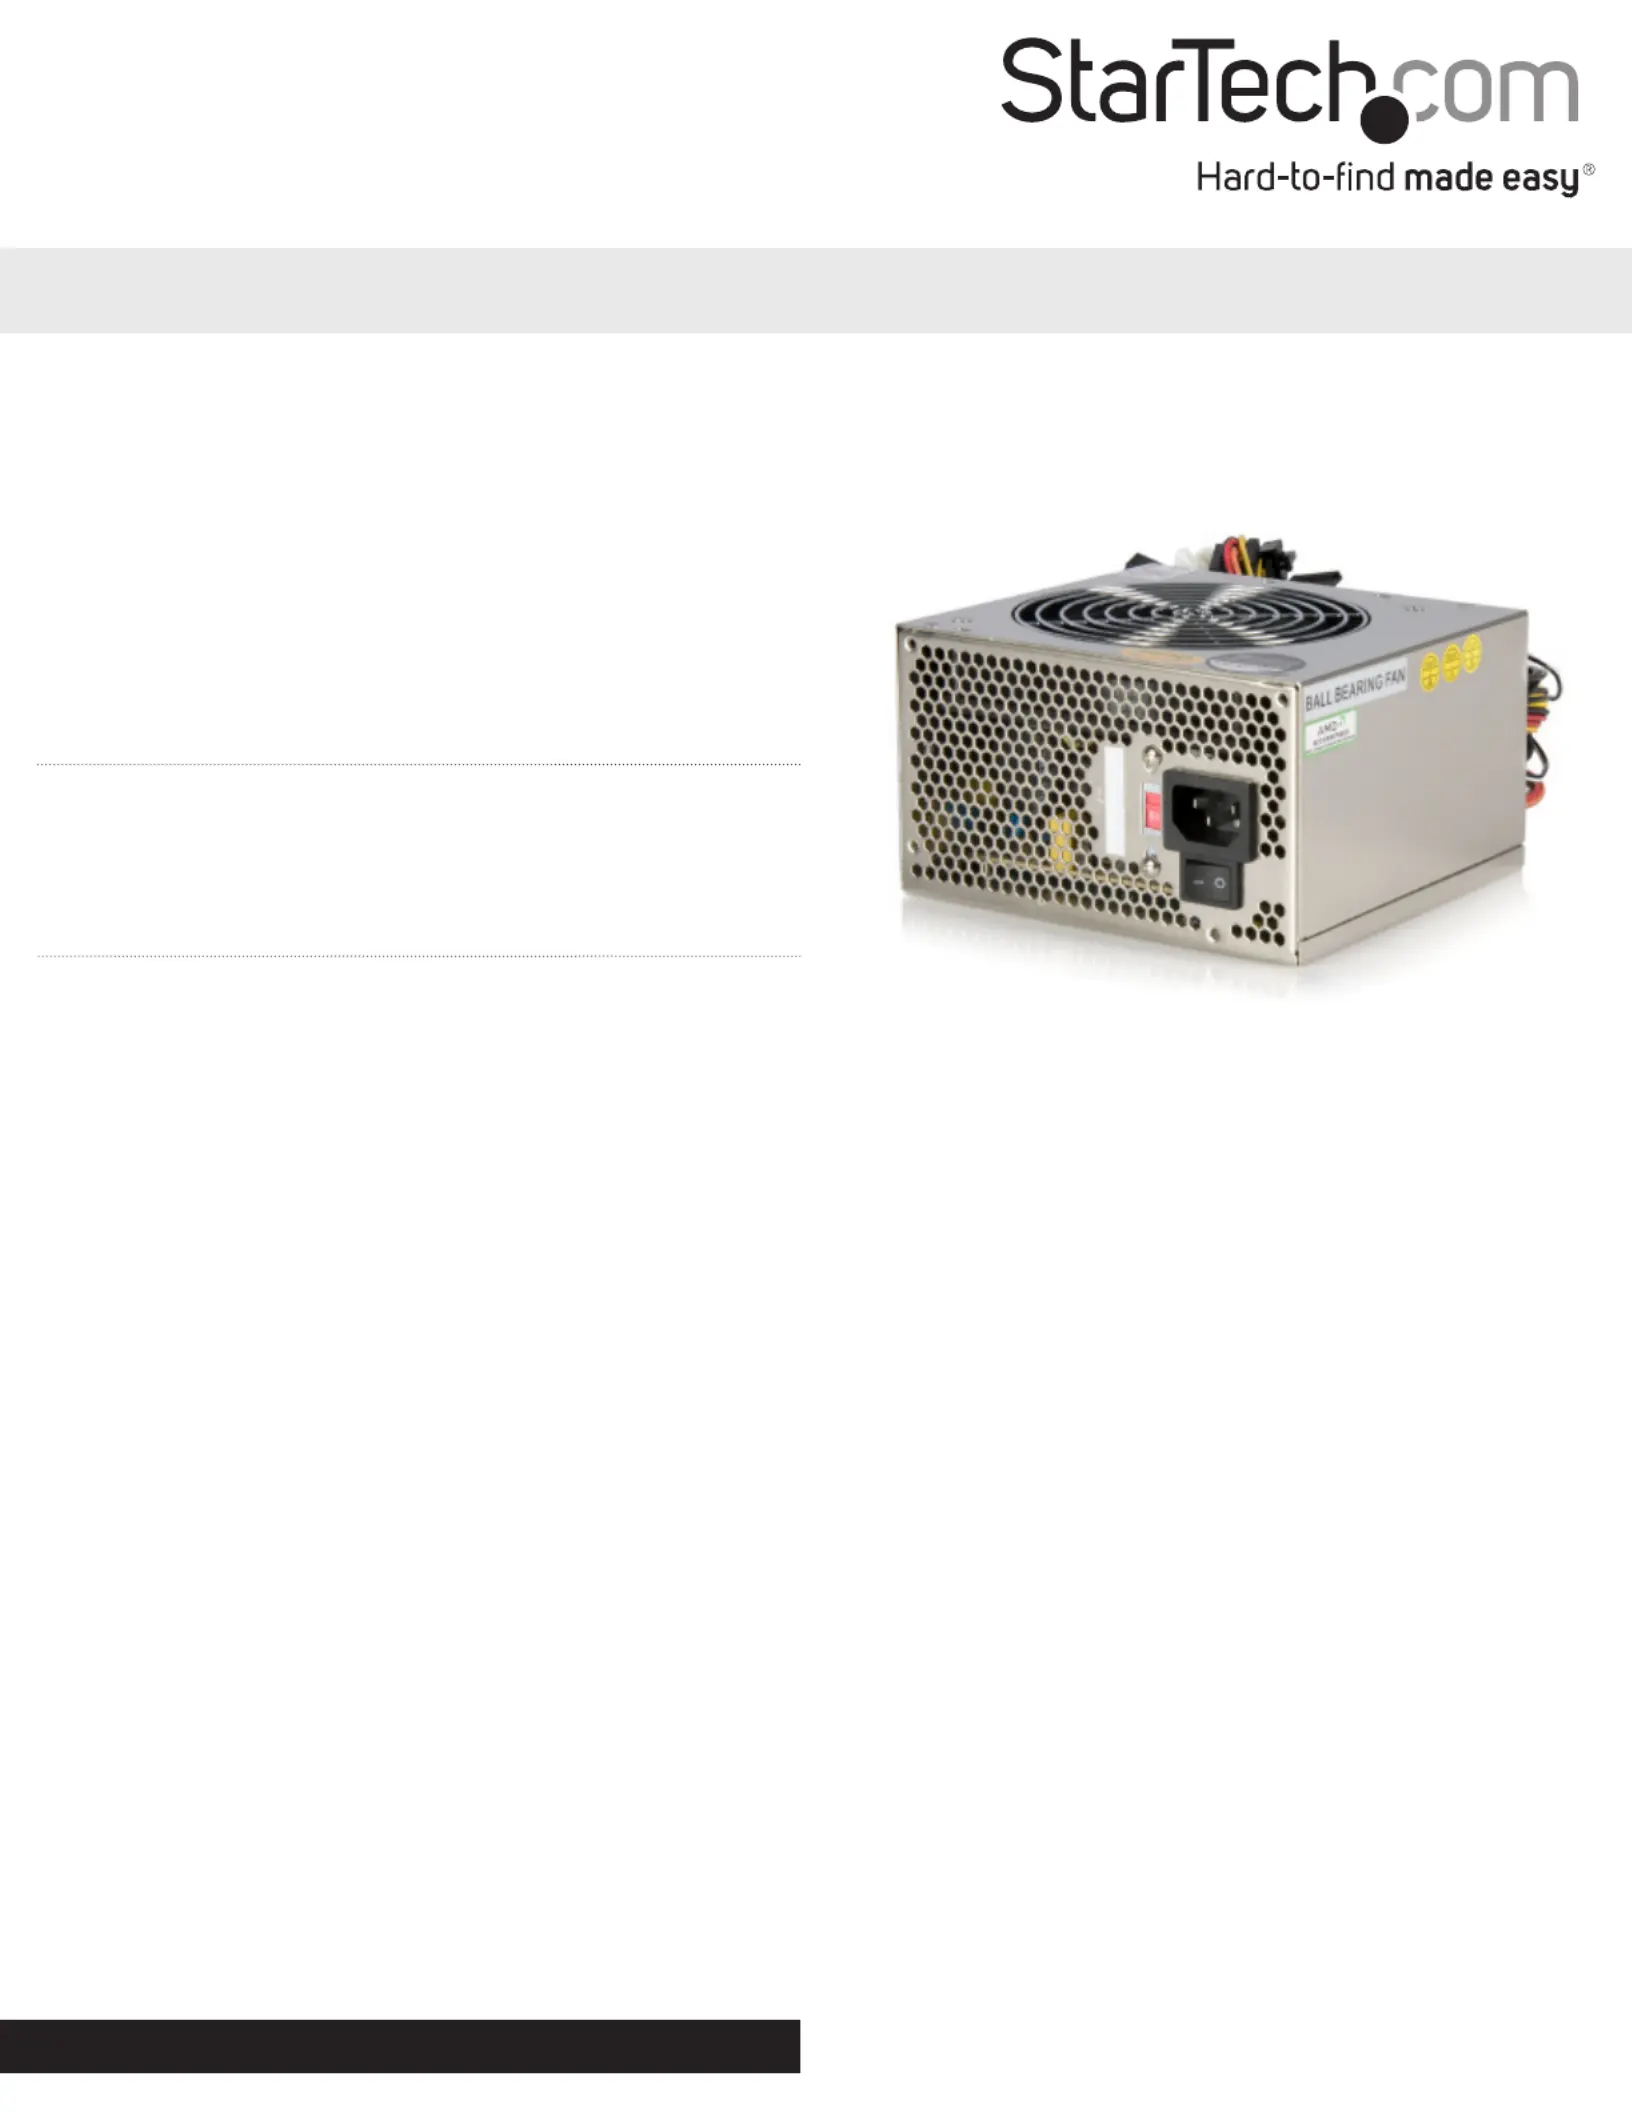
ATX2POW400HS
400 Watt 20/24-pin Silent ATX 2.01 Computer Power Supply
*actual product may vary from photos

FCC Compliance Statement
ThisequipmenthasbeentestedandfoundtocomplywiththelimitsforaClassBdigitaldevice,pursuanttopart15oftheFCCRules.Theselimitsaredesignedtoprovidereasonableprotectionagainst
harmfulinterferenceinaresidentialinstallation.Thisequipmentgenerates,usesandcanradiateradiofrequencyenergyand,ifnotinstalledandusedinaccordancewiththeinstructions,maycause
harmfulinterferencetoradiocommunications.However,thereisnoguaranteethatinterferencewillnotoccurinaparticularinstallation.Ifthisequipmentdoescauseharmfulinterferencetoradioor
televisionreception,whichcanbedeterminedbyturningtheequipmentoandon,theuserisencouragedtotrytocorrecttheinterferencebyoneormoreofthefollowingmeasures:
• Reorientorrelocatethereceivingantenna.
• Increasetheseparationbetweentheequipmentandreceiver.
• Connecttheequipmentintoanoutletonacircuitdierentfromthattowhichthereceiverisconnected.
• Consultthedealeroranexperiencedradio/TVtechnicianforhelp.
Use of Trademarks, Registered Trademarks, and other Protected Names and Symbols
This manual may make reference to trademarks, registered trademarks, and other protected names and/or symbols of third-party companies not related in any way to
StarTech.com.WheretheyoccurthesereferencesareforillustrativepurposesonlyanddonotrepresentanendorsementofaproductorservicebyStarTech.com,oranendorsementoftheproduct(s)
towhichthismanualappliesbythethird-partycompanyinquestion.Regardlessofanydirectacknowledgementelsewhereinthebodyofthisdocument,StarTech.comherebyacknowledgesthatall
trademarks,registeredtrademarks,servicemarks,andotherprotectednamesand/orsymbolscontainedinthismanualandrelateddocumentsarethepropertyoftheirrespectiveholders.
Technical Support
StarTech.com’slifetimetechnicalsupportisanintegralpartofourcommitmenttoprovideindustry-leadingsolutions.Ifyoueverneedhelpwithyourproduct,visitwww.startech.com/supportandaccess
ourcomprehensiveselectionofonlinetools,documentation,anddownloads.
Forthelatestdrivers/software,pleasevisitwww.startech.com/downloads
Warranty Information
Thisproductisbackedbyatwoyearwarranty.
Inaddition,StarTech.comwarrantsitsproductsagainstdefectsinmaterialsandworkmanshipfortheperiodsnoted,followingtheinitialdateofpurchase.Duringthisperiod,theproductsmaybereturned
forrepair,orreplacementwithequivalentproductsatourdiscretion.Thewarrantycoverspartsandlaborcostsonly.StarTech.comdoesnotwarrantitsproductsfromdefectsordamagesarisingfrom
misuse,abuse,alteration,ornormalwearandtear.
Limitation of Liability
InnoeventshalltheliabilityofStarTech.comLtd.andStarTech.comUSALLP(ortheirocers,directors,employeesoragents)foranydamages (whetherdirectorindirect,special,punitive,incidental,
consequential,orotherwise),lossofprots,lossofbusiness,oranypecuniaryloss,arisingoutoforrelatedtotheuseoftheproductexceedtheactualpricepaidfortheproduct.Somestatesdonotallow
theexclusionorlimitationofincidentalorconsequentialdamages.Ifsuchlawsapply,thelimitationsorexclusionscontainedinthisstatementmaynotapplytoyou.
intothepowersupply.Thescrewshouldthreadsmoothlyand
shouldnotrequireeort.Donotforceitoryoucoulddamage
themountingholes.Ifthescrewwon’tthreadsmoothly,remove
itandchecktoensurethemountingholesarecorrectlylined
up.Repeatfortheremainingthreescrews.Donotfullytighten
anyofthescrewsuntiltheyallhavebeenthreadedintotheir
mountingholes.(Note:ConsiderStartechpartSCREWTHUMB
screwsforeasierinstallation.)
9. Tieunusedwiresawayfromfansandothermovingparts.
10. Replacethecasecoverandsecureit.Youmaywishtonot
replacethescrewsuntilafteryouhavecheckedthatall
connectionsareworking.
11. Toggletherearpowerswitchonpowersupplytoo.(The“0”
symbolontheswitch.)Connectthepowercordtothepower
supplyandplugitintoagroundedpoweroutlet.(Thepower
supplyMUSTbeconnectedtoagroundedoutlet.)Togglethe
rearpowerswitchtoon.
12. Startyourcomputer.Youshouldhearitsfansanddevices
immediatelybegintorun.Ifyoudonot,toggletherearswitch
onthepowersupplytoo,disconnectthepowercord,openthe
caseandcheckthatallconnectorsarewellseatedandsecure.
13. Whenyouhaveconrmedallconnectionsareworking,replace
thescrewsinyourcase.
14. Powersuppliescontainelectricalandelectroniccomponents
andshouldbedisposedofproperly.Ifyouarereplacingapower
supply,pleasefollowyourcity’srulesforproperdisposalof
electricalequipment.
Specications
Dimensions 5.51x5.91x3.35in.(140x150x86mm)
Weight 4.2lb(1.9kg)
AC Input Voltage 115V(10A)or230V(5.5A),50/60Hz
(ManualSwitching)
DC Output +3.3V +5V +12V1 +12V2 -12V +5Vsb
30A 28A 14A 15A 1A 2.5A
Output Power
(max.) 400W
Fan 12cm,dualballbearing
Certications FCC,TUV,UL,CUL
Output
Connectors
1xATX12VP4Power(4pin;v2.x)Male
1xATXSplitPower(20+4pin;v2.x)Male
1xMolexFan(3pin;TX3)Female
1xPCIExpressPower(6pin;v1.x)Female
2xSP4(4pin;SmallDrivePower)Female
4xLP4(4pin;MolexLargeDrivePower)Female
4xSATAPower(15pin)Plug
Produktspecifikationer
Varumärke: | StarTech.com |
Kategori: | Dator strömförsörjning |
Modell: | ATX2POW400HS |
Behöver du hjälp?
Om du behöver hjälp med StarTech.com ATX2POW400HS ställ en fråga nedan och andra användare kommer att svara dig
Dator strömförsörjning StarTech.com Manualer
2 Januari 2025
2 Januari 2025
2 Januari 2025
2 Januari 2025
2 Januari 2025
2 Januari 2025
2 Januari 2025
2 Januari 2025
2 Januari 2025
2 Januari 2025
Dator strömförsörjning Manualer
- Gigabyte
- Adj
- AeroCool
- Zippy
- Apc
- Sharkoon
- Mars Gaming
- Seasonic
- 3Com
- Xilence
- Fantec
- Pyle
- Mini-Box
- Zalman
- Ansmann
Nyaste Dator strömförsörjning Manualer
9 April 2025
3 April 2025
30 Mars 2025
30 Mars 2025
28 Mars 2025
16 Januari 2025
8 Januari 2025
6 Januari 2025
2 Januari 2025
2 Januari 2025