V-Zug Adora SLQ WP Bruksanvisning
V-Zug tvättmaskin Adora SLQ WP
Läs gratis den bruksanvisning för V-Zug Adora SLQ WP (7 sidor) i kategorin tvättmaskin. Guiden har ansetts hjälpsam av 22 personer och har ett genomsnittsbetyg på 4.0 stjärnor baserat på 3 recensioner. Har du en fråga om V-Zug Adora SLQ WP eller vill du ställa frågor till andra användare av produkten? Ställ en fråga
Sida 1/7
Installation instructions
Washing machine
One-family household
1014123-R03
31/10/2017
1014123-R03
1
For Service and Spare Part Information please contact: V-ZUG AUSTRALIA Pty. Ltd. Tel+61732096822
The appliance should be installed by qualified personnel only.
Each step must be carried out and checked in full in the order specified.
Validity
These installation instructions apply to the models: (L11010), S (11011), SL (11012), SLQ (11013), SLQ WP (11014)
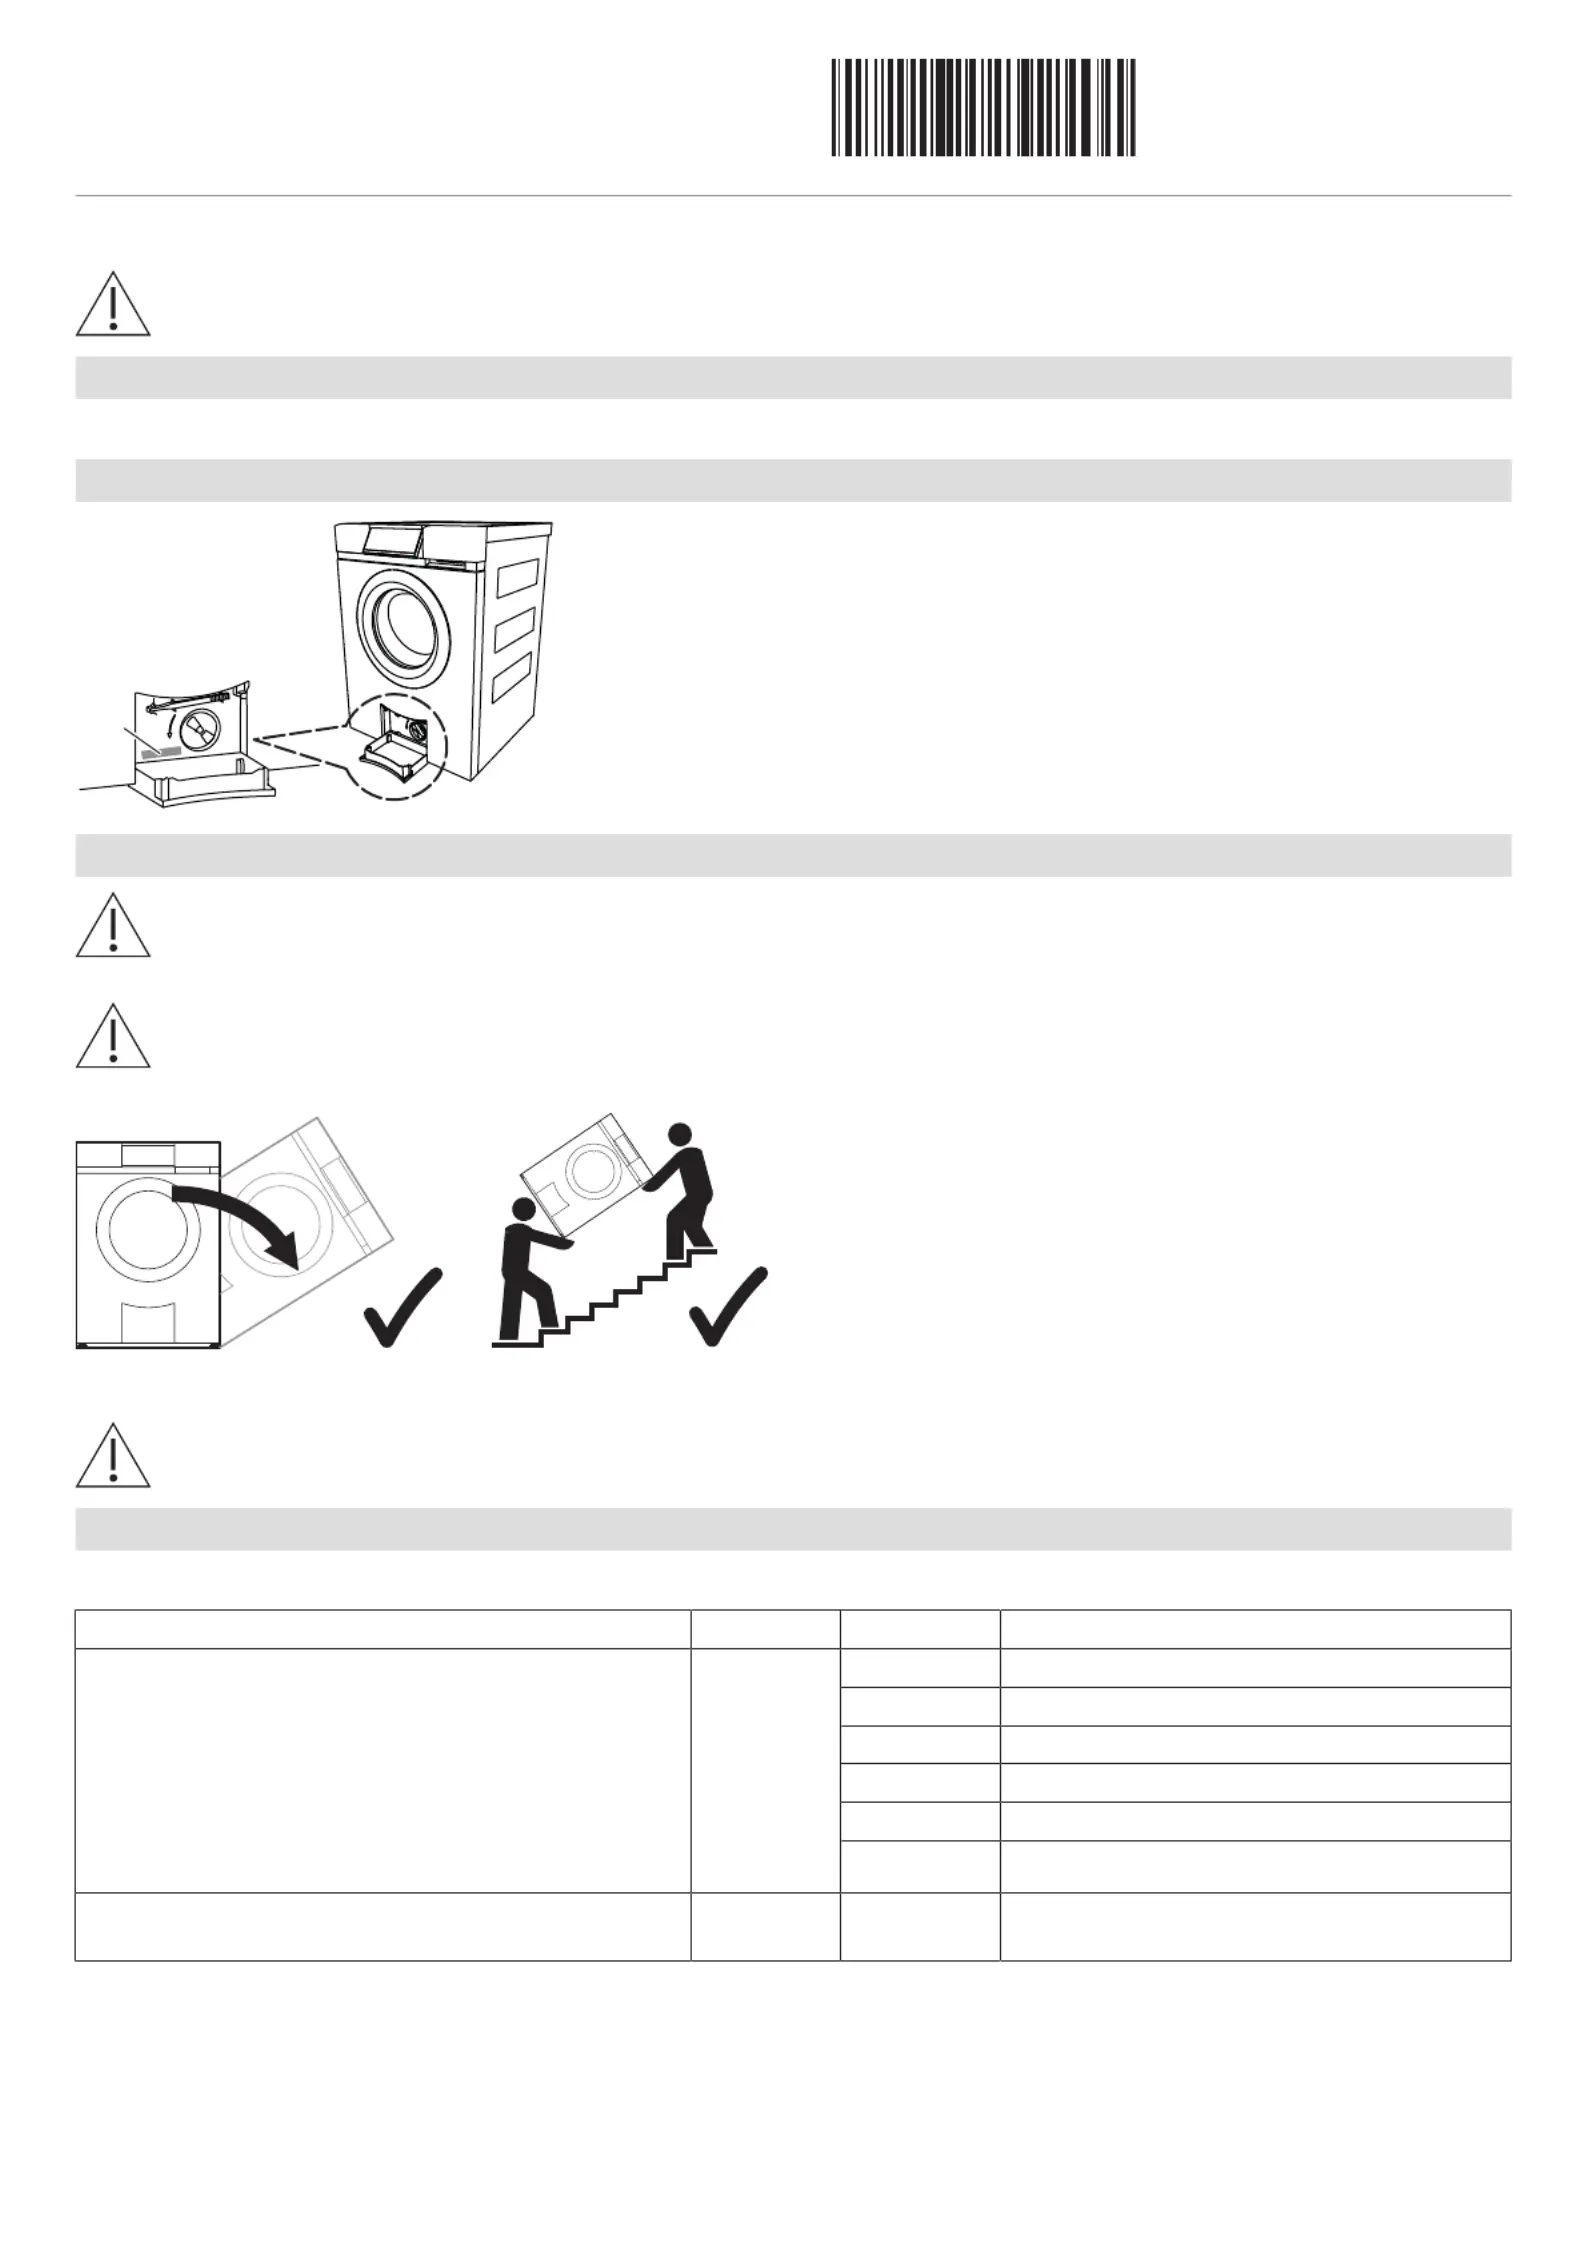
Identification plate
1
▸Open the drain tray below the appliance door (see «1. Opening
the appliance door»)
–Identification plate 1
Transport
If the weight of the appliance is greater than your lifting capacity, the appliance must be transported by several
people or using a transport aid. The weight of the appliance is given on the appliance packaging and in the operating
instructions.
Transport the appliance in an upright position only! Transporting it in any other position will cause damage. When
carried carefully without being shaken, the appliance may be tilted a maximum of 90° to the right (viewed from the
front).
Applicable only to model SLQ WP:
In the event that the appliance is tilted during transportation or installation it must not be put into operation for 2
hours.
Installation accessories supplied
The necessary installation accessories are located in the washing drum and in the appliance packaging.
DesignationArticle no.NumberSee installation step
Installation set, incl.:
▪Rubber stopper
▪Screw material
▪External drain hose
▪Wire hose clamp
▪Hose support
W411521
22. Removing the transport lock
14. Positioning the installation plate
15. Plumbing in
15. Plumbing in
15. Plumbing in
Installation plate (incl. double-sided
adhesive tape)
W4065314. Positioning the installation plate
Produktspecifikationer
| Varumärke: | V-Zug |
| Kategori: | tvättmaskin |
| Modell: | Adora SLQ WP |
Behöver du hjälp?
Om du behöver hjälp med V-Zug Adora SLQ WP ställ en fråga nedan och andra användare kommer att svara dig
tvättmaskin V-Zug Manualer

1 September 2025
1 September 2025
1 September 2025
18 September 2024
8 September 2024
7 September 2024
5 September 2024
1 September 2024
26 Augusti 2024
24 Augusti 2024
tvättmaskin Manualer
Nyaste tvättmaskin Manualer
3 April 2026
3 April 2026
2 April 2026
2 April 2026
2 April 2026
2 April 2026
2 April 2026
1 April 2026
1 April 2026
1 April 2026