Edimax AR-7167WNA Bruksanvisning
Läs gratis den bruksanvisning för Edimax AR-7167WNA (68 sidor) i kategorin Router. Guiden har ansetts hjälpsam av 35 personer och har ett genomsnittsbetyg på 4.3 stjärnor baserat på 6 recensioner. Har du en fråga om Edimax AR-7167WNA eller vill du ställa frågor till andra användare av produkten? Ställ en fråga
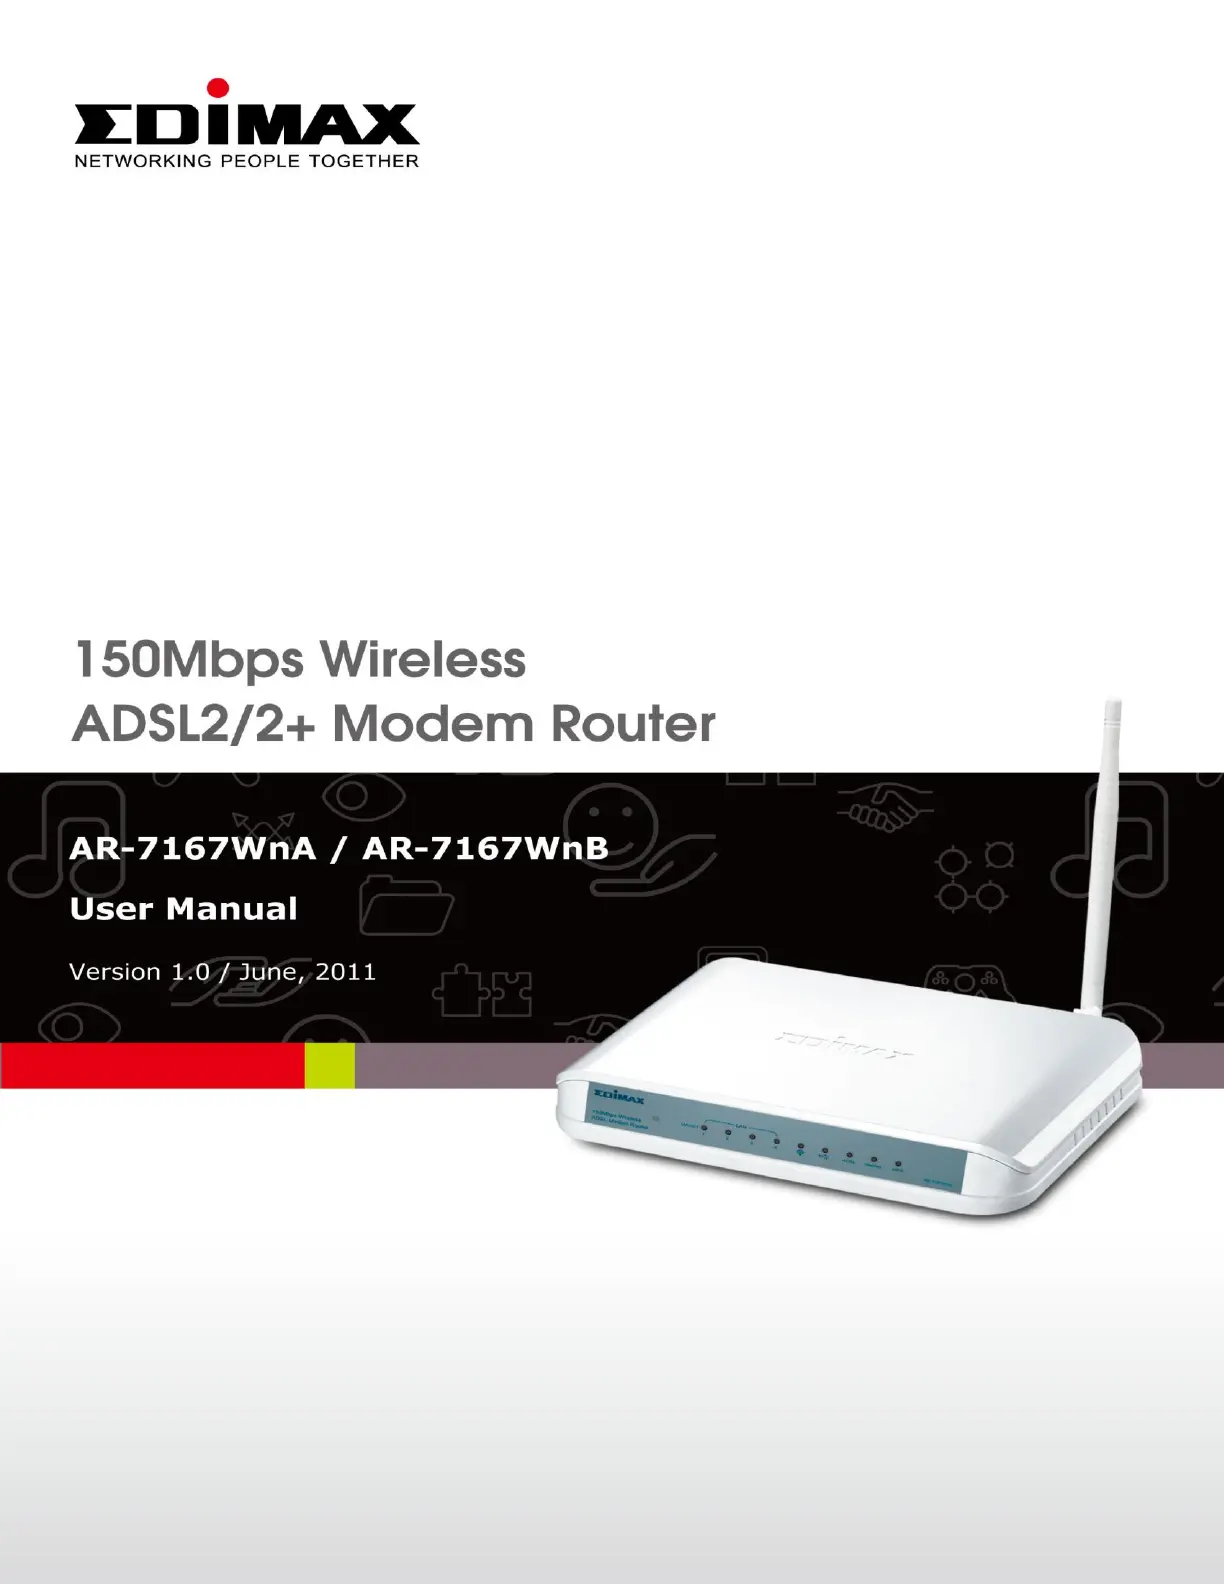
Sida 1/68
Produktspecifikationer
| Varumärke: | Edimax |
| Kategori: | Router |
| Modell: | AR-7167WNA |
| Vikt: | - g |
| Bredd: | 179 mm |
| Djup: | 133 mm |
| Höjd: | 25 mm |
| LED-indikatorer: | DSL, Link, Power |
| Wi-Fi-standarder: | 802.11b, 802.11g, Wi-Fi 4 (802.11n) |
| Frekvensband: | 2.4 GHz |
| Snabbstartsguide: | Ja |
| Certifiering: | CE, FCC |
| Internminne: | 16 MB |
| Antal RJ-11-portar: | 1 |
| Kabelteknik: | 10/100Base-T(X) |
| Återställningsknapp: | Ja |
| Rackmontering: | Nej |
| xDSL-anslutning: | Ja |
| MAC-adressfiltrering: | Ja |
| Filtrering: | Ja |
| Flashminne: | 4 MB |
| DHCP-server: | Ja |
| Universal Plug and Play (UPnP): | Ja |
| DHCP-klient: | Ja |
| Uppströms datahastighet: | 24 Mbit/s |
| Nedströms datahastighet: | 1 Mbit/s |
| DMZ-stöd: | Ja |
| DSL WAN: | Ja |
| Antenndesign: | Extern |
| ADSL: | Ja |
| Produktens färg: | Vit |
| bruksanvisning: | Ja |
| Nätverksegenskaper: | Snabb Ethernet |
| Datahastighet för Ethernet-LAN: | 10, 100 Mbit/s |
| Antal LAN (RJ-45) anslutningar: | 4 |
| Temperatur vid drift: | 10 - 40 ° C |
| Intervall för relativ operativ luftfuktighet: | 10 - 90 % |
| Utgångsspänning: | 12 V |
| Kryptering/säkerhet: | 128-bit WEP, 64-bit WEP, WPA-PSK, WPA2-PSK |
| Frekvensområde: | 2.4 - 5 GHz |
| Nätverksansluten (Ethernet): | Ja |
| Likströmsingång: | Ja |
| Firmware kan uppgraderas: | Ja |
| AC-adapter inkluderad: | Ja |
| På / av-knapp: | Ja |
| Webbaserad adminstraion: | Ja |
| Antenner mängd: | 1 |
| Antenn ökningsnivå (max): | 3 dBi |
| Kommunikationsstandarder: | IEEE 802.11b, IEEE 802.11g, IEEE 802.11n, IEEE 802.3, IEEE 802.3u |
| Stöd för garanterad tjänstekvalitet (QoS): | Ja |
| Typ av Ethernet LAN-gränssnitt: | Snabb Ethernet |
| Tillgängliga dataöverföringshastigheter, WLAN: | 150 Mbit/s |
| Wi-Fi-standard: | Wi-Fi 4 (802.11n) |
| Dataöverföringshastighet via WLAN (max): | 150 Mbit/s |
| Router-protokoll: | IP |
| VPN-stöd: | IPSec/PPTP |
| SPI (Stateful Packet Inspection): | Ja |
| DSL specifikation: | ADSL2+ |
| Filtreringsbeskrivning: | URL |
| Stöd till WAN typer: | G.992.1\r\nG.992.2\r\nG.992.3\r\nG.992.5 |
Behöver du hjälp?
Om du behöver hjälp med Edimax AR-7167WNA ställ en fråga nedan och andra användare kommer att svara dig
Router Edimax Manualer

23 Juli 2025
23 Juli 2025
23 Juli 2025
23 Juli 2025
23 Juli 2025
23 Juli 2025
23 Juli 2025
23 Juli 2025
23 Juli 2025
23 Juli 2025
Router Manualer
Nyaste Router Manualer
3 April 2026
1 April 2026
31 Mars 2026
31 Mars 2026
29 Mars 2026
26 Mars 2026
25 Mars 2026
23 Mars 2026
22 Mars 2026
22 Mars 2026