Flir Ariel CM-3505 Bruksanvisning
Flir övervakningskamera Ariel CM-3505
Läs gratis den bruksanvisning för Flir Ariel CM-3505 (12 sidor) i kategorin övervakningskamera. Guiden har ansetts hjälpsam av 50 personer och har ett genomsnittsbetyg på 4.1 stjärnor baserat på 3 recensioner. Har du en fråga om Flir Ariel CM-3505 eller vill du ställa frågor till andra användare av produkten? Ställ en fråga
Sida 1/12
CM-350x Quick Install Guide Revision 100
February 2025
This document does not contain any export-controlled information.
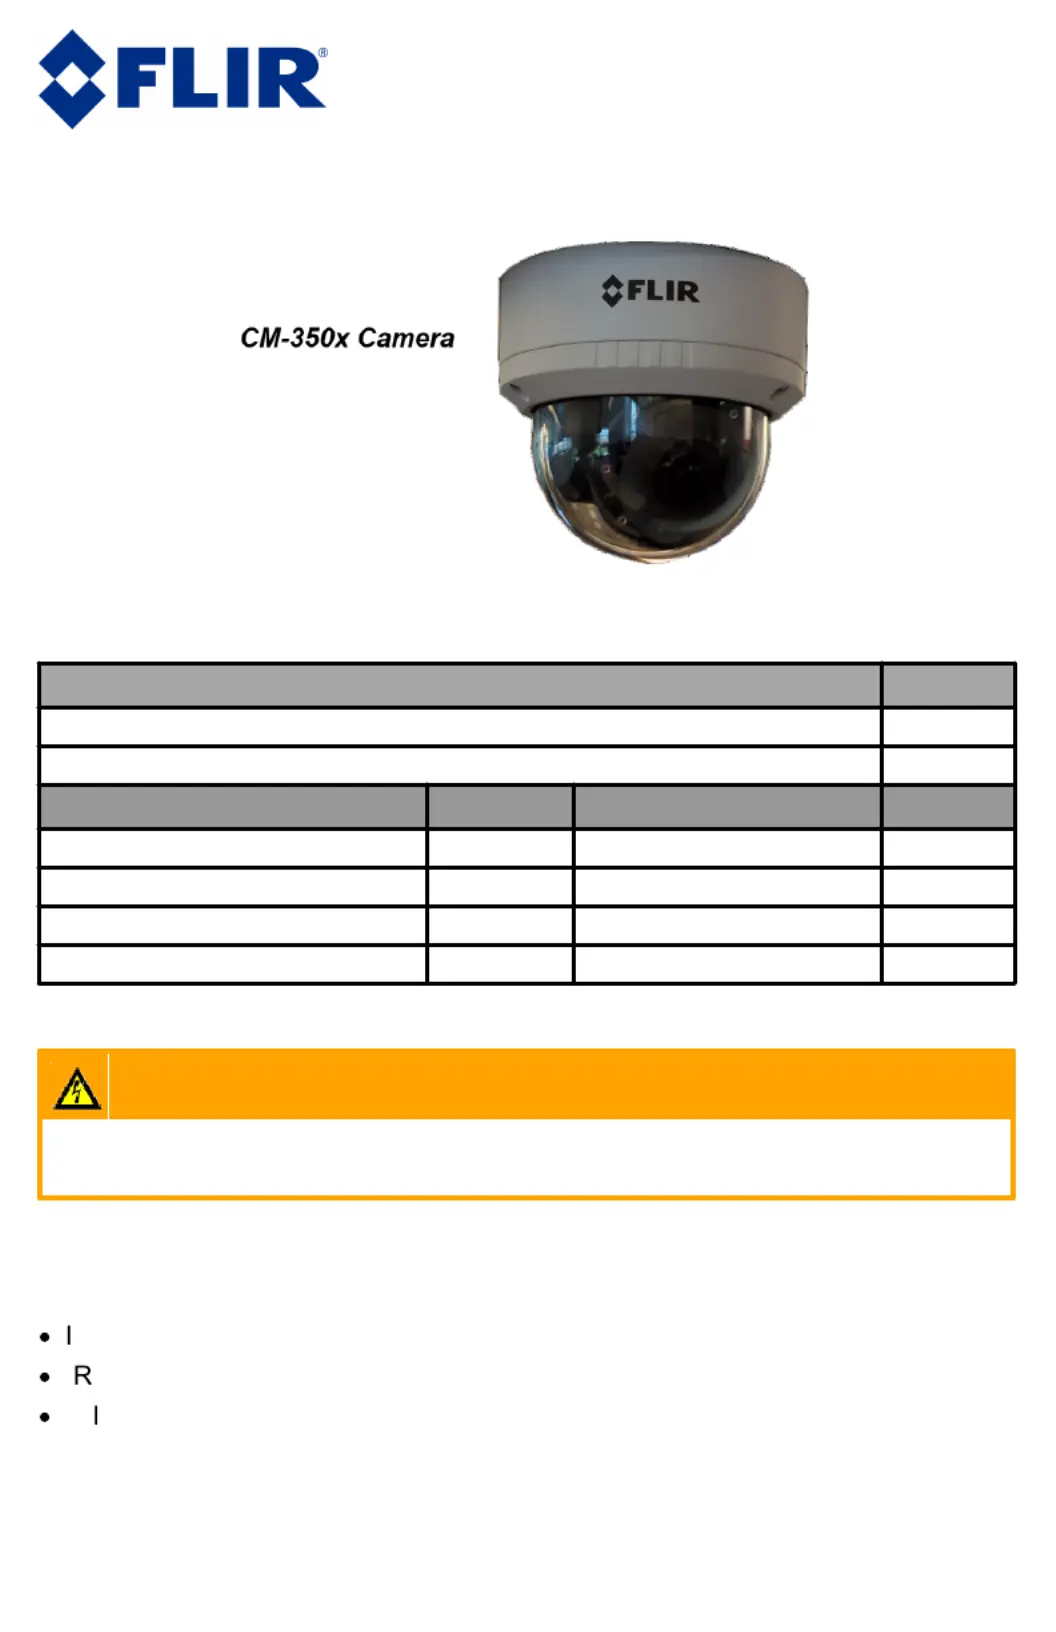
Ariel™ CM-350x
Dome Cameras
Quick Install Guide
1 Check Contents
Make sure all of the items below are included in the kit:
Item
Quantity
M4x8mm machine screws for attaching the camera to adapter plate
2
M4x16mm countersunk screws for attaching the adapter plate to electrical box
2
Item
Quantity
Item
Quantity
4S electrical box adapter plate
1
Mounting template sticker
1
M4x25 screws
2
T20 Torx wrench
1
Plastic screw anchors
2
This printed guide
1
Rubber multi-cable seal
1
Allen key
1
2 Select a Location
Warnings
The camera must be installed by qualified personnel and the installation must
conform to all local codes.
The camera is designed to be mounted outdoors.
Make sure that the operating temperature falls within the following ranges, with 10-
90% non-condensing humidity:
IR off: -40°C to 60°C (-40°F to 140°F)
IR on: -40°C to 40°C (-40°F to 104°F)
cold start: -20°C (-4°F)
Make sure you have the required accessories and tools.
Make sure that the location provides a suitable method for routing cables to and
from the camera.
Produktspecifikationer
| Varumärke: | Flir |
| Kategori: | övervakningskamera |
| Modell: | Ariel CM-3505 |
Behöver du hjälp?
Om du behöver hjälp med Flir Ariel CM-3505 ställ en fråga nedan och andra användare kommer att svara dig
övervakningskamera Flir Manualer

11 Oktober 2025
13 Augusti 2025
3 Augusti 2025
3 Augusti 2025
3 Augusti 2025
17 Juli 2025
17 Juli 2025
17 Juli 2025
17 Juli 2025
17 Juli 2025
övervakningskamera Manualer
Nyaste övervakningskamera Manualer
2 April 2026
2 April 2026
1 April 2026
1 April 2026
1 April 2026
31 Mars 2026
31 Mars 2026
31 Mars 2026
30 Mars 2026
30 Mars 2026