Flir Summit DBV54DL Bruksanvisning
Flir övervakningskamera Summit DBV54DL
Läs gratis den bruksanvisning för Flir Summit DBV54DL (2 sidor) i kategorin övervakningskamera. Guiden har ansetts hjälpsam av 21 personer och har ett genomsnittsbetyg på 4.8 stjärnor baserat på 6 recensioner. Har du en fråga om Flir Summit DBV54DL eller vill du ställa frågor till andra användare av produkten? Ställ en fråga
Sida 1/2
Product Information
User Manuals
Quick Start Guides
Specification Sheets
Video Tutorials & DemosLatest News
1 x Flat-head Screwdriver
Contents
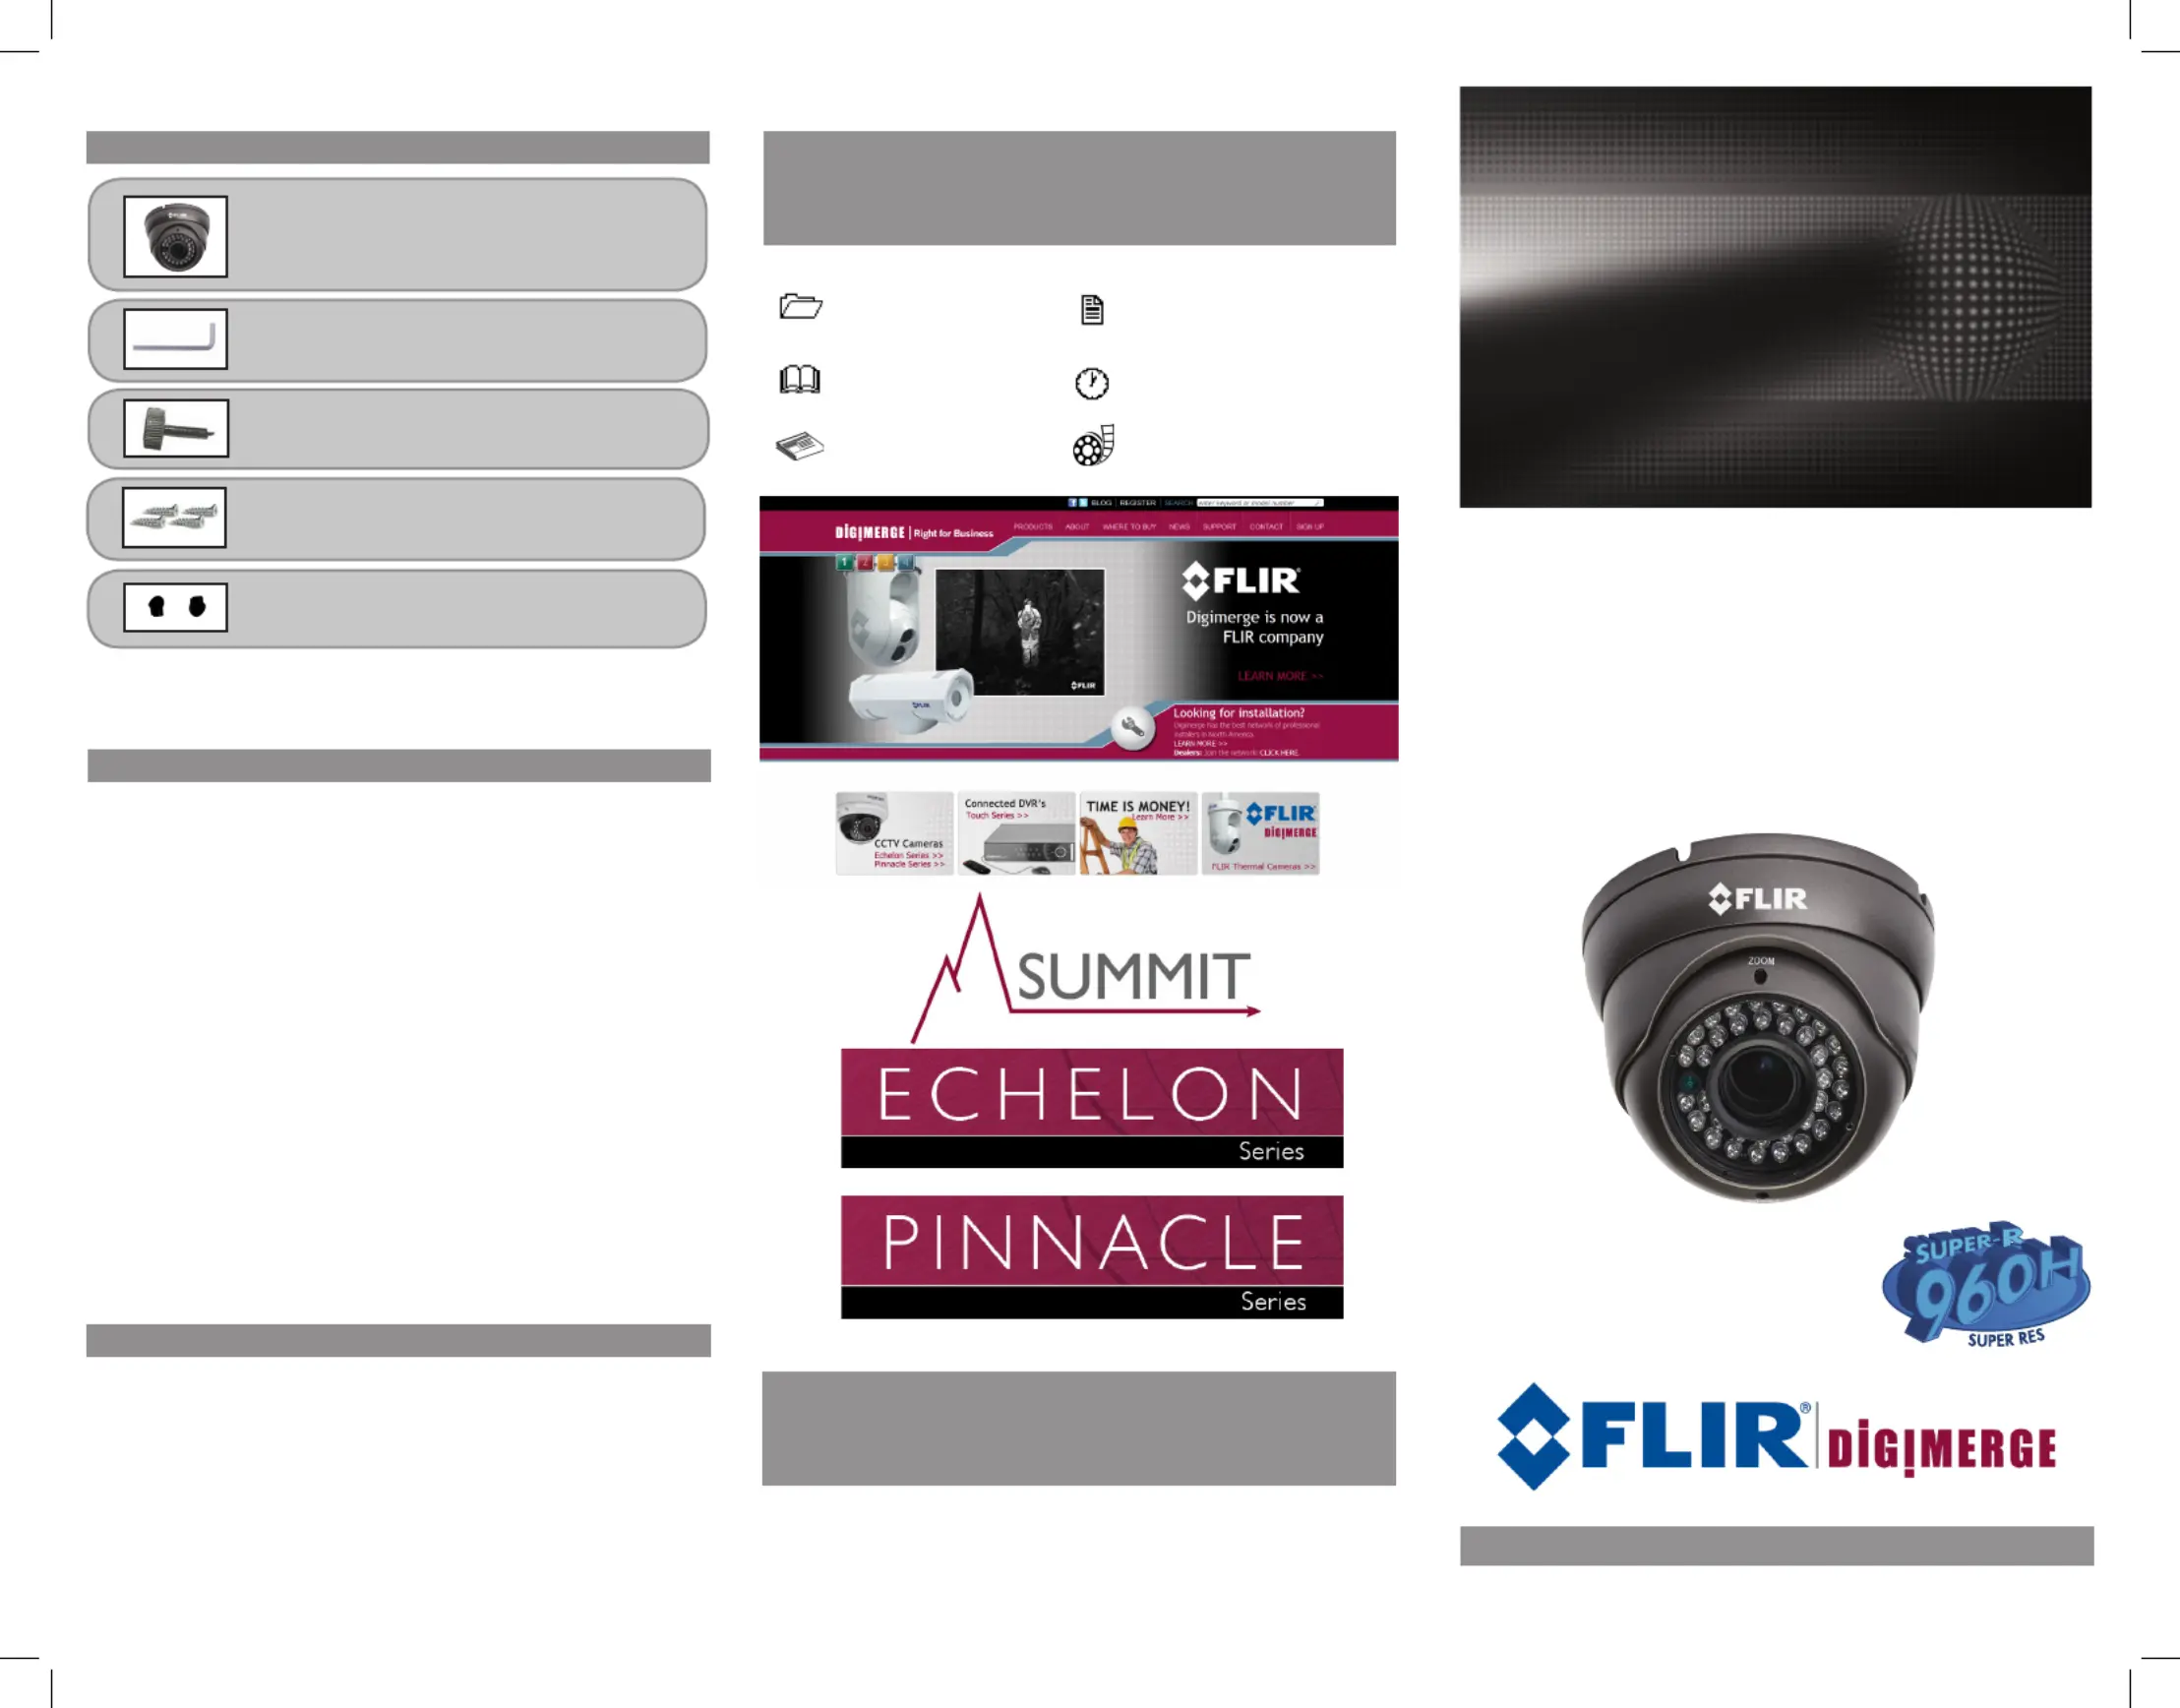
700+ TVL VARIFOCAL
OUTDOOR IR DOME CAMERA
MODEL: DBV54DL
QUICK START GUIDE
English Version 1.0
www.digimerge.com
IT’S ALL ON THE WEB!
www.digimerge.com
VISIT
Digimerge Technologies Inc.
Copyright © 2013
As our products are subject to continuous improvement, Digimerge
reserves the right to modify product design, specifications and prices,
without notice and without incurring any obligation. E&OE
1 x Weatherproof IR Dome
Camera with Varifocal Lens
1 x Hex Allen Key
Features
Safety Precautions
• Use an appropriate low voltage power cable to prevent
fire or electrical shock.
• Make sure to install the camera in an area that can
support the camera weight.
• There are no user serviceable parts inside the camera.
Please do not disassemble the camera.
• Do not clean the lens cover with an abrasive cleaning
material. Please use a soft cloth to clean the lens cover.
2 x Rubber Weatherproofing Plugs
4 x Mounting Screws
• 1/3” Sony EXview™ II 960H with Effio DSP / 700+ TVL
• Superior Low Light Sensitivity
• Advanced Digital Noise Reduction
• Smart IR Night Vision (100ft/30m)*
• 2.8–12mm Varifocal Auto Iris Lens
• External Zoom / Focus Adjustment
• IP66 Weatherproof Rating**
• 3-Axis Design for Wall/Ceiling Mounting
• Vandal Resistant
* IR Illumination range under ideal conditions. Objects at or beyond
this range may be partially or completely obscured, depending on the
camera application.
** Not recommended for submersion in water.
Produktspecifikationer
| Varumärke: | Flir |
| Kategori: | övervakningskamera |
| Modell: | Summit DBV54DL |
Behöver du hjälp?
Om du behöver hjälp med Flir Summit DBV54DL ställ en fråga nedan och andra användare kommer att svara dig
övervakningskamera Flir Manualer

11 Oktober 2025
13 Augusti 2025
3 Augusti 2025
3 Augusti 2025
3 Augusti 2025
17 Juli 2025
17 Juli 2025
17 Juli 2025
17 Juli 2025
17 Juli 2025
övervakningskamera Manualer
Nyaste övervakningskamera Manualer
2 April 2026
2 April 2026
1 April 2026
1 April 2026
1 April 2026
31 Mars 2026
31 Mars 2026
31 Mars 2026
30 Mars 2026
30 Mars 2026