Grizzly ERT 3525 Bruksanvisning
Grizzly Grastrimmer ERT 3525
Läs gratis den bruksanvisning för Grizzly ERT 3525 (100 sidor) i kategorin Grastrimmer. Guiden har ansetts hjälpsam av 38 personer och har ett genomsnittsbetyg på 4.7 stjärnor baserat på 2 recensioner. Har du en fråga om Grizzly ERT 3525 eller vill du ställa frågor till andra användare av produkten? Ställ en fråga
Sida 1/100
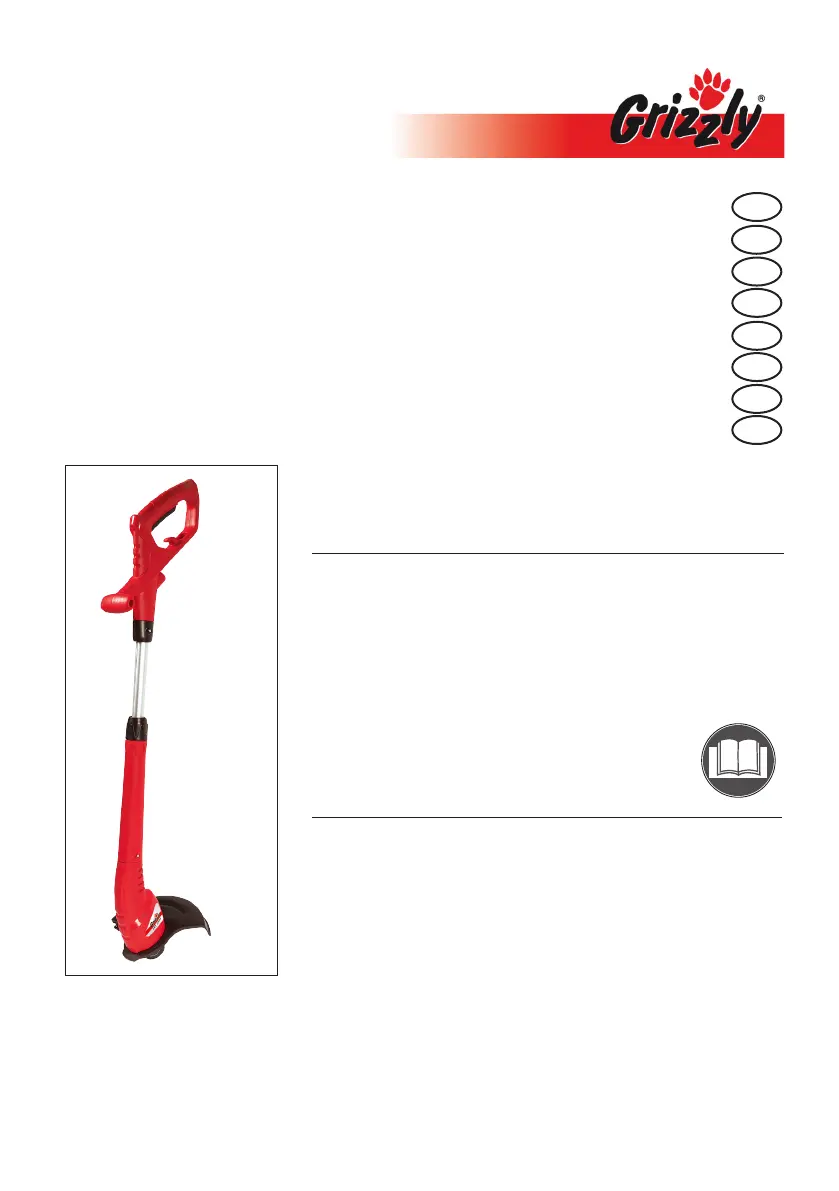
ERT 3525
Elektro-Rasentrimmer
Electric Lawn Trimmer
Elektrische gazontrimmer
Tagliabordi elettrico
Coupe bordure électrique
Elektryczna przycinarka do trawy
Elektrická strunová sekačka na trávník
Elektrinė žoliapjovė
Originalbetriebsanleitung
Translation of the original instructions for use
Vertaling van de originele gebruiksaanwijzing
Traduzione delle istruzioni per l’uso in originale
Traduction de la notice d’utilisation originale
Tłumaczenie oryginalnej instrukcji obsługi
Překlad originálního návodu k obsluze
iOriginalios eksploatavimo instrukcijos vertimas
DE
GB
NL
IT
FR
PL
CZ
LT
Produktspecifikationer
| Varumärke: | Grizzly |
| Kategori: | Grastrimmer |
| Modell: | ERT 3525 |
Behöver du hjälp?
Om du behöver hjälp med Grizzly ERT 3525 ställ en fråga nedan och andra användare kommer att svara dig
Grastrimmer Grizzly Manualer

21 September 2024
21 September 2024
21 September 2024
21 September 2024
10 September 2024
9 September 2024
8 September 2024
Grastrimmer Manualer
Nyaste Grastrimmer Manualer
2 April 2026
1 April 2026
30 Mars 2026
30 Mars 2026
29 Mars 2026
29 Mars 2026
28 Mars 2026
26 Mars 2026
14 Mars 2026
13 Mars 2026