Watts BT DPRF-01 Bruksanvisning
Läs gratis den bruksanvisning för Watts BT DPRF-01 (48 sidor) i kategorin Termostat. Guiden har ansetts hjälpsam av 34 personer och har ett genomsnittsbetyg på 4.4 stjärnor baserat på 2 recensioner. Har du en fråga om Watts BT DPRF-01 eller vill du ställa frågor till andra användare av produkten? Ställ en fråga
Sida 1/48
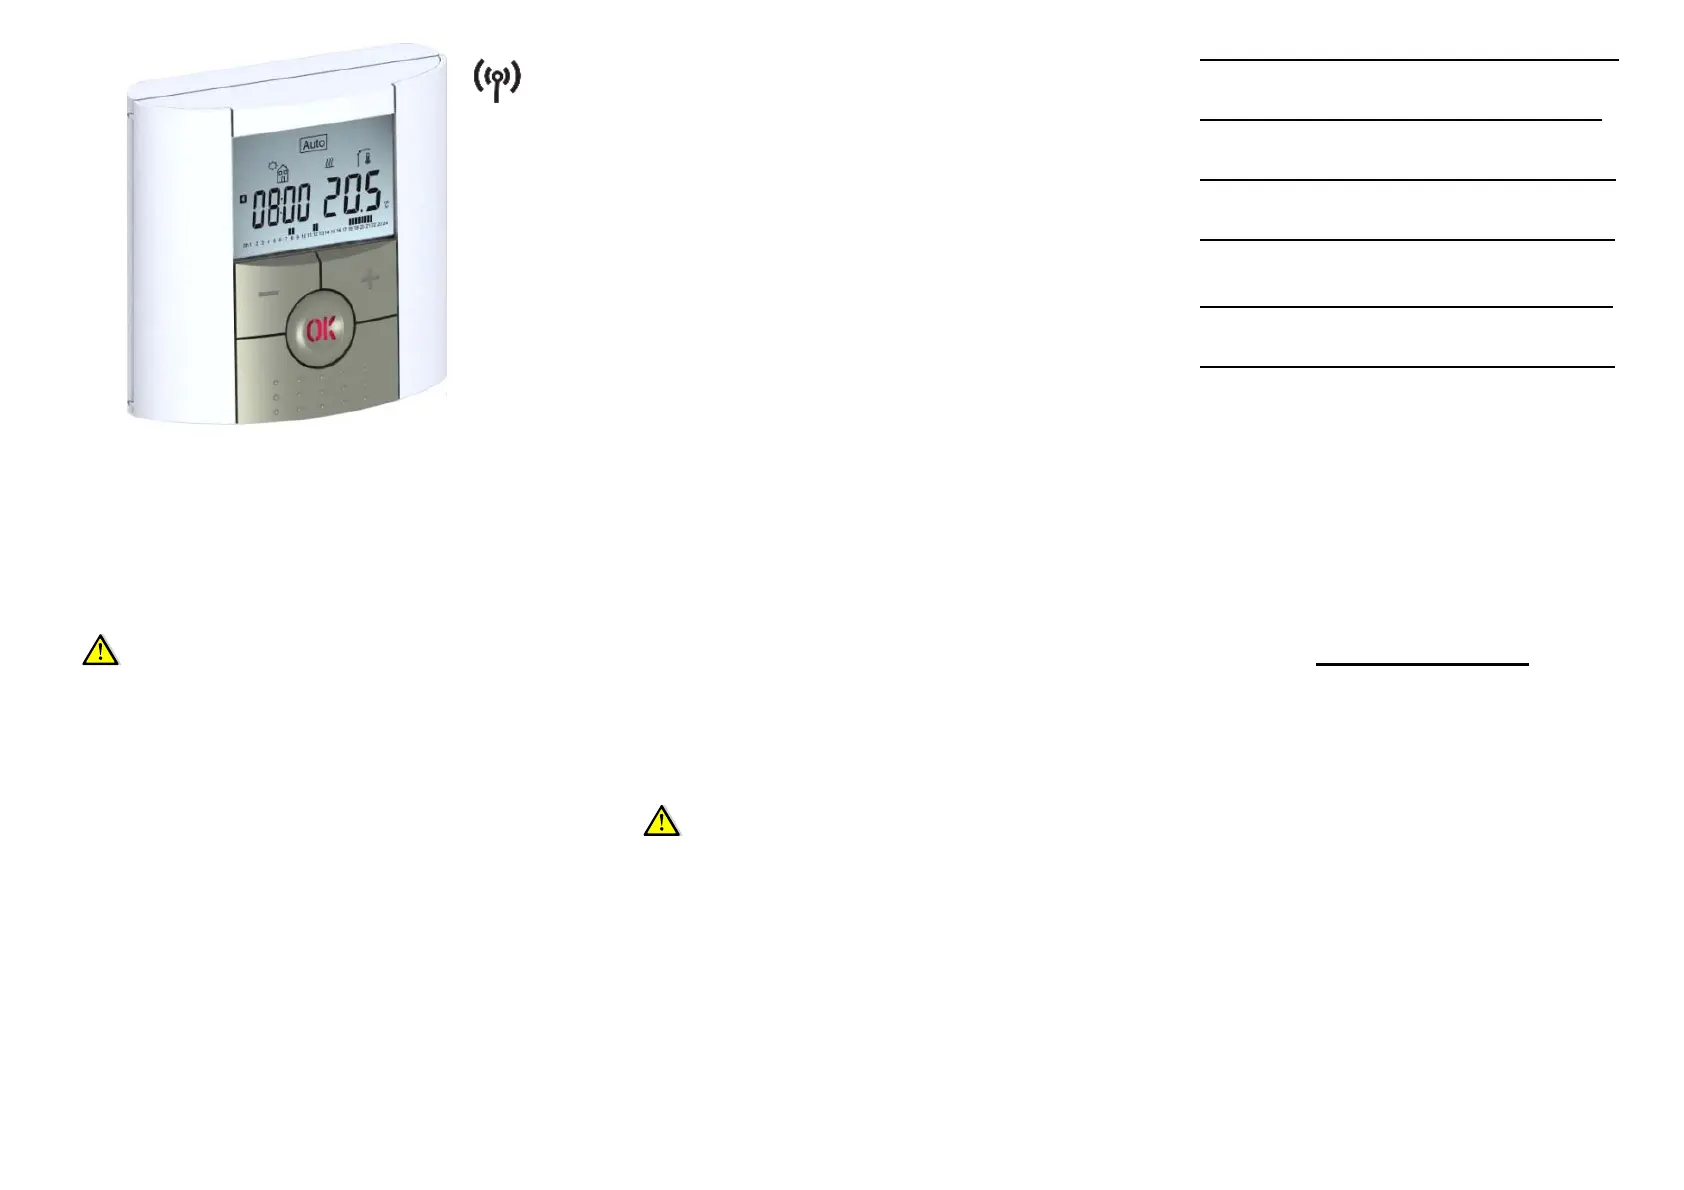
BT DPRF-01
2
3
USER GUIDE GB
RF Digital programmable Thermostat 3-49
GUIDE D’UTILISATION F
RF Digital programmable Thermostat 50-95
GUÍA DE USUARIO ES
Termostato digital programable RF 96-141
GUIA DO UTILIZADOR PT
Termostato programável digital de RF 142-190
HANDLEIDING NL
RF Digitale programmeerbare Thermostaat192-234
INSTRUKCJA UŻYTKOWNIKA PL
Elektroniczny radiowy termostat 232-277
programowalny
4
IMPORTANT!
Before starting work the installer should carefully read this
Installation & Operation Manual, and make sure all
instructions contained therein are understood and observed.
- The thermostat should be mounted, operated and
maintained by specially trained personnel only. Personnel in
the course of training are only allowed to handle the product
under the supervision of an experienced fitter. Subject to
observation of the above terms, the manufacture shall
assume the liability for the equipment as provided by legal
stipulations.
- All instructions in this Installation & Operation manual
should be observed when working with the controller. Any
other application shall not comply with the regulations. The
manufacturer shall not be liable in case of incompetent use
of the control. Any modifications and amendments are not
allowed for safety reasons. The maintenance may be
performed by service shops approved by the manufacturer
only.
- The functionality of the controller depends on the model
and equipment. This installation leaflet is part of the product
and has to be obtained.
5
APPLICATION
- The thermostats of the “BT” series are developed to control
and manage all type of heating installations.
- The controllers have been designed for use in residential
rooms, office spaces and industrial facilities.
Verify that the installation complies with existing regulations
before operation to ensure proper use of the installation.
SAFETY INSTRUCTIONS
Before starting work disconnect power supply!
- All installation and wiring work related to the thermostat
must be carried out only when de-energized. The appliance
should be connected and commissioned by qualified
personnel only. Make sure to adhere to valid safety
regulations.
- Thethermostats are neither splash- nor drip-proof.
Therefore, they must be mounted at a dry place.
- Do not interchange the connections of the sensors and the
230V connections under any circumstances! Interchanging
these connections may result in life endangering electrical
hazards or the destruction of the appliance and the
connected sensors and other appliances.
6
Table of content
1
Presentation ..................................................... 7
1.1Keyboard.......................................................... 9
1.2Display & LED ................................................ 10
2First Installation .............................................. 12
2.1Batteries installation ....................................... 12
2.2Time and Date adjustment ............................. 13
2.3RF installation ................................................ 14
2.4Starting .......................................................... 17
3Working mode definition ................................ 19
3.1Manual mode Comfort .................................. 20
3.2Manual mode, Reduced ................................ 20
3.3OFF mode ..................................................... 20
3.4Automatic mode ............................................. 21
3.5Program mode .............................................. 22
3.6Holiday mode ................................................. 33
3.7Timer mode ................................................... 34
4Special function .............................................. 35
4.1Keyboards lock Function ............................... 35
4.2Information ..................................................... 35
5Parameter’s menu .......................................... 37
6Technical characteristics ................................ 42
7Troubleshooting & Solution ............................ 44
Produktspecifikationer
| Varumärke: | Watts |
| Kategori: | Termostat |
| Modell: | BT DPRF-01 |
Behöver du hjälp?
Om du behöver hjälp med Watts BT DPRF-01 ställ en fråga nedan och andra användare kommer att svara dig
Termostat Watts Manualer

12 September 2025
29 Mars 2025
29 Mars 2025
29 Mars 2025
13 Mars 2025
8 Mars 2025
4 Mars 2025
3 Februari 2025
31 Januari 2025
30 Januari 2025
Termostat Manualer
Nyaste Termostat Manualer
2 April 2026
1 April 2026
31 Mars 2026
30 Mars 2026
19 Mars 2026
16 Mars 2026
14 Mars 2026
25 Februari 2026
13 Oktober 2025
12 Oktober 2025