Berner Washdown Series 16 Bruksanvisning
Berner Luftkonditionering Washdown Series 16
Läs gratis den bruksanvisning för Berner Washdown Series 16 (6 sidor) i kategorin Luftkonditionering. Guiden har ansetts hjälpsam av 49 personer och har ett genomsnittsbetyg på 4.7 stjärnor baserat på 9 recensioner. Har du en fråga om Berner Washdown Series 16 eller vill du ställa frågor till andra användare av produkten? Ställ en fråga
Sida 1/6
UNCRATING
Carefully examine the carton(s) for damage before opening. If the carton is damaged, immediately notify the shipping
company. Remove the banding straps. Open the carton(s) and remove all protective packaging. If the unit(s) were shipped
on wooden skids, remove all protective wood and all bolts securing the unit to the bottom of the skid. Retain the shipping
carton(s) until the unit(s) are installed and properly operating.
ACCESSORIES: If the unit(s) were ordered with optional electrical accessories (door switch, control panel, etc.), the
accessories may be found in the carton containing the unit or in a separate carton(s) accompanying the unit(s). Check all
of the cartons/skids for accessories before discarding.
IMPORTANT: A minimum of 6” is required above the top of the unit to allow for wiring to motor junction box(es).
This space is NOT required if the unit is supplied with a unit mounted control panel.
WARNING: TO REDUCE THE RISK OF FIRE, ELECTRIC SHOCK, OR INJURY TO PERSONS, OBSERVE THE
FOLLOWING:
A. Use this unit only in the manner intended by the manufacturer. If you have any questions, contact the manufacturer.
B.Beforeservicingorcleaningunit,switchpoweroatservicepanelandlocktheservicedisconnectingmeanstoprevent
power from being switched on accidentally. When the service disconnecting means cannot be locked, securely fasten a
prominent warning device, such as a tag, to the service panel.
C.Installationworkandelectricalwiringmustbedonebyqualiedperson(s)inaccordancewithallapplicablecodesand
standards,includingre-ratedconstruction.
D.Sucientairisneededforpropercombustionandexhaustingofgasesthroughtheue(chimney)offuelburningequipment
to prevent back drafting. Follow the heating equipment manufacturer’s guideline and safety standards such as those published
by the National Fire Protection Association (NFPA), and the American Society for Heating, Refrigeration and Air Conditioning
Engineers (ASHRAE), and local code authorities.
E. When cutting or drilling into wall or ceiling, do not damage electrical wiring and other hidden utilities.
F. Warning,ToReduceTheRiskOfFireOrElectricShock,DoNotUseThisFanWithAnySolid-StateSpeedControlDevice.
Only applicable to UL and cUL listed products.
INDUSTRIAL
Direct Drive 16 / 20
AIR CURTAIN SERIES IDC16 / IDC20
INDUSTRIAL
Belt Drive 16 / 20 / 30 / 40 / 50
AIR CURTAIN SERIES IBC16 / IBC20 / IBC30 / IB40 / IB50
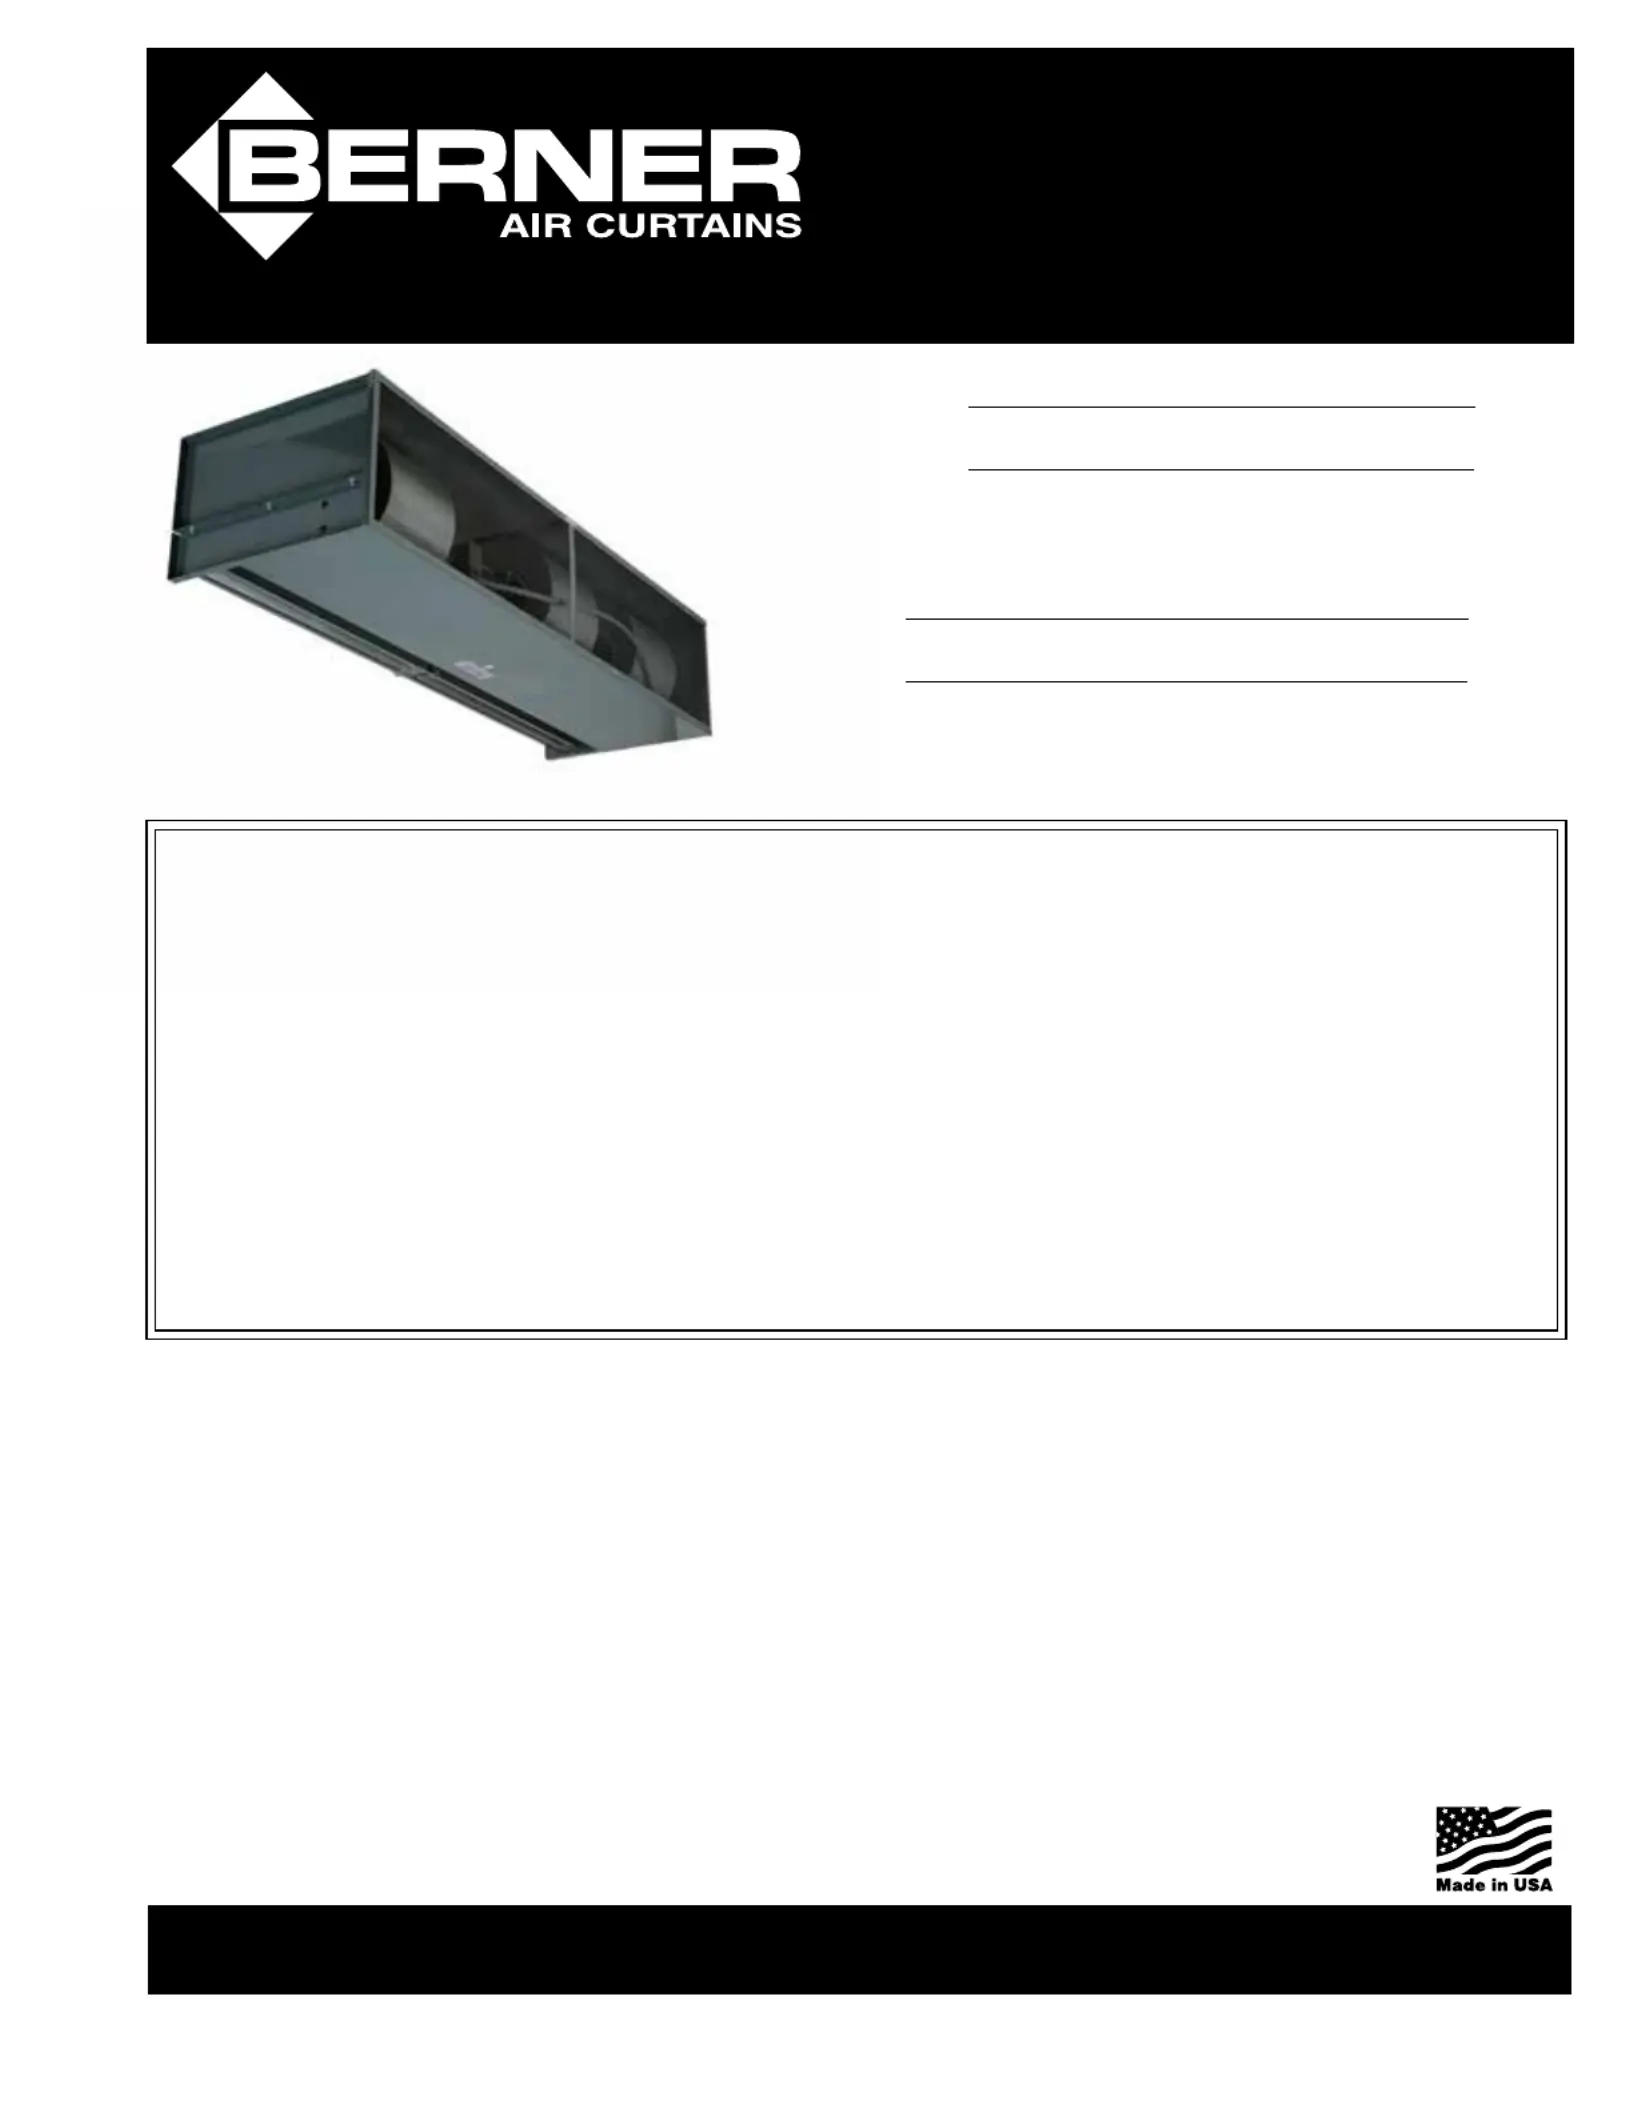
Industrial Direct Drive & Belt Drive
Air Curtain Series
#IDC16, IDC20,
IBC16, IBC20, IBC30, IB40 & IB50
www.Berner.com
®
WHEN THE DOORS ARE OPEN
™
save energy & create healthy, comfortable environments
Thank you for choosing Berner.
Berner International has been saving energy and creating healthy, comfortable environments for our customers
for over 60 years. Berner oers unmatched quality, performance, and dependability—not to mention our service.
At Berner, we stand behind our products.
II-112
January, 2024
©Copyright, 2024 Berner International
READ ALL INSTRUCTIONS BEFORE INSTALLING OR USING AIR CURTAIN
Produktspecifikationer
| Varumärke: | Berner |
| Kategori: | Luftkonditionering |
| Modell: | Washdown Series 16 |
Behöver du hjälp?
Om du behöver hjälp med Berner Washdown Series 16 ställ en fråga nedan och andra användare kommer att svara dig
Luftkonditionering Berner Manualer

12 Augusti 2025
12 Augusti 2025
12 Augusti 2025
12 Augusti 2025
12 Augusti 2025
12 Augusti 2025
12 Augusti 2025
12 Augusti 2025
12 Augusti 2025
9 Augusti 2025
Luftkonditionering Manualer
Nyaste Luftkonditionering Manualer
2 April 2026
1 April 2026
31 Mars 2026
31 Mars 2026
31 Mars 2026
31 Mars 2026
30 Mars 2026
30 Mars 2026
30 Mars 2026
30 Mars 2026