CRUX RVCFD-79F Bruksanvisning
CRUX ej kategoriserat RVCFD-79F
Läs gratis den bruksanvisning för CRUX RVCFD-79F (3 sidor) i kategorin ej kategoriserat. Guiden har ansetts hjälpsam av 15 personer och har ett genomsnittsbetyg på 4.2 stjärnor baserat på 3 recensioner. Har du en fråga om CRUX RVCFD-79F eller vill du ställa frågor till andra användare av produkten? Ställ en fråga
Sida 1/3
- Activates Rear-view camera function via OBD II port.
- Forced rear view camera option.
- Retains functionality of Factory-installed Navigation System for passenger access at anytime.
- Plug and Play Installation.
-MyFord Touch 8” MS-Sync Gen 3
1.OBD2 dongle can be used for one vehicle.
2.During programming process, maintain battery voltage above 12V.
3.Do not interrupt while programming radio by disconnecting OBD2-Dongle or Turn key OFF.
4.Programming process takes less than 15 seconds.
5.Vehicles with Manual Transmission are not compatible.
RVCFD-79F
VIM MODULE
RVCFD-79F VIDEO
INTERFACE MODULE
RVCFD-79F
OBD2 CODER
RVCFD-79F
T- HARNESS
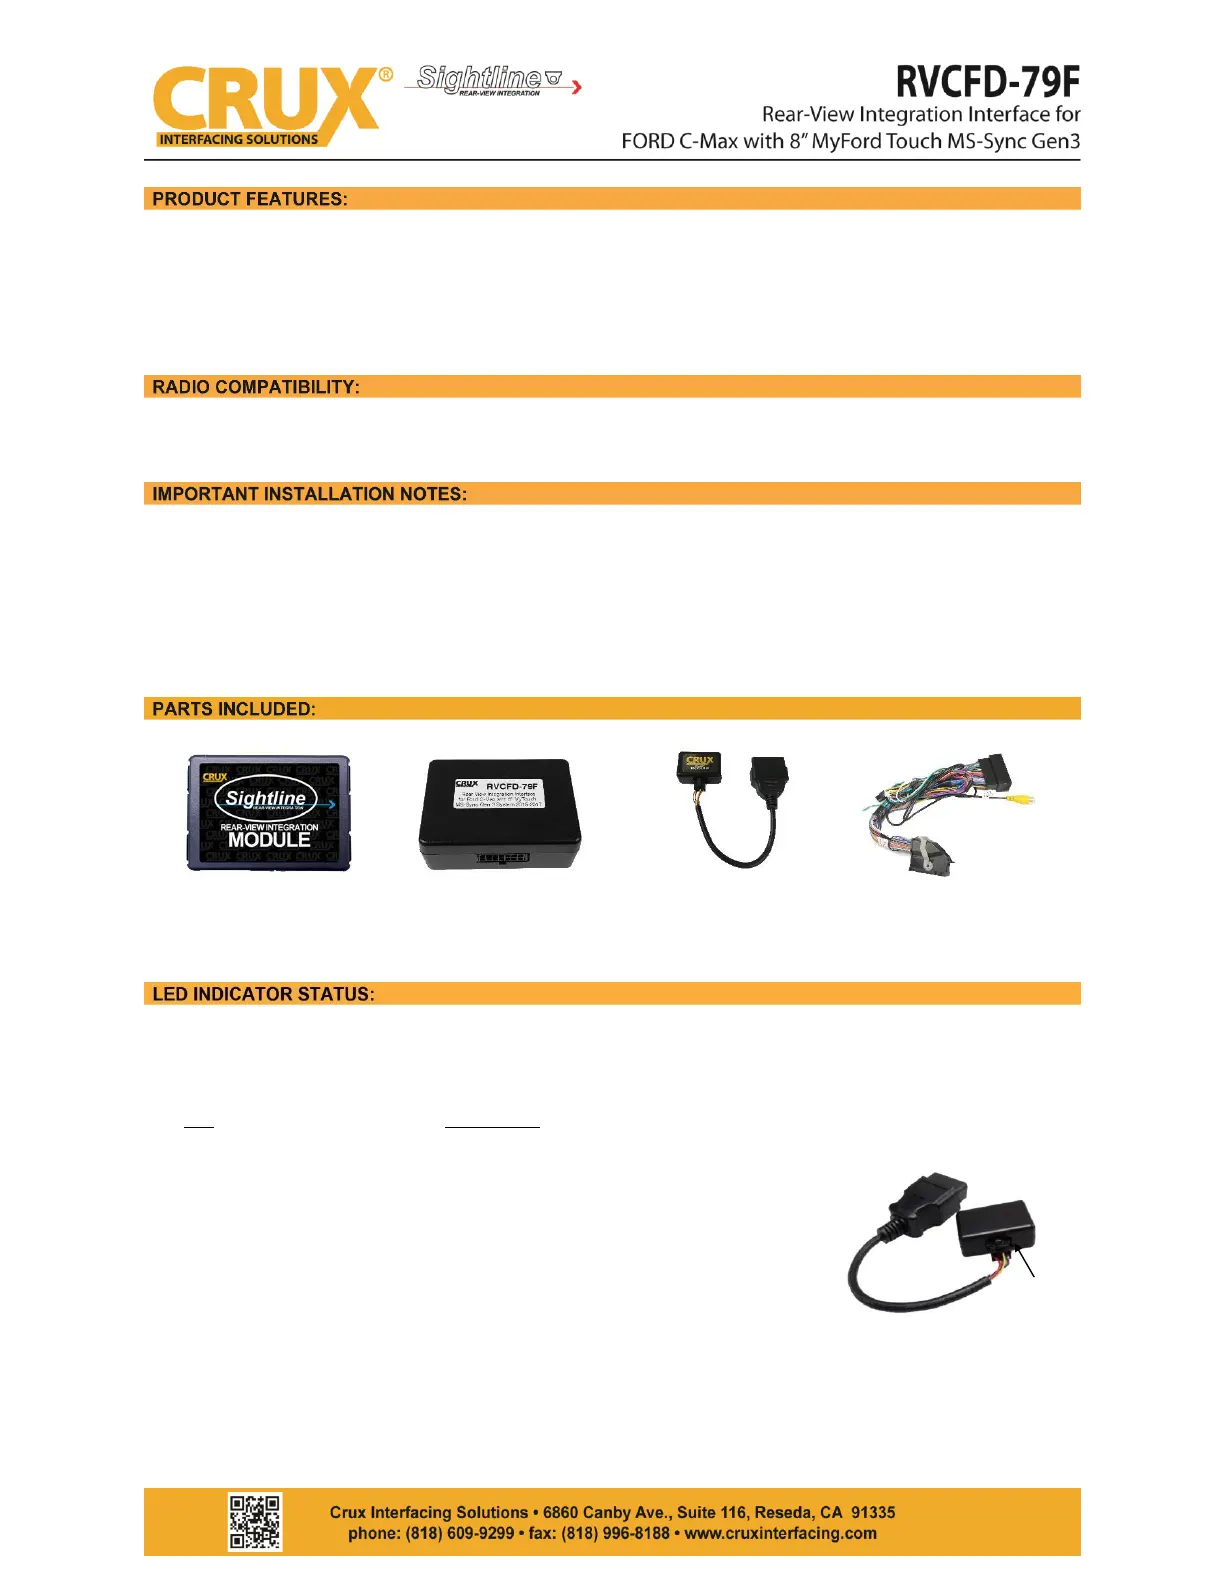
OBD2 CODER:
The LEDs are located inside the right side of the 8-Pin connector of the OBD2 Coder.
LED
Description
BLUE
Solid
RED
Solid
Blinking with blue LED OFF
GREEN
Solid
Blinking with blue LED OFF
RED & GREEN
Solid
Normal Operation
Invalid Operation
License Expired (OBD2 Coder has been used)
RVC Coding successful
License Invalid / Blue LED ON = Diagnostic
coding in progress
Can Communication Error or Diagnostic
session terminated with error
rev.082117
1 / 3
LEDs
Produktspecifikationer
| Varumärke: | CRUX |
| Kategori: | ej kategoriserat |
| Modell: | RVCFD-79F |
Behöver du hjälp?
Om du behöver hjälp med CRUX RVCFD-79F ställ en fråga nedan och andra användare kommer att svara dig
ej kategoriserat CRUX Manualer

9 Oktober 2025
9 Oktober 2025
9 Oktober 2025
9 Oktober 2025
9 Oktober 2025
9 Oktober 2025
ej kategoriserat Manualer
Nyaste ej kategoriserat Manualer
3 April 2026
3 April 2026
3 April 2026
3 April 2026
3 April 2026
3 April 2026
3 April 2026
3 April 2026
3 April 2026