Heatit Z-Temp2 Bruksanvisning

Heatit Termostat Z-Temp2

Läs gratis den bruksanvisning för Heatit Z-Temp2 (5 sidor) i kategorin Termostat. Guiden har ansetts hjälpsam av 3 personer och har ett genomsnittsbetyg på 4.5 stjärnor baserat på 2 recensioner. Har du en fråga om Heatit Z-Temp2 eller vill du ställa frågor till andra användare av produkten? Ställ en fråga

Sida 1/5
1. INTRODUCTION
Heatit Z-Temp2 is a battery-operated thermostat designed for
use with water-based heating systems. Used in combination with
the Heatit Z-Water regulator, you can control your heating system
with a Z-Wave primary controller/gateway using Heatit Z-Water in
combination with one or several Heatit Z-Temp2.
2. STATEMENT REGARDING PRODUCT FROM MULTIPLE
MANUFACTURERS
This device may be used with all devices certied with the Z-Wave
Plus™ certicate and should be compatible with such devices
produced by other manufacturers. Every primary controller is dierent
depending on the manufacturer, their target audience and intended
use/application. Please review the functionalities implemented by
the primary controller you intend to use with our Z-Wave Plus
certied device to ensure that it provides the necessary controls
to take full advantage of our products capabilities.
3. BEHAVIOR WITHIN THE Z-WAVE NETWORK
This product can be used in any Z-Wave network with other
Z-Wave certied devices from other manufacturers. All non-battery-
operated nodes within the network will act as repeaters regardless of
manufacturer to increase the reliability of the network. On delivery,
the device does not belong to any Z-Wave network. The device needs
to be added to an existing network to communicate with the devices
of this network. You can also remove devices from a network. Both
adding and removing processes are initiated by the primary controller
of the Z-Wave network.
This controller will enter a mode for adding or removing devices.
Please refer to your primary controller/gateway manual on how to set
your controller to add or remove mode. The device can only be added
or removed from the network if the primary controller is in add/
remove mode. When the device is removed from the network, the
device will revert to factory default settings.
4. QUICK START
1.1. Install the batteries (as stated in the technical specication).
1.2. Install the device on a at vertical surface using screws or
double-sided tape
1.3. Set the controller/gateway in add mode (security/non-
security).
1.4. Press the link button 3 times in a rapid sequence.
1.5. The thermostat will display “INC when the thermostat is
successfully included.
NB! If adding/removing fails, Err (error) will appear.
5. INSTALLATION
Use a large athead screwdriver to remove the back cover.
Fix the unit to the wall with double-sided tape, screws or installed on
top of a Euro wall box.
Make sure the mounting surface is clean and dry.
Then install 3x AA batteries (alkaline) in the device’s battery holder.
NB! Be careful when installing batteries, ensuring the polarity of
the batteries are in accordance with the printing in plastic.
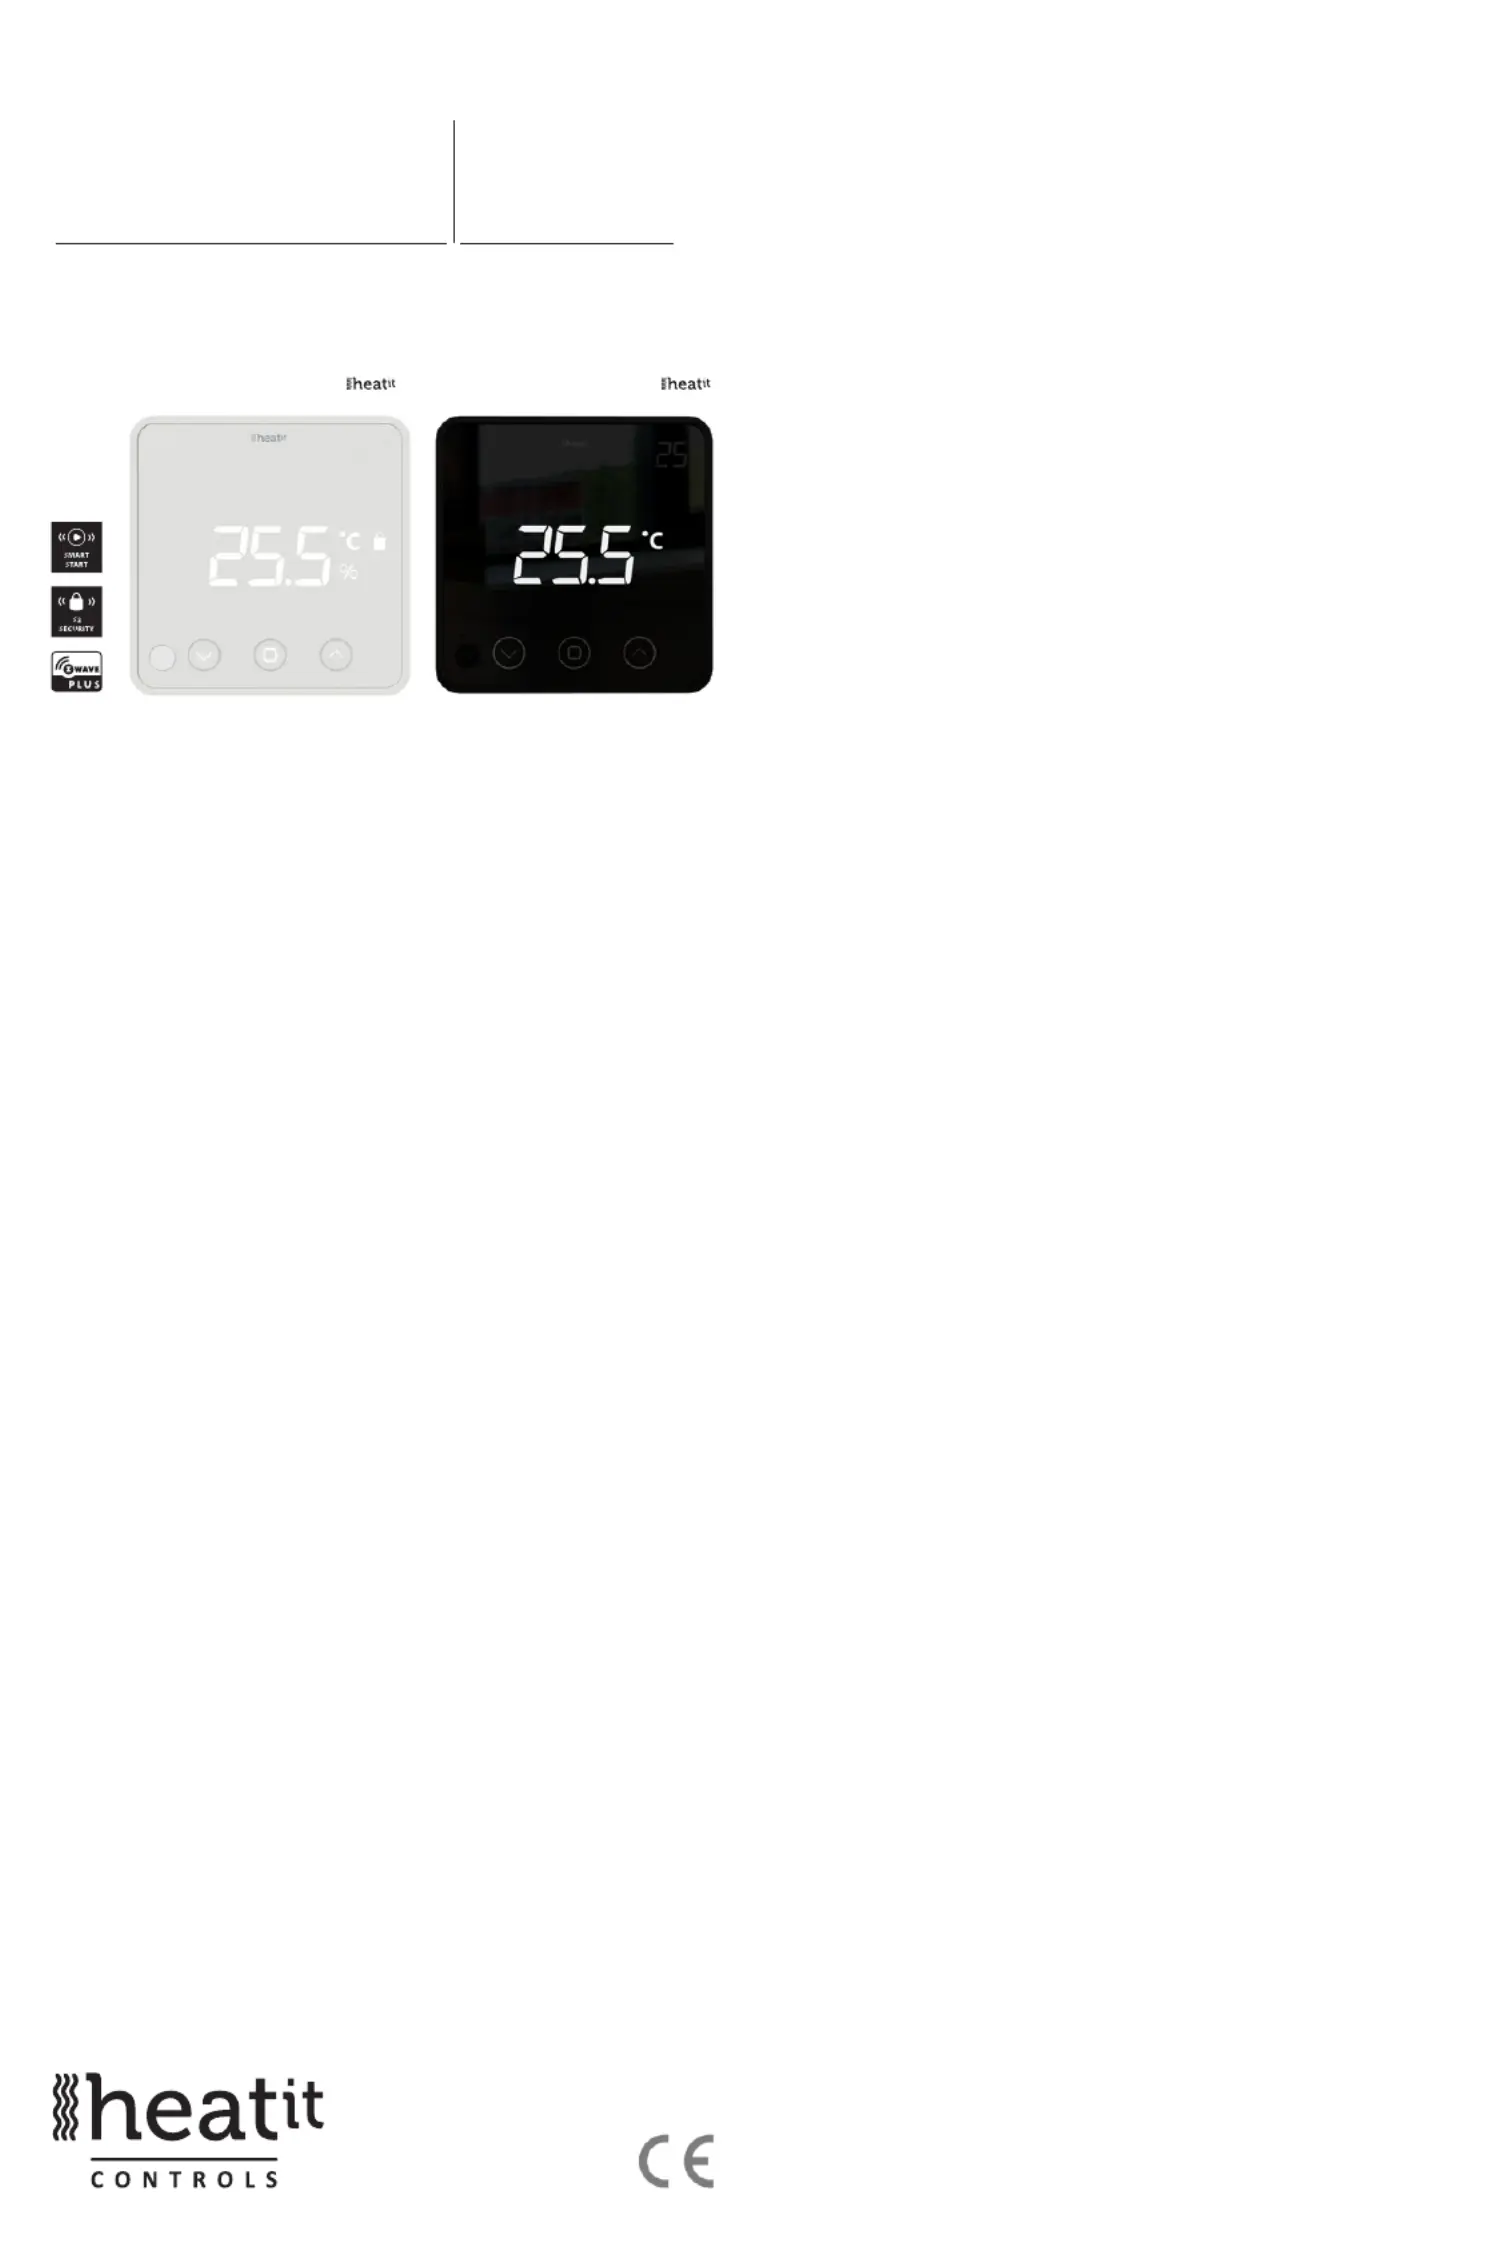
HEATIT
Z-TEMP2
Installers manual
TABLE OF CONTENTS
1. Introduction
2. Statement regarding products from multiple
manufacturers
3. Behavior within the Z-Wave™ network
4. Quick Start
5. Installation
6. Add/Remove
6.1. Method 1 Standard (manual)
6.2. Method 2 SmartStart (automatic)
7. Factory Reset
8. Compability/ Principles for regulation
9. Information shown in display
10. Hysteresis (DIF)
11. Child lock - Lock
12. Inverted output
13. Standby and main screen
14. Z-Wave QR-Code / DSK
15. Security
16. Node Information Frame
17. Associations
18. Conguration parameters
19. Operating the device
20. Supported Command Classes
Product information
Ver 2020-B
Firmware 1.2
01.12.2020
6. ADD/REMOVE
There are two ways to add your devices in a Z-Wave network.
6.1 Method 1: standard (manual)
Please refer to your primary controller/gateway manual on how to
enter add/remove mode. The device can only be added or removed
from the network if the primary controller is in add/remove mode.
When the primary controller/gateway is set to add/remove mode,
press the link button on the thermostat three times in a rapid
sequence.
6.2 Method 2: SmartStart (automatic)
Please refer to your primary controller/gateway to see if the controller
supports SmartStart. SmartStart enabled products can be added
into a Z-Wave network by scanning the Z-Wave QR-Code present
on the product with a controller providing SmartStart inclusion. No
further action is required, and the SmartStart product will be added
automatically within 10 minutes of being switched on in the network
vicinity.
Enter SmartStart modus from your primary controller.
With the batteries for the devices removed from the device, scan
the QR-code on the back of the device, then follow the gateway
instructions.
If the device already belongs to a network, follow the removing
process before adding it to your network. Otherwise, adding this
device will fail. When the device is removed from the network,
the device will revert to factory settings.
7. FACTORY RESET
By pressing and holding the link button for 20 seconds, the
thermostat will perform a complete factory reset. rES will be displayed.
NB! Please use this procedure only when the primary controller/
gateway is missing or otherwise inoperable.
8.
8.
8.
8. 8. C
C
C
COMP
OMP
OMP
OMPABILITY /
ABILITY /
ABILITY /
ABILITY / PRINCIPLES FOR REGULA
PRINCIPLES FOR REGULA
PRINCIPLES FOR REGULATION
TION
TION
TIONCOMPABILITY / PRINCIPLES FOR REGULATION
Water-based heating
The thermostat uses temperature readings retrieved from the internal
sensor. Heatit Z-Temp2 is designed to work in combination with
water-based heating solutions. Heatit recommends using Heatit
Z-Temp2 in combination with Heatit Z-Water. These two products
allow for an advanced water-based heating solution by using a
Z-Wave enabled controller. This is a “wire-free” solution that saves both
time and money. All the communication between Heatit Z-Temp2
and the controlled device is wireless. The range can be extended
using Heatit Z-Repeater or any other device that supports routing.
This makes our water-based solutions an excellent addition to your
existing or new home automation system.
Electrical heating
Heatit Z-Temp2 could also be used in situations where a traditional
electrical thermostat is not suited. The battery-operated thermostat
can be used in combination with Heatit Z-Relay or any other relay
device installed in a remote location. Rehabilitation could be done
using this solution to avoid unnecessary wiring.
9. INFORMATION SHOWN IN DISPLAY
The thermostat benets from two screens.
The main screen
The main screen displays measured temperature readout or relative
humidity. You can switch between the humidity and measured
temperature by pressing the center button while the display is active.
The temperature and humidity can be calibrated using parameter
4 and 5, respectively. When the child lock is active, a lock icon will be
displayed next to the Celsius icon.
Secondary screen
This screen displays the setpoint temperature when the thermostat
is in heating mode. When the thermostat mode is turned OFF, the
thermostat will not use this display. To turn the thermostat ON or OFF,
you need to hold the center button for 10 seconds or use the Z-Wave
command Basic or Thermostat mode.
Connecting to an external relay
After the device is added to your Z-Wave gateway, you will need to
link the thermostat to the device that will control the heating. This is
done by using association groups from the thermostat’s root device
(EP0) with Group 3 (ON/OFF Control) towards your actuator device
(using Multichannel or Single channel, based on the controlled device
type.
*To set associations in your primary controller/gateway, please refer to
your primary controller/Z-Wave gateway for more information.
10. HYSTERESIS (DIF)
You can make changes to the hysteresis in the thermostat via the
parameter. This means that you can change the hysteresis from
0.3°C up to max 3.0°C. Default is 0.5°C.
11. CHILD LOCK - LOC
By pressing Left and Right (down and up buttons for 10 seconds,
the thermostat will display LOC. Child lock is now activated, and the
lock icon will be lit up when the display is active. Trying to make
changes from the display is not possible within this modus. Changes
with the Z-Wave controller are still possible. Refer to your primary
controller/gateways user manual on how to change the setpoint.
Child lock is deactivated by pressing Left and Right (down and up)
buttons for 10 seconds, the thermostat will display oPn. The lock
symbol is no longer lit when the display is active, and now you can
make changes using buttons.
12. INVERTED OUTPUT
The thermostat can invert its signal sent to external relays. This allows
users to use the Heatit Z-TEMP2 in combination with other systems.
You can change this behaviour using a quick feature in the thermostat
or, using Parameter 15 “Inverted Output.
Changing the behaviour,
From physical device by holding centre and right button for 10 sec.
From gateway by changing parameter 15 (for more information
regarding the conguration parameter, see chapter “Conguration
Parameters”).
The thermostat will display “HEA” for regular operation, and “COO”
for inverted operation. You can check what mode you are using by
holding centre button for 10 seconds.
13. STANDBY AND MAIN SCREEN
When the thermostat remains untouched for a while, it will
automatically go to standby screen. Due to power saving settings,
while in standby, the display will be turned o. The proximity sensor
will activate the thermostat when proximity is sensed. You can also
activate the thermostat manually by pressing any button.
14. Z-WAVE QR-CODE / DSK
The QR Code is needed when including using S2-Security or
SmartStart. The Z-Wave DSK can be found in the QR-Code and is
located;
6. On the back of wall mount (above the battery compartment).
7. Inside the packaging attached on the note.
8. On the product packaging.
15. SECURITY
The S2 security enhances Z-Wave Plus with an additional layer of AES
128-bit encryption of the wireless Z-Wave communication to prevent
hacking and man-in-middle attacks on the home network. The Heatit
Z-Temp2 supports S2 and has a Z-Wave DSK QR-Code label that may
be used when the module is added to the Z-Wave home network.
The primary controller will ask for a 5-digit Code, which can be found
underneath the QR-Code. The primary controller will then ask you to
conrm the rest of the code that is contained in the QR-Code.
16. NODE INFORMATION FRAME
The node information frame is the business card of a Z-Wave device.
It contains information about the device type and its technical
features. The add and remove procedure of the device is conrmed
by sending out a node information frame. Besides this, it may
be necessary for certain network operations to send out a node
information frame.
17. ASSOCIATIONS
Z-Wave devices interact with other Z-Wave devices. The relationship
between one device controlling another device is called an
association. In order to control a subordinate device, the controlling
device needs to maintain a list of devices that will receive controlling
commands. These lists are called ”Association Groups. They are always
related to the specic event triggered (e.g., sensor reports). In case
the event is triggered, all devices stored in the respective association
group will receive a joint wireless command.
SETTING AND REMOVING ASSOCIATIONS
Associations may be assigned and removed via Z-Wave commands.
Please refer to your primary controller/Z-Wave gateway for more
information.
ASSOCIATION GROUPS
ROOT DEVICE THE MAIN THERMOSTAT DEVICE
Group 1
Lifeline
Lifeline. (Normally used by the Z-Wave
Controller) Sends:
- Battery Report (sent when battery runs low).
- Notication Report (sent rst time power on).
- Device Reset Locally Notication (sent if device
is reset).
- Indicator Report
- Thermostat Mode Report (sent when mode
changed from panel).
- Thermostat Setpoint Report (sent when
setpoint changed from panel).
- Thermostat Operating State Report (sent when
heating should be active).
- Heating - when external relay is turned ON,
in Standard Output
- Cooling - when external relay is turned ON,
in Inverted Output.
Group 2
Temperature Report
- Sensor Multilevel Report (periodical reports).
- Protection Report (child lock activated/
deactived from panel).
Max. nodes in group: 5
Group 3
ON/OFF Control
Multilevel Sensor Report (internal measured temperate
and measured relative humidity). Max. nodes in group:
5
Binary Switch Set (normally used to control external
relays).
Sends:
0x00 = OFF
0xFF = ON
Max. nodes in group: 5


Produktspecifikationer

Varumärke: Heatit
Kategori: Termostat
Modell: Z-Temp2

Behöver du hjälp?

Om du behöver hjälp med Heatit Z-Temp2 ställ en fråga nedan och andra användare kommer att svara dig