Onkyo TX-NR838B Bruksanvisning
Onkyo AV-Receiver TX-NR838B
Läs gratis den bruksanvisning för Onkyo TX-NR838B (122 sidor) i kategorin AV-Receiver. Guiden har ansetts hjälpsam av 42 personer och har ett genomsnittsbetyg på 5.0 stjärnor baserat på 5 recensioner. Har du en fråga om Onkyo TX-NR838B eller vill du ställa frågor till andra användare av produkten? Ställ en fråga
Sida 1/122
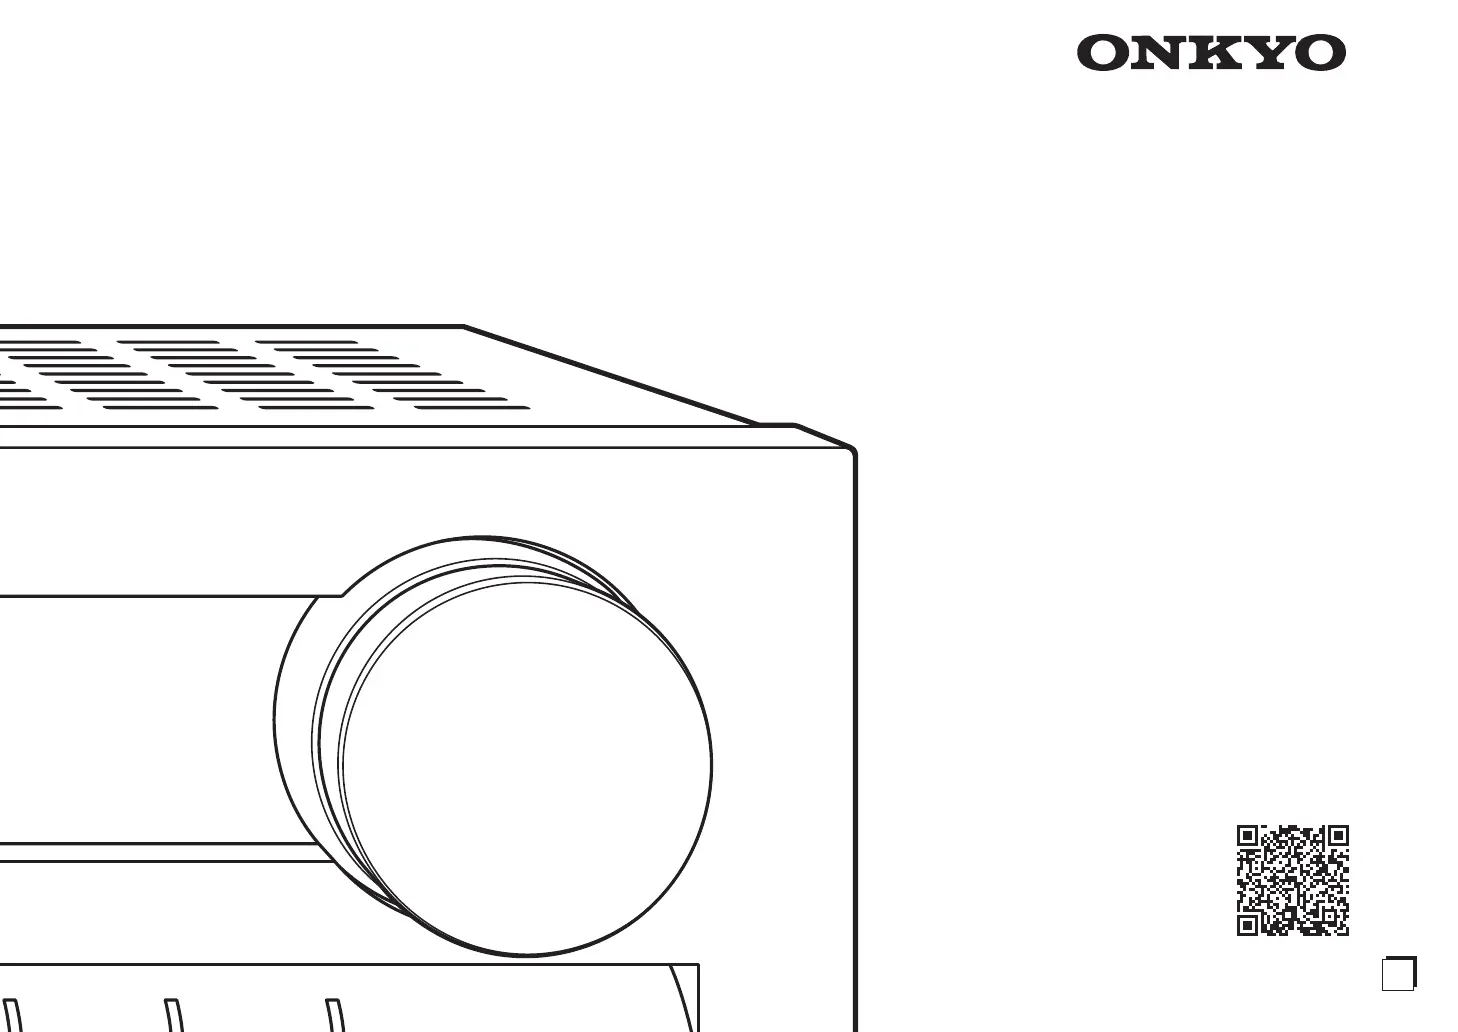
TX-NR838
AV RECEIVER
Basic Manual
Advanced Manual found here
http://www.onkyo.com/manual/txnr838upg/adv/en.html
E
n
Produktspecifikationer
| Varumärke: | Onkyo |
| Kategori: | AV-Receiver |
| Modell: | TX-NR838B |
| Enhetsplacering: | Volledig ingebouwd |
| Typ av operation: | Touch |
| Vikt: | 41330 g |
| Bredd: | 598 mm |
| Djup: | 505 mm |
| Höjd: | 815 mm |
| Nettoskatt: | 2400 W |
| Antal platsinställningar: | 13 couverts |
| Torksystem: | Warmtewisselaar |
| Sladdlängd: | 1.75 m |
| Fördröjd starttimer: | Ja |
| Startfördröjning: | 24 uur |
| Indikering av återstående tid: | Ja |
| Barnlås: | Ja |
| Avtagbar topp: | Nee |
| Wi-Fi-kontroll: | Nee |
| Cykelns längd: | 235 min |
| Ljudnivå: | 44 dB |
| Energie-efficiëntieklasse: | E |
| Belysning inuti: | Ja |
| Vattenförbrukning per cykel: | 6.7 l |
| Nuvarande: | 10 A |
| Bulleremissionsklass: | B |
| Antal tvättprogram: | 8 |
| Energiförbrukning per 100 cykler: | 94 kWu |
| Produktstorlek: | Volledige grootte (60 cm) |
| Färgkontrollpanel: | Roestvrijstaal |
| Dolt värmeelement: | Ja |
| Typ av bästa fack: | Mand |
| Kåpa material: | Roestvrijstaal |
| Golvindikatorlampa: | Ja |
| Varningssignal: | Ja |
| LED-bakgrundsbelysning: | Ja |
| Doseringsassistent: | Ja |
| Självrengörande filter: | Ja |
| Antal temperaturinställningar: | 5 |
| AquaStop-funktion: | Ja |
| AquaSensor funktion: | Ja |
| Glasskydd: | Nee |
| Belastningssensor: | Ja |
| Tvättprogram: | 60min 65°C, Auto 45-65°C, Eco 50°C, Glass/delicate, Intensive, Pre-rinse, Silent |
| Energiförbrukning per cykel: | 0.92 kWu |
| Avloppsslangens längd: | 1.9 m |
| Vattentillförselslangens längd: | 1.65 m |
| Övre korg justerbar höjd: | Ja |
| Maximal varmvattentemperatur: | 60 °C |
| Temperatur (max): | 70 °C |
| Vattentillgång: | Cold, Hot |
| Strömförbrukning (behåll den på): | 0.5 W |
| Strömförbrukning (när avstängd): | 0.5 W |
| Bakgrundsbelysning-färg: | Wit |
| Energieffektivitetsskala: | A tot G |
Behöver du hjälp?
Om du behöver hjälp med Onkyo TX-NR838B ställ en fråga nedan och andra användare kommer att svara dig
AV-Receiver Onkyo Manualer

22 Juli 2024
21 Juli 2024
21 Juli 2024
18 Juli 2024
18 Juli 2024
17 Juli 2024
17 Juli 2024
17 Juli 2024
16 Juli 2024
AV-Receiver Manualer
Nyaste AV-Receiver Manualer
22 Oktober 2024
22 Oktober 2024
20 Oktober 2024
19 Oktober 2024
19 Oktober 2024
18 Oktober 2024
13 September 2024
12 September 2024
12 September 2024
11 September 2024