Shure UA846Z2 Bruksanvisning
Shure ej kategoriserat UA846Z2
Läs gratis den bruksanvisning för Shure UA846Z2 (7 sidor) i kategorin ej kategoriserat. Guiden har ansetts hjälpsam av 49 personer och har ett genomsnittsbetyg på 4.9 stjärnor baserat på 4 recensioner. Har du en fråga om Shure UA846Z2 eller vill du ställa frågor till andra användare av produkten? Ställ en fråga
Sida 1/7
IMPORTANTSAFETYINSTRUCTIONS
1.READtheseinstructions.
2.KEEPtheseinstructions.
3.HEEDallwarnings.
4.FOLLOWallinstructions.
5.DONOTusethisapparatusnearwater.
6.CLEANONLYwithdrycloth.
7.DONOTblockanyventilationopenings.Allowsufficientdistancesfor
adequateventilationandinstallinaccordancewiththemanufacturer’s
instructions.
8.DONOTinstallnearanyheatsourcessuchasopenflames,radiators,
heatregisters,stoves,orotherapparatus(includingamplifiers)thatpro-
duceheat.Donotplaceanyopenflamesourcesontheproduct.
9.DONOTdefeatthesafetypurposeofthepolarizedorgroundingtype
plug.Apolarizedplughastwobladeswithonewiderthantheother.A
groundingtypeplughastwobladesandathirdgroundingprong.The
widerbladeorthethirdprongareprovidedforyoursafety.Iftheprovided
plugdoesnotfitintoyouroutlet,consultanelectricianforreplacement
oftheobsoleteoutlet.
10.PROTECTthepowercordfrombeingwalkedonorpinched,particularly
atplugs,conveniencereceptacles,andthepointwheretheyexitfrom
theapparatus.
11.ONLYUSEattachments/accessoriesspecifiedbythemanufacturer.
12.USEonlywithacart,stand,tripod,bracket,ortablespecifiedbythe
manufacturer,orsoldwiththeapparatus.Whenacartisused,usecaution
whenmovingthecart/apparatuscombinationtoavoidinjuryfromtip-over.
13.UNPLUGthisapparatusduringlightningstormsorwhenunusedforlong
periodsoftime.
14.REFERallservicingtoqualifiedservicepersonnel.Servicingisrequired
whentheapparatushasbeendamagedinanyway,suchaspower
supplycordorplugisdamaged,liquidhasbeenspilledorobjectshave
fallenintotheapparatus,theapparatushasbeenexposedtorainor
moisture,doesnotoperatenormally,orhasbeendropped.
15.DONOTexposetheapparatustodrippingandsplashing.DONOTput
objectsfilledwithliquids,suchasvases,ontheapparatus.
16.TheMAINSplugoranappliancecouplershallremainreadilyoperable.
17.TheairbornenoiseoftheApparatusdoesnotexceed70dB(A).
18.ApparatuswithCLASSIconstructionshallbeconnectedtoaMAINS
socketoutletwithaprotectiveearthingconnection.
19.Toreducetheriskoffireorelectricshock,donotexposethisapparatus
torainormoisture.
20.Donotattempttomodifythisproduct.Doingsocouldresultinpersonal
injuryand/orproductfailure.
21.Operatethisproductwithinitsspecifiedoperatingtemperaturerange.
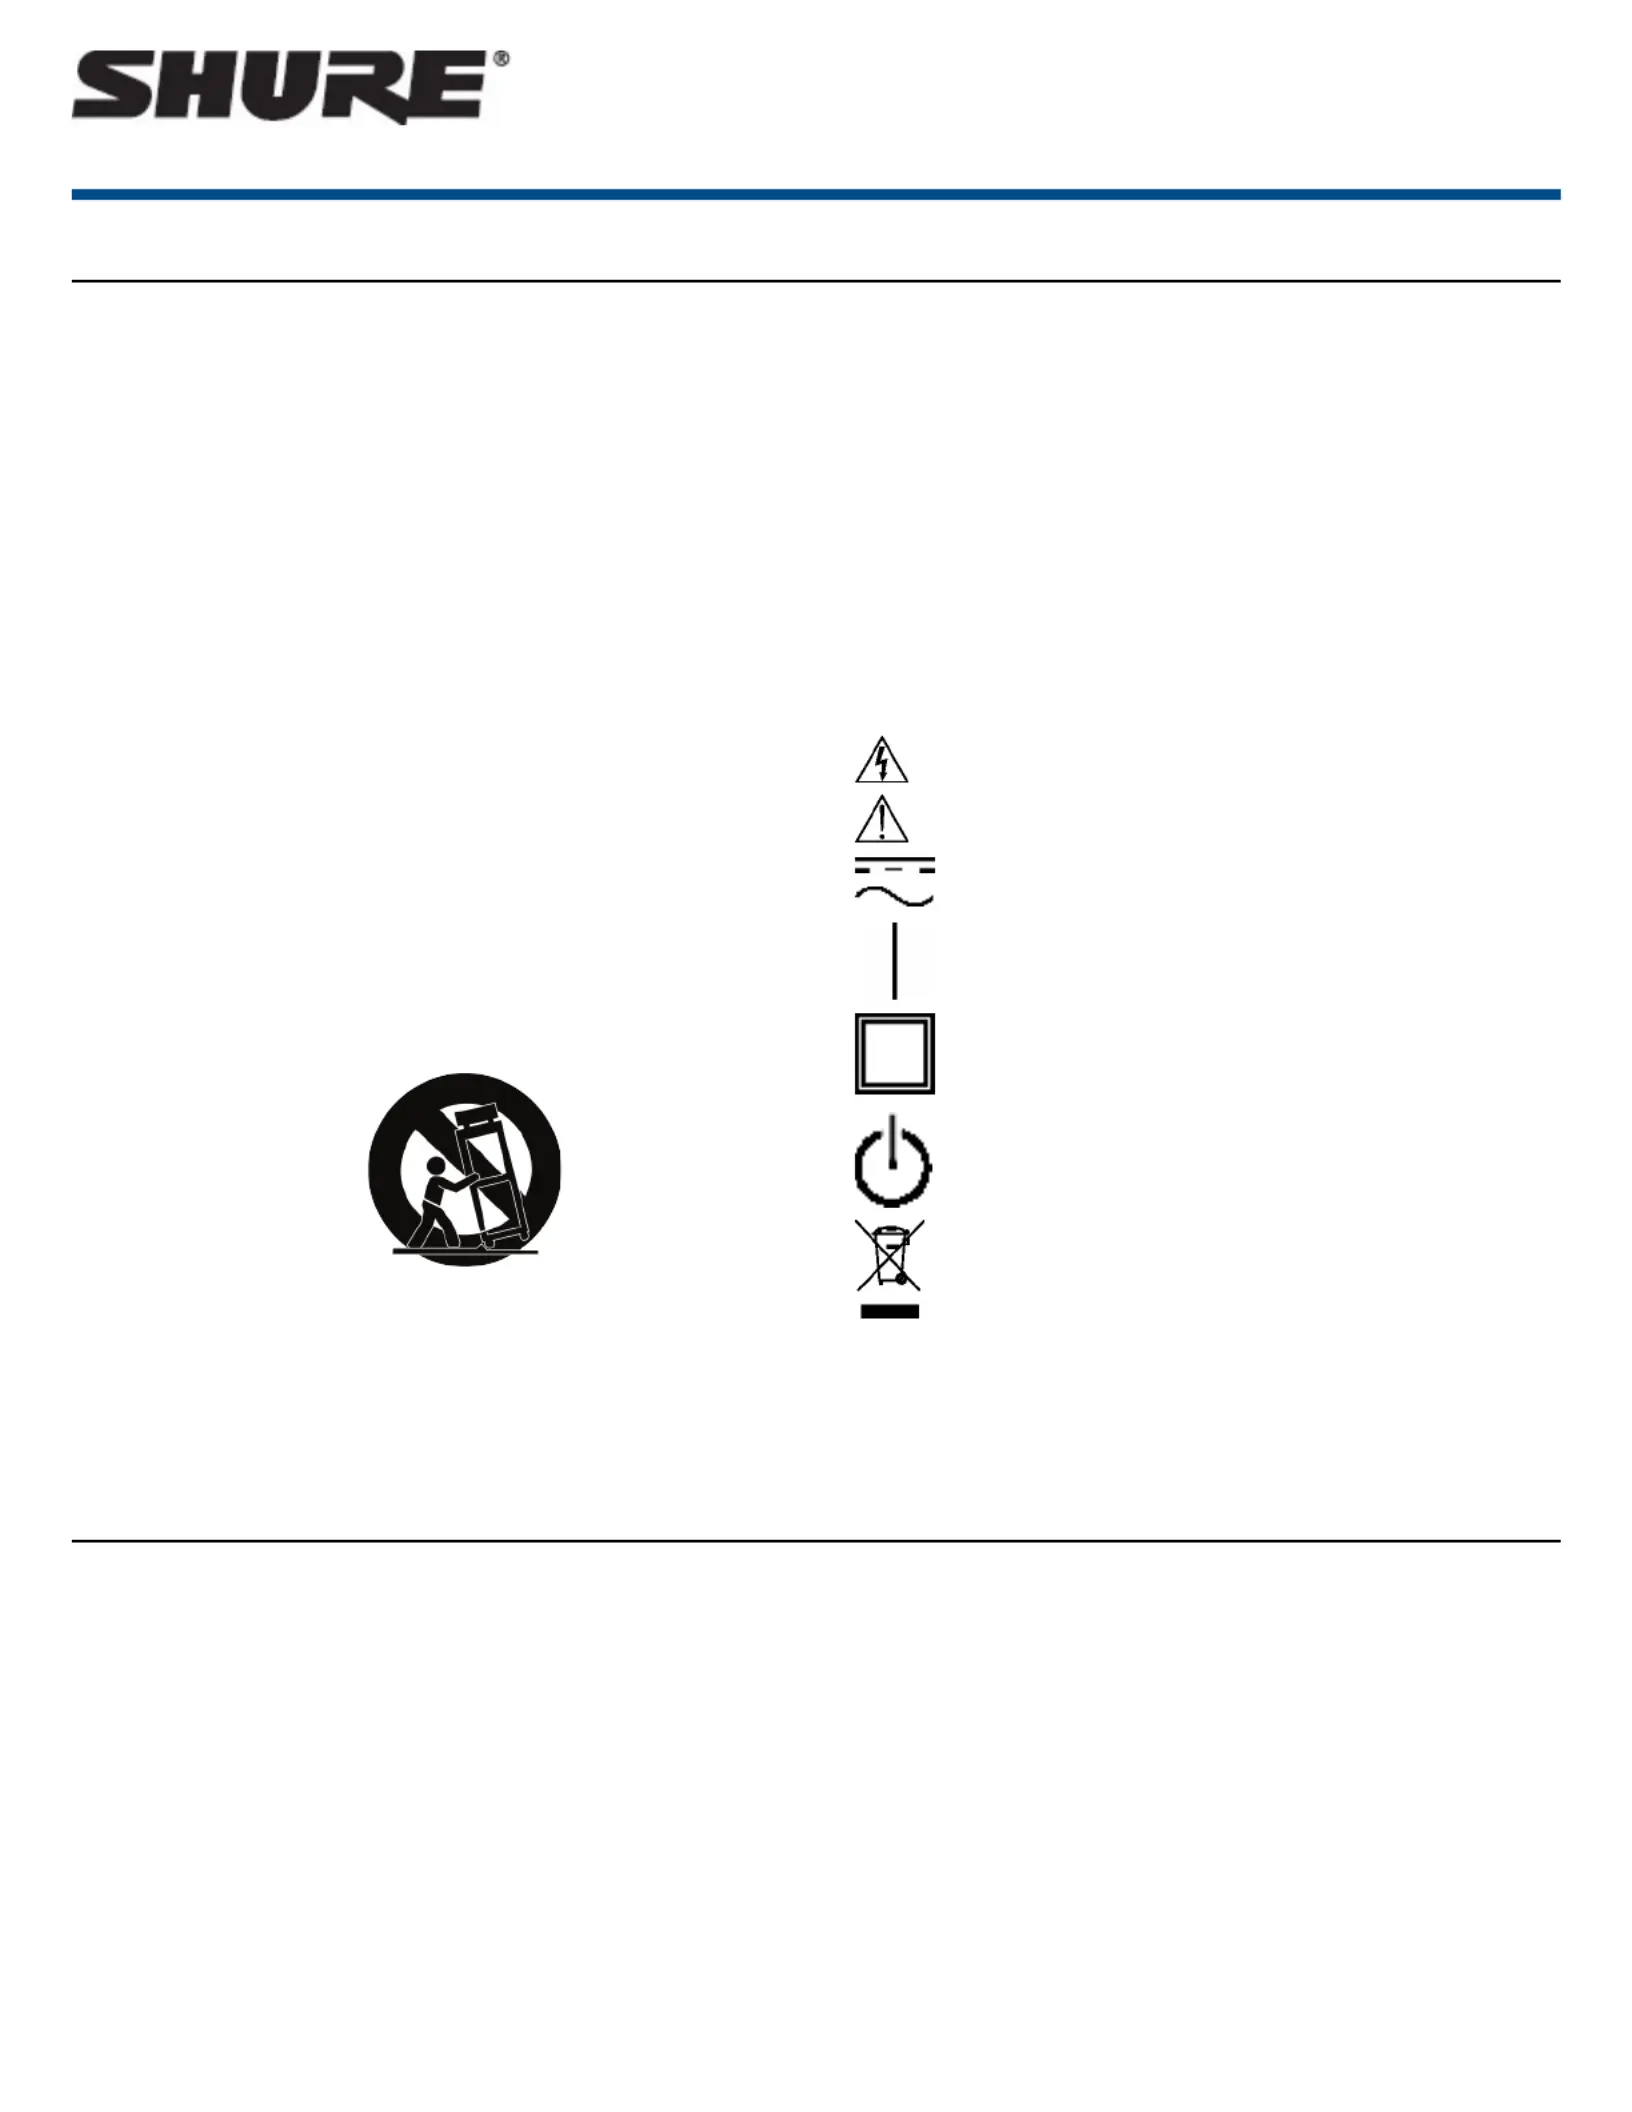
Explanation of Symbols
Caution:riskofelectricshock
Caution:riskofdanger(Seenote.)
Directcurrent
Alternatingcurrent
On(Supply)
EquipmentprotectedthroughoutbyDOUBLEINSULATIONor
REINFORCEDINSULATION
Stand-by
Equipmentshouldnotbedisposedofinthenormalwastestream
WARNING:Voltagesinthisequipmentarehazardoustolife.Nouser-ser-
viceablepartsinside.Referallservicingtoqualifiedservicepersonnel.The
safetycertificationsdonotapplywhentheoperatingvoltageischangedfrom
thefactorysetting.
GeneralDescription
TheGLX-DFrequencyManagerdistributesRFsignalandDCpowerfor
Shurereceivers.Therack-mountablesystemincreaseschannelGLXD4R
countandreducesthenumberofrequiredantennasandpowersupplies.
WhenconnectedtotheGLX-DFrequencyManager,GLXD4Rreceiversop-
erateinthemostspectrallyefficientmanner.
Features
•ImprovestheRFperformanceofconnectedGLXD4Rreceivers
•Increaseschannelcountwithmoreefficientfrequencymanagement
•DistributesRFsignalandpowertosixreceivers
•Cascadeportsconnectsecondfrequencymanagerforupto11receivers
•Consolidatesantennasandpowersuppliesforsimplersetup
•Mountsinstandard19inchequipmentracks
•Supportsremoteantennaplacement
•All-metalconstruction
IncludedComponents
•Rack-mountinghardware
•Externalpowersupply
•(6)threadedDCpowercables
•(2)ReverseSMACable
1/7©2016ShureIncorporated
UA846Z2
Frequency Manager
Produktspecifikationer
| Varumärke: | Shure |
| Kategori: | ej kategoriserat |
| Modell: | UA846Z2 |
Behöver du hjälp?
Om du behöver hjälp med Shure UA846Z2 ställ en fråga nedan och andra användare kommer att svara dig
ej kategoriserat Shure Manualer

22 Juli 2025
22 Juli 2025
22 Juli 2025
21 Juli 2025
21 Juli 2025
21 Juli 2025
21 Juli 2025
21 Juli 2025
21 Juli 2025
21 Juli 2025
ej kategoriserat Manualer
Nyaste ej kategoriserat Manualer
3 April 2026
3 April 2026
3 April 2026
3 April 2026
3 April 2026
3 April 2026
3 April 2026
3 April 2026
3 April 2026