Axxess AXDSPH-GL10 Bruksanvisning
Axxess ej kategoriserat AXDSPH-GL10
Läs gratis den bruksanvisning för Axxess AXDSPH-GL10 (8 sidor) i kategorin ej kategoriserat. Guiden har ansetts hjälpsam av 19 personer och har ett genomsnittsbetyg på 4.1 stjärnor baserat på 4 recensioner. Har du en fråga om Axxess AXDSPH-GL10 eller vill du ställa frågor till andra användare av produkten? Ställ en fråga
Sida 1/8
AXDSPH-GL10
INSTALLATION INSTRUCTIONS
AxxessInterfaces.com © COPYRIGHT 2022 METRA ELECTRONICS CORPORATION REV. 8/10/22 INSTAXDSPH-GL10
ATTENTION: With the key out of the ignition,
disconnect the negative battery terminal
before installing this product. Ensure that all
installation connections, especially the air
bag indicator lights, are plugged in before
reconnecting the battery or cycling the
ignition to test this product.
NOTE: Refer also to the instructions included
with the aftermarket accessory before
installing this device.
TABLE OF CONTENTS
Installation Options ...............................................2
Installation .............................................................2
20-Pin Harness Pinout...........................................3
Adding A Subwoofer To A Factory System...........4
Adding A Full-Range Amp and
Subwoofer To A Factory System ........................5
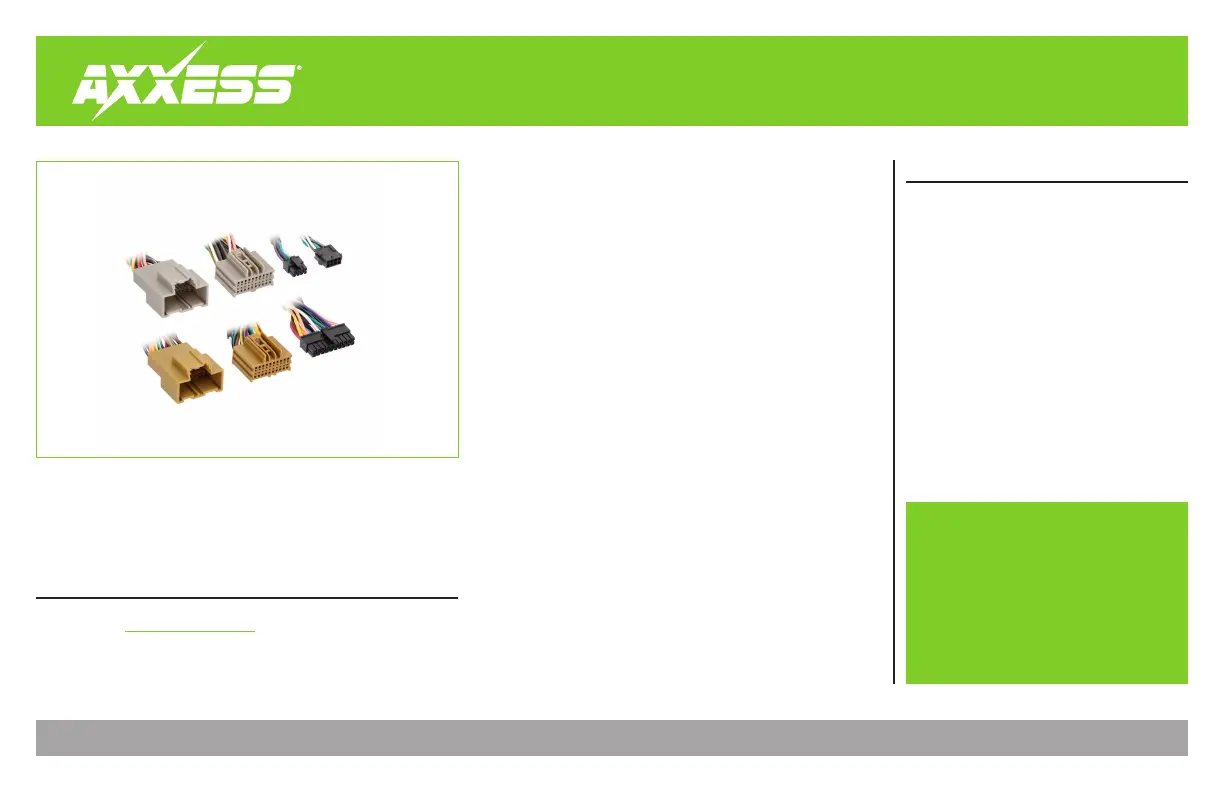
AX-DSP T-Harness
The Axxess T-harness is a basic and simple plug-n-play harness for
easy installation of the AXDSP-X or AXDSP-L (sold separately) for
vehicle specific applications. Most T-harnesses created by Axxess
will have an 8-pin harness, with the speaker wires pinned. If you are
installing a 4-channel amplifier with one of the AXDSP interfaces,
leave these connectors disconnected. The only reason for connecting
these harnesses together would be if the AXDSP interface is being
used for adding a subwoofer amplifier only. Some T-harnesses
require additional wiring and/or installation steps, see page 2.
Refer to page 3 for a pinout legend for the 20-pin harness, and also
additional wiring and notes.
APPLICATIONS
Visit AxxessInterfaces.comfor more detailed
information about the product and
up-to-date vehicle specific applications.
Visit Metraonline.com or AxxessInterfaces.com
for harness and interface options.
Visit
AxxessInterfaces.com
for current application list.
Produktspecifikationer
| Varumärke: | Axxess |
| Kategori: | ej kategoriserat |
| Modell: | AXDSPH-GL10 |
Behöver du hjälp?
Om du behöver hjälp med Axxess AXDSPH-GL10 ställ en fråga nedan och andra användare kommer att svara dig
ej kategoriserat Axxess Manualer

4 Mars 2026
9 Oktober 2025
8 Oktober 2025
8 Oktober 2025
8 Oktober 2025
8 Oktober 2025
8 Oktober 2025
8 Oktober 2025
8 Oktober 2025
8 Oktober 2025
ej kategoriserat Manualer
Nyaste ej kategoriserat Manualer
3 April 2026
3 April 2026
3 April 2026
3 April 2026
3 April 2026
3 April 2026
3 April 2026
3 April 2026
3 April 2026