Axxess AXTO-MI3 Bruksanvisning
Axxess ej kategoriserat AXTO-MI3
Läs gratis den bruksanvisning för Axxess AXTO-MI3 (8 sidor) i kategorin ej kategoriserat. Guiden har ansetts hjälpsam av 41 personer och har ett genomsnittsbetyg på 5.0 stjärnor baserat på 5 recensioner. Har du en fråga om Axxess AXTO-MI3 eller vill du ställa frågor till andra användare av produkten? Ställ en fråga
Sida 1/8
AXTO-MI3
INSTALLATION INSTRUCTIONS
AxxessInterfaces.com © COPYRIGHT 2025 METRA ELECTRONICS CORPORATION REV. 8/27/25 INSTAXTO-MI3
Product Info
INTERFACE FEATURES
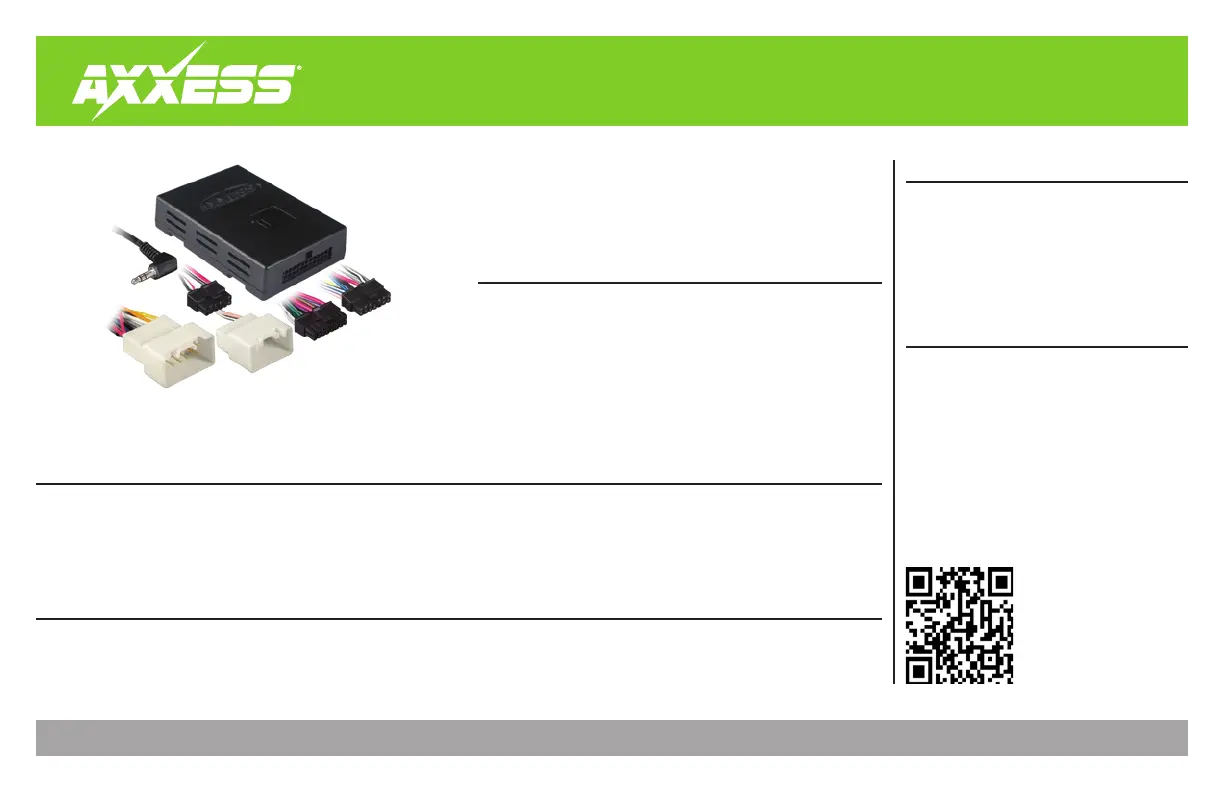
INTERFACE COMPONENTS
TOOLS & INSTALLATION ACCESSORIES REQUIRED
• Crimping tool and connectors, or solder gun,
solder, and heat shrink • Tape • Wire cutter
• Zip ties
TABLE OF CONTENTS
Connections ............................................................2
Installation .............................................................3
Programming .........................................................3
Adjustments ...........................................................3
Amplifier Retention Data Interface
Fits Select Mitsubishi Models 2014-2020
APPLICATIONS
• Designed for amplified models
• Pre-wired AXSWC harness (AXSWC sold separately)
• Retains balance and fade
• Micro-B USB updatable
Mitsubishi
Lancer ...........................2014-2014
Outlander......................2014-2020
• AXTO-MI3 interface
• AXTO-MI3 harness
• 16-pin harness
Produktspecifikationer
| Varumärke: | Axxess |
| Kategori: | ej kategoriserat |
| Modell: | AXTO-MI3 |
Behöver du hjälp?
Om du behöver hjälp med Axxess AXTO-MI3 ställ en fråga nedan och andra användare kommer att svara dig
ej kategoriserat Axxess Manualer

4 Mars 2026
9 Oktober 2025
8 Oktober 2025
8 Oktober 2025
8 Oktober 2025
8 Oktober 2025
8 Oktober 2025
8 Oktober 2025
8 Oktober 2025
8 Oktober 2025
ej kategoriserat Manualer
Nyaste ej kategoriserat Manualer
3 April 2026
3 April 2026
3 April 2026
3 April 2026
3 April 2026
3 April 2026
3 April 2026
3 April 2026
3 April 2026