Conair MetalCraft HC7000 Bruksanvisning
Conair ej kategoriserat MetalCraft HC7000
Läs gratis den bruksanvisning för Conair MetalCraft HC7000 (2 sidor) i kategorin ej kategoriserat. Guiden har ansetts hjälpsam av 23 personer och har ett genomsnittsbetyg på 4.2 stjärnor baserat på 6 recensioner. Har du en fråga om Conair MetalCraft HC7000 eller vill du ställa frågor till andra användare av produkten? Ställ en fråga
Sida 1/2
®
Respect the Ritual
HIGH PERFORMANCELITHIUM ION
METAL CLIPPER
Instruction Booklet
For your safety and continued enjoyment
of this product, always read the instruction
booklet carefully before using.
Model HC7000
IMPORTANT SAFETY
INSTRUCTIONS
When using electrical appliances, especially
when children are present, take basic safety
precautions, including the following:
READ ALL INSTRUCTIONS
BEFORE USING
KEEP AWAY
FROM WATER
FOR HOUSEHOLD
USE ONLY
DANGER– Any appliance is
electrically live, even when the switch is off.
To reduce the risk of death or injury by
electric shock:
1. Unplug this appliance before cleaning.
2.Do not place or store appliance where it
can fall or be pulled into a tub or sink.
3.Do not use while bathing or in the shower.
4.Do not place in, or drop into, water or
other liquids.
5.Do not reach for an appliance that has
fallen into water. Unplug immediately.
For dry location use only. Do not expose to
liquids, vapor or rain.
6.Except when charging, always unplug this
appliance from electrical outlet immediately
after using.
WARNING– To reduce the
risk of burns, electric shock, fire, or injury
to persons:
1. Except when charging, this appliance
should never be left unattended when
plugged in.
2.This appliance is not intended for use by
persons (including children) with reduced
physical, sensory or mental capabilities,
or lack of experience and knowledge,
unless they have been given supervision
or instruction concerning the use of the
appliance by a person responsible for
their safety. Children should be supervised
to ensure that they do not play with the
appliance.
3.Use this appliance only for its intended
purpose as described in this manual. Do not
use attachments not recommended by the
manufacturer. Do not use an extension cord
to operate this appliance.
4. Never operate this appliance if it
has a damaged cord or plug, if it is not
working properly or if it has been dropped
or damaged, or dropped into water.
Return the appliance to a service center for
examination and repair.
5.Keep the cord away from heated surfaces.
6.Never drop or insert any object into any
opening on this appliance.
7.Do not place appliance on any surface
while it is operating.
8.Do not use this appliance with a damaged
or broken comb or with teeth missing from
the blades, as injury may occur. Before use,
make certain blades are aligned properly.
9.Do not use outdoors or operate where
aerosol (spray) products are being used or
where oxygen is being administered.
10.Never operate the appliance with the
air openings blocked or while on a soft
surface, such as a bed or couch, where the
air openings may be blocked. Keep the air
openings free of lint, hair, and other debris.
11.Always attach plug to appliance first, then
to outlet. To disconnect, turn all controls to
OFF, then remove plug from outlet.
12.Avoid skin coming into contact with
moving blade.
13.When using the appliance with its cord,
be mindful of tangles or kinks in the cord. If
the cord does become tangled during use,
turn the unit off and straighten cord before
operating again.
14.Do not short the polarity (output cord) –
ensure jack is plugged into the unit before
plugging the adapter into outlet.
15.This appliance is not a toy. Keep away
from children.
WARNING:Changes or
modifications to this unit not expressly
approved by the party responsible for
compliance could void the user’s authority to
operate the equipment.
FEDERAL COMMUNICATIONS
COMMISSION NOTICE
NOTE: This equipment has been tested and
found to comply with the limits for a Class
B digital device, pursuant to Part 15 of the
FCC Rules. These limits are designed to
provide reasonable protection against harmful
interference in a residential installation.
This equipment generates, uses and can
radiate radio frequency energy and, if not
installed and used in accordance with the
instructions, may cause harmful interference
to radio communications. However, there is
no guarantee that interference will not occur
in a particular installation. If this equipment
does cause harmful interference to radio or
television reception, which can be determined
by turning the equipment off and on, the
user is encouraged to try to correct the
interference by one or more of the following
measures:
•Reorient or relocate the receiving antenna.
•Increase the separa tion between the
equipment and receiver.
•Connect the equipment into an outlet on
a circuit different from that to which the
receiver is connected.
•Consult the dealer or an experienced radio/
TV technician for help.
SUPPLIER’S DECLARATION
OF CONFORMITY
Brand: CONAIRMAN
®
Model No.: HC7000
Description: Clipper
Responsible Party: Conair Corporation,
1 Cummings Point Road,
Stamford, CT 06902 (203) 351-9000
Standards: FCC Part 15 Subpart B,
ANSI C63.4-2014
This device complies with Part 15 of the FCC
Rules. Operation is subject to the following
two conditions: (1) This device may not cause
harmful interference, and (2) This device must
accept any interference received, including
interference that may cause undesirable
operation.
DATE OF ISSUE: March 3, 2021
SAVE THESE
INSTRUCTIONS
OPERATING
INSTRUCTIONS
USER MANUAL
Before using the Class 2 Power Supply, read
these instructions carefully.
Use with adapter: CA74
Rated input voltage:
100–240V AC, 50/60Hz 0.3A
Rated output: 5.0V DC, 1000mA
OPERATION
1. For dry location use only. Do not expose
to water.
2. When not in use, unplug unit completely.
3. Unit will become warm during operation.
CAUTION
1. Ensure jack is plugged into the trimmer
unit before plugging the adapter into the
outlet.
2. Do not operate any appliance that has a
damaged output cord or housing.
3. Always unplug the unit before cleaning or
when not in use.
4. This power unit is intended to be correctly
oriented in a vertical or floor-mount
position.
5. Be sure volta
ge is correct before plugging
in. The adapter included automatically
adjusts to the input voltage. For connection
to a power supply not in the U.S.A., use an
attachment plug adapter of the proper
configuration for power outlet. DO NOT USE
WITH A VOLTAGE CONVERTER.
FEATURES
• Cordless clipper – use cordless for total
flexibility and control.
• Lithium-ion technology with powerful DC
motor for powerful cutting action and
sustained power performance.
• Precision-engineered high-grade hardened
steel blades with unique super-sharp
cutting angle for smooth, effortless cutting.
• Taper control for custom settings.
• 3-hour full charge for approximately 3
hours of use.
Your new CONAIRMAN
®
haircut kit has
everything you need to achieve professional
haircuts at home. It features a high perfor-
mance metal series clipper with adjustable
taper control. The clipper is engineered with
Japanese stainless steel blades, considered
one of the best brands of steel and renowned
for its strength and the ability to hold the
sharpest edge. Also included are 8 comb
attachments for different hair lengths, barber
scissors, a storage pouch, cleaning brush,
lubricating oil and a blade guard.
INSTRUCTIONS
FOR USE
CHARGING THE APPLIANCE
IMPORTANT
To charge the clipper, first ensure the clipper is
switched off, plug the USB cable into the USB
port on the USB adapter with output 5.0V DC,
1000mA, then insert the Micro USB plug into the
bottom of the clipper. Plug the adapter into wall
outlet (at the voltage listed on the label affixed to
the adapter). Unplug adapter when not in use.
This clipper is easy to use, but before you do
anything you must take time to charge the unit
for 3 hours before its first use. Maximum
battery capacity will be reached only after 3
charging/discharging cycles. A full charge will
provide approximately 3 hours use. When the
clipper is about to run out of power, the charging
indicator will flash and you will have approxi-
mately 10 minutes of use remaining. The
charging LED indicator light will flash when
correctly connected to the main power and will
continuously flash until the battery has fully
charged. When the battery is fully charged, the
LED indicator light will stop flashing but remain
on.
WARNING:When charging, the unit can’t operate.
If the charging light suddenly starts to flash rapidly,
the appliance is faulty. If this happens, stop
charging, remove the adapter from the outlet and
contact our Customer Care Center for further
advice (see the Warranty section of this information
booklet).
OILING INSTRUCTIONS
IMPORTANT! It is highly recommended before
each use to oil the blades with the oil
provided. This ensures optimum cutting
performance. Unscrew the cap and cut off the
very end of the plastic tube with a pair of
scissors to release the oil.
To oil the blades, ensure that the unit is
switched on. Gently squeeze the oil tube and
apply 2 drops of oil to the blades (see FIG. 1,
2, and 3). Leave the unit on for a few seconds
to allow the oil to thoroughly spread the
length of the blades. Switch off the unit and
remove any excess oil by gently dabbing with
a cloth.
Be careful not to use too much oil and don’t
oil your clipper more than necessary, as this
could damage the motor. (Never attempt to oil
the motor bearing, as it is permanently
lubricated.)
KEEP OIL OUT OF REACH OF CHILDREN.
FIG. 3
OIL BOTH AREAS
OIL BOTH AREAS
FIG. 1
FIG. 2
PRESERVING THE BATTERIES
In order to maintain the optimum capacity of
the rechargeable batteries, the appliance has
to be fully discharged approximately every 6
months. Then recharge the appliance to full
capacity, again for 3 hours.
THE CONAIR GUIDE TO CUTTING
HAIR AT HOME
Before you start:
1. Inspect your clipper. Make sure it’s free of
hair and dirt, properly oiled and running
smoothly.
2. Place a barber cape or a towel around the
neck of the person whose hair is to be cut.
3. Seat the person so that his or her head is
at your eye level. This gives you greater
visibility and control.
4. Comb hair until it’s tangle free. Then hold
clipper in a comfortable grip. Now you’re
ready to cut.
MEDIUM TO LONG CUT
To begin, cut only a small amount of hair until
you become used to the length each
attachment leaves the hair. Try the longest
attachment on the clipper first. If you want a
shorter cut, you can then use shorter combs.
•Short comb attachment (number 1) cuts
hair to 1/8" (3mm).
• Medium-Short comb attachment (number
2) cuts hair to 1/4" (6mm).
• Medium-Long comb attachment (number 3)
cuts hair to 3/8" (9.5mm).
•Long comb attachment (number 4) cuts hair
to 1/2" (13mm).
•Long comb attachment (number 5) cuts hair
to 5/8" (16mm).
•Long comb attachment (number 6) cuts hair
to 3/4" (19mm).
• Long comb attachment (number 7) cuts hair
to 7/8" (22mm).
• Long comb attachment (number 8) cuts hair
to 1" (25mm).
Attach combs by
holding them teeth
up, then snapping
onto the bottom of the
clipper blade.
To remove comb
attachments, place
index finger and
thumb as illustrated;
then pull out and up.
NOTE:Never push or
shove the clipper through the hair to make
it move more quickly. Professional experi-
ence shows that the clipper works most
efficiently when it cuts through the hair at
its own speed.
To begin cutting hair:
1. The hair should be combed
in its natural direction.
2. Using the longest comb
attachment, trim sides from
the bottom upward. Hold
clipper lightly against
the hair with teeth of
the comb attachment
pointing up ward, yet
flat against the head.
Gradually lift the clipper
upward and outward
through the hair, trim-
ming just a little at a
time.
Repeat around sides
and back of head.
If you want hair to be
even shorter:
A) Apply more pressure to the head with the
comb attachment that is in place. This takes a
little practice, of course. OR
B) Switch to a shorter comb attachment.
Remember, it’s better to
leave too much hair than
too little. For longer hair
on top, use the barber
comb and lift hair on the
top of the head, cutting
over the comb. Or hold the
hair between the fingers
and cut to desired length. Always working
from the front to the back of the head, gradu-
ally cut the hair shorter by reducing the space
between the comb or fingers and the head.
Comb often to check for uneven strands, and
to get rid of trimmed hair.
OUTLINING
Outlining requires no
attachments. Comb hair into
the desired style. Position
the clipper between the
sideburns and the ear (see
illustration), making sure the
corner edge of the blade is
against the hairline. With the
outline of the hair as your
guide, slowly move the clip-
per over, around and behind
the ears. For the back of the
neck and the sideburns, hold the clipper in
the opposite direction and, holding it against
the skin at the length desired, move the clip-
per downward.
STOP. COMB. CHECK.
For best results, do as the professionals do:
Comb hair often, and check clipping results
as you comb. This way you avoid uneven
sides, bangs, neckline, etc.
SHORT CUTS TO PERFECT
FLATTOPS, CREW CUTS, ETC.
Always cut from the back of the neck to
the crown, using the longest comb setting.
Hold the comb attachment flat against the
head and slowly move the clipper up through
the hair. Use the same technique for the
sides, cutting from the bottom
to the upper side of the head.
For the front to the crown, cut
the hair against the direction in
which it grows. Then even it up
with the sides.
For a flattop, use the
flat comb, not the comb
attachment.
Cut hair on
top of the head over flat
comb (see illustration).
FADE OR TAPER
Fades and tapers can vary according to ethnic
and regional preferences. Except among the
most highly trained professionals, the two
terms are often used interchangeably. The
techniques to create them are quite similar.
The Fade:A fade is a transition in hair length
from thin to full that appears around the
sides and back of the head. You can have
a low, mid or high fade, depending on your
preference. Start by choosing your fade line.
This is the point where the fade begins,
where the hair is shortest. Be conservative
to start. Choosing a #1 attachment comb will
trim very close to the skin, whereas using
no attachment comb will leave the skin bald.
Therefore, we suggest starting with a #3 or
#4 for your first attempt. You can always go
shorter later, but you’ll have to wait for weeks
for hair to grow back if you cut it too short at
the start.
The Taper: A taper (or tape-up) is like a fade,
but it sits lower on the head, closer to the
ears and low on the nape of the neck. (see
image A on next page). It is usually done on
the temple and sideburn areas, proceeding
low above the ear, and around to the back
of the head, but it can continue around the
perimeter of the head if so desired (see image
B). Choose longer guide combs for a taper
than you would for a fade—#4 or #5 is a
good start.
A.
B.
C.
D.
If you are unsure, go with a #6 and use the
C-scoop or crescent-shape motion. The taper
is considered a more conservative look, for
men in the corporate workplace. It is layered
much like a fade, and the technique to create
it is much the same with minor differences.
Low, Mid or High Fade: Where you stop
fading is up to you. You can create a low,
mid or high fade. The low fade (see image
B), which is essentially the same as a taper
and the most conservative style, stops at
the temple, continues just above the ear
and proceeds to the back across the lower
occipital bone below the parietal ridge. It will
usually stay within an inch or 2 of the lower
neckline. A mid fade (see image C) can stop
at the temple or go a little higher. It proceeds
higher above the ear and aims for the parietal
ridge, approximately 2 to 3 inches above
the low hairline. A high fade (see image D)
lands above the temple, and dips slightly as it
proceeds to the back of the head, above the
parietal ridge. You can go even higher if you
want to create that high and tight U.S. Marine
look. These specifications are general guide-
lines. You can create a fade or taper any place
on the head and use any degree of steepness
you desire. Cutting hair is an art form! The
key is to get the look you want.
Technique: Start at the bottom of the hairline
and use short, upward strokes, trimming as
evenly as possible across the back hairline
and around to each side, over the ears and
sideburns. The length of the stroke will deter-
mine how steep or gradual the fade will be,
depending on the look you want. Just keep
your strokes proportional.
Start with quarter-inch to half-inch strokes,
using a gentle scrubbing motion, working
square to the head surface at this point. Then,
switch to the next-longer guide comb and
trim around the hairline again, blending in
with your first trim layer. To achieve better
blending with the first layer, keep using the
C-scoop motion with the clipper, gently bend-
ing the wrist to pull the clipper away from the
head as you move upward.
USER MAINTENANCE
INSTRUCTIONS
CARE OF YOUR CLIPPER
IF YOU DETERMINE THAT BLADE
ALIGNMENT IS INCORRECT:
CONAIRMAN
®
hair clippers are carefully
inspected to ensure that the blades are in
perfect alignment. Of course, you will need to
realign the blades after removal for cleaning
or replacement, or if they should be knocked
out of alignment. How can you tell if blades
need realigning? Simply match them up, point
for point, to conform with FIG. 1 below:
To prevent the clipper from contacting the
FIG. 1
Bottom Blade
Top Blade
1/32" to 1/16"
skin or cutting too closely, make certain that
the end top blade teeth are 1/32" to 1/16"
back from bottom blade.
To Align Blades:
1. Unplug clipper and slightly loosen screws.
(See FIG. 2)
2. Position the extreme left-
hand tooth of the top blade so
that it either covers or appears
on the left of the first small
tooth on the bottom blade.
3. Make sure that the big
tooth on the bottom blade
touches the extreme right-
hand tooth of the top blade.
FIG. 2
Any other servicing should be performed by
an authorized service representative. This
appliance has no user-serviceable parts.
This appliance is for household use.
ADJUSTABLE TAPER LEVER
Just like on professional clippers, the
CONAIRMAN
®
taper lever is positioned at your
thumb. You can hold the clipper in your hand
and adjust the lever at the same time...while
you’re clipping.
This taper lever eliminates the need in some
situations for a comb attachment because it
lets you gradually adjust the closeness of the
cut. For the closest cut and the shortest hair,
push taper lever up as far as it will go, to level
#1. For a longer cut, slowly push lever down. If
you push to the lowest position, level #5, it will
leave hair about the same length as the short
comb attachment.
Because a different cutting edge is used in
each setting, the taper lever lengthens the life
of your blades.
Packed-in hair can slow down any clipper. To
remove hair without removing the blades, do
what the professionals do: Keeping the clipper
on, quickly push the taper lever back and forth
from “close” to “longer” cut a few times.
If you do this after every clipping, especially
with heavy hair cutting, the blades should
remain free of cut hair.
NOTE: Never pull on the clipper cord. Never
twist or wrap the cord around the clipper. Lay
it flat with the cord coiled up when not in use.
STORAGE:When not in use, your clipper
should be disconnected, allowed to cool and
stored in a safe, dry location, out of reach of
children.
Close Cut
Longer Cut
BATTERY DISPOSAL
This appliance contains a lithium-ion battery.
To protect the environment, this appliance and
its battery must be disposed of safely. At the
end of its life, please take this appliance to a
recycling center, where the internal recharge-
able battery should be removed by a profes-
sional and recycled separately. For more
information about the recycling of electrical
and battery-operated appliances, please
contact your local recycling or environmental
protection office or your household waste
disposal service. For specific questions
regarding the replacement of batteries in this
product, please contact our Conair Customer
Care Line.
Locking taper
control
Stainless steel
self-sharpening
blades
High-torque
professional
DC motor
ON/OFF
switch
Smooth metal
handle
WARNING:
IF YOU THINK
THE POWER IS OFF
WHEN THE SWITCH
IS OFF,
YOU’RE WRONG.
KEEP AWAY FROM WATER
Everyone knows that electricity and water
are a dangerous combination. But did you
know that an electric appliance is still
electrically live even if the switch is off? If
the plug is in, the power is on. So when you
are not using your appliances, keep them
unplugged.
ALWAYS UNPLUG
SMALL APPLIANCES
LIMITED FIVE-YEAR WARRANTY
(U.S. AND CANADA ONLY)
Conair will repair or replace (at our option) your
unit free of charge for 60 months from the date of
purchase if the appliance is defective in workmanship
or materials.
To obtain service under this warranty, return the
defective product to the service center listed on back,
together with your purchase receipt. California
residents need only provide proof of purchase and
should call 1-800-3-CONAIR for shipping instructions.
In the absence of a purchase receipt, the warranty
period shall be 60 months from the date of
manufacture.
ANY IMPLIED WARRANTIES, OBLIGATIONS,
OR LIABILITIES, INCLUDING BUT NOT
LIMITED TO THE IMPLIED WARRANTY OF
MERCHANTABILITY AND FITNESS FOR A
PARTICULAR PURPOSE, SHALL BE LIMITED IN
DURATION TO THE 60-MONTH DURATION OF THIS
WRITTEN, LIMITED WARRANTY. Some states do not
allow limitations on how long an implied warranty
lasts, so the above limitations may not apply to you.
IN NO EVENT SHALL CONAIR BE LIABLE
FOR ANY SPECIAL, INCIDENTAL, OR
CONSEQUENTIAL DAMAGES FOR BREACH OF THIS
OR ANY OTHER WARRANTY, EXPRESS OR IMPLIED,
WHATSOEVER. Some states do not allow the exclusion
or limitation of special, incidental, or consequential
damages, so the above limitation may not apply
to you.
This warranty gives you specific legal rights,
and you may also have other rights, which vary from
state to state.
Model
HC7000-BLD
Model HC OIL
Model SC-1
Model HC7000-3
Model HC7000-4
Model HC7000-1
Model HC-1
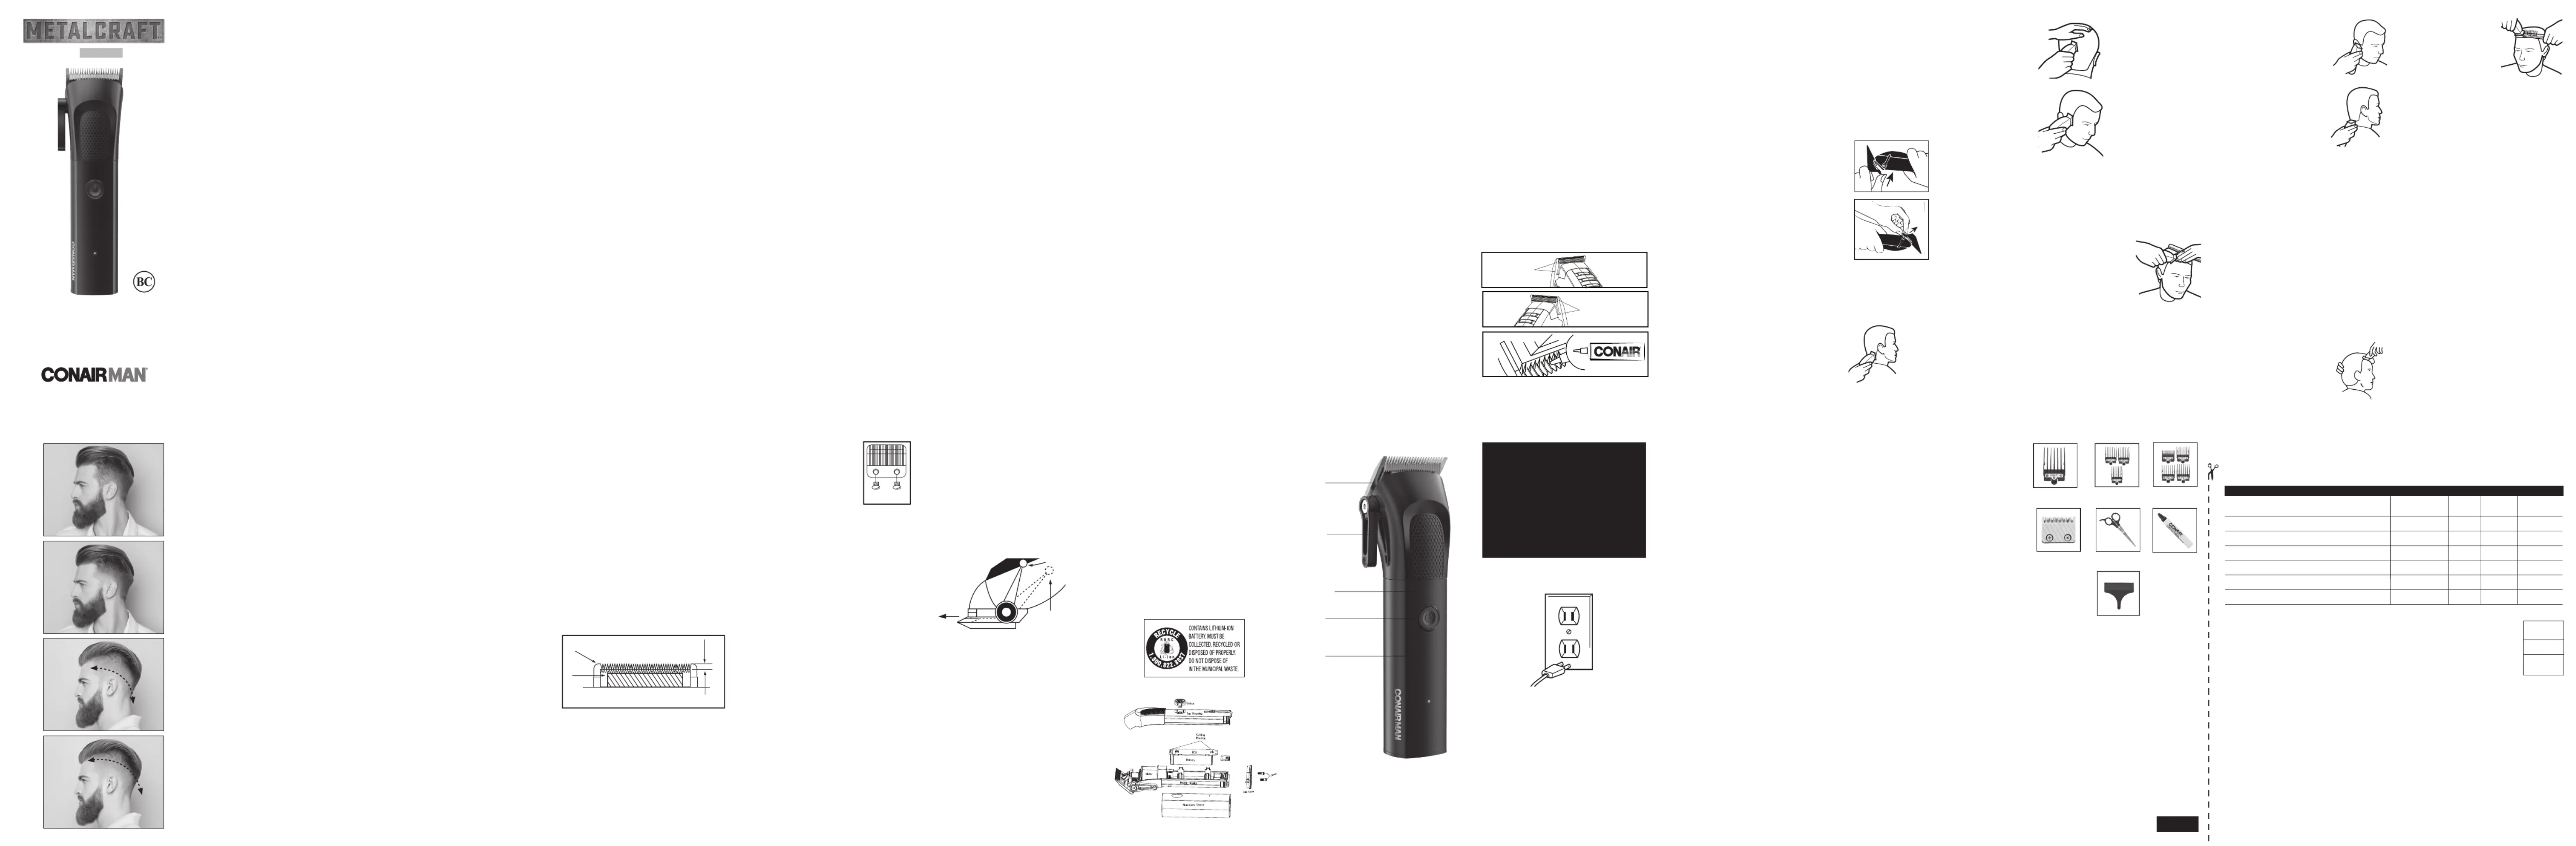
stock.image
Please register this product at
www.conair.com/registration
©2021 Conair LLC
Service Center
Conair LLC
Service Department
7475 North Glen Harbor Blvd.
Glendale, AZ 85307
21PG078304
IB-17250
HAIRCUT KIT REPLACEMENT PARTS & ACCESSORIES ORDER FORM
OR PURCHASE ON THE WEB AT WWW.CONAIR.COM
Pricing in effect through December 31, 2025. Orders postmarked after this date
will be accepted, and the customer will be notified if pricing has changed.
Enclose check or money order made payable to Conair. (We cannot accept cash, stamps
or C.O.D. orders.) *CT, IL, AZ, and PA residents should add applicable state sales tax.
Minimum order of $10.00 or a $2.00 handling charge will be added to order.
All prices include handling and return postage. Prices are subject to change without
notice. Prices are valid only for shipments within the continental United States.
Please allow 4–6 weeks for delivery.
To avoid delays, please print clearly.
We must have a street address, as UPS cannot deliver to a P.O. Box.
NAME _________________________________________________________________________________________________
ADDRESS APT. ___________________________________________ ______________________________________________
CITY ________________________________ ________________________________________________STATE _________ ZIP
TELEPHONE ( ) _____________________________________________________________
(We call only if we have a question about your order.)
For information on other Conair
®
haircut kit parts, call 1-800-3-CONAIR.
Subtotal
Sales Tax*
TOTAL
Clipper Blade HC7000-BLD $6.50
4 Comb Attachments: 1/8", 1/4", 3/8", 1/2"
HC7000-4 $5.00
3 Comb Attachments: 5/8
"
, 3/4
"
, 7/8
"
HC7000-3 $5.00
1" Comb Attachment HC7000-1 $2.00
Lubricating Oil (pkg. of 3 tubes) HC OIL $1.00
Barber Scissors SC-1 $2.00
Blade Guard HC-1$1.00
ITEM PART # PRICE QUANTITY AMOUNT
CUT HERE
Produktspecifikationer
| Varumärke: | Conair |
| Kategori: | ej kategoriserat |
| Modell: | MetalCraft HC7000 |
Behöver du hjälp?
Om du behöver hjälp med Conair MetalCraft HC7000 ställ en fråga nedan och andra användare kommer att svara dig
ej kategoriserat Conair Manualer

18 Augusti 2025
13 Augusti 2025
21 Juli 2025
21 Juli 2025
21 Juli 2025
20 Juli 2025
20 Juli 2025
20 Juli 2025
20 Juli 2025
20 Juli 2025
ej kategoriserat Manualer
Nyaste ej kategoriserat Manualer
3 April 2026
3 April 2026
3 April 2026
3 April 2026
3 April 2026
3 April 2026
3 April 2026
3 April 2026
3 April 2026