NAV-TV NTV-KIT630 Bruksanvisning

NAV-TV Dashcam NTV-KIT630

Läs gratis den bruksanvisning för NAV-TV NTV-KIT630 (12 sidor) i kategorin Dashcam. Guiden har ansetts hjälpsam av 21 personer och har ett genomsnittsbetyg på 4.6 stjärnor baserat på 11 recensioner. Har du en fråga om NAV-TV NTV-KIT630 eller vill du ställa frågor till andra användare av produkten? Ställ en fråga

Sida 1/12
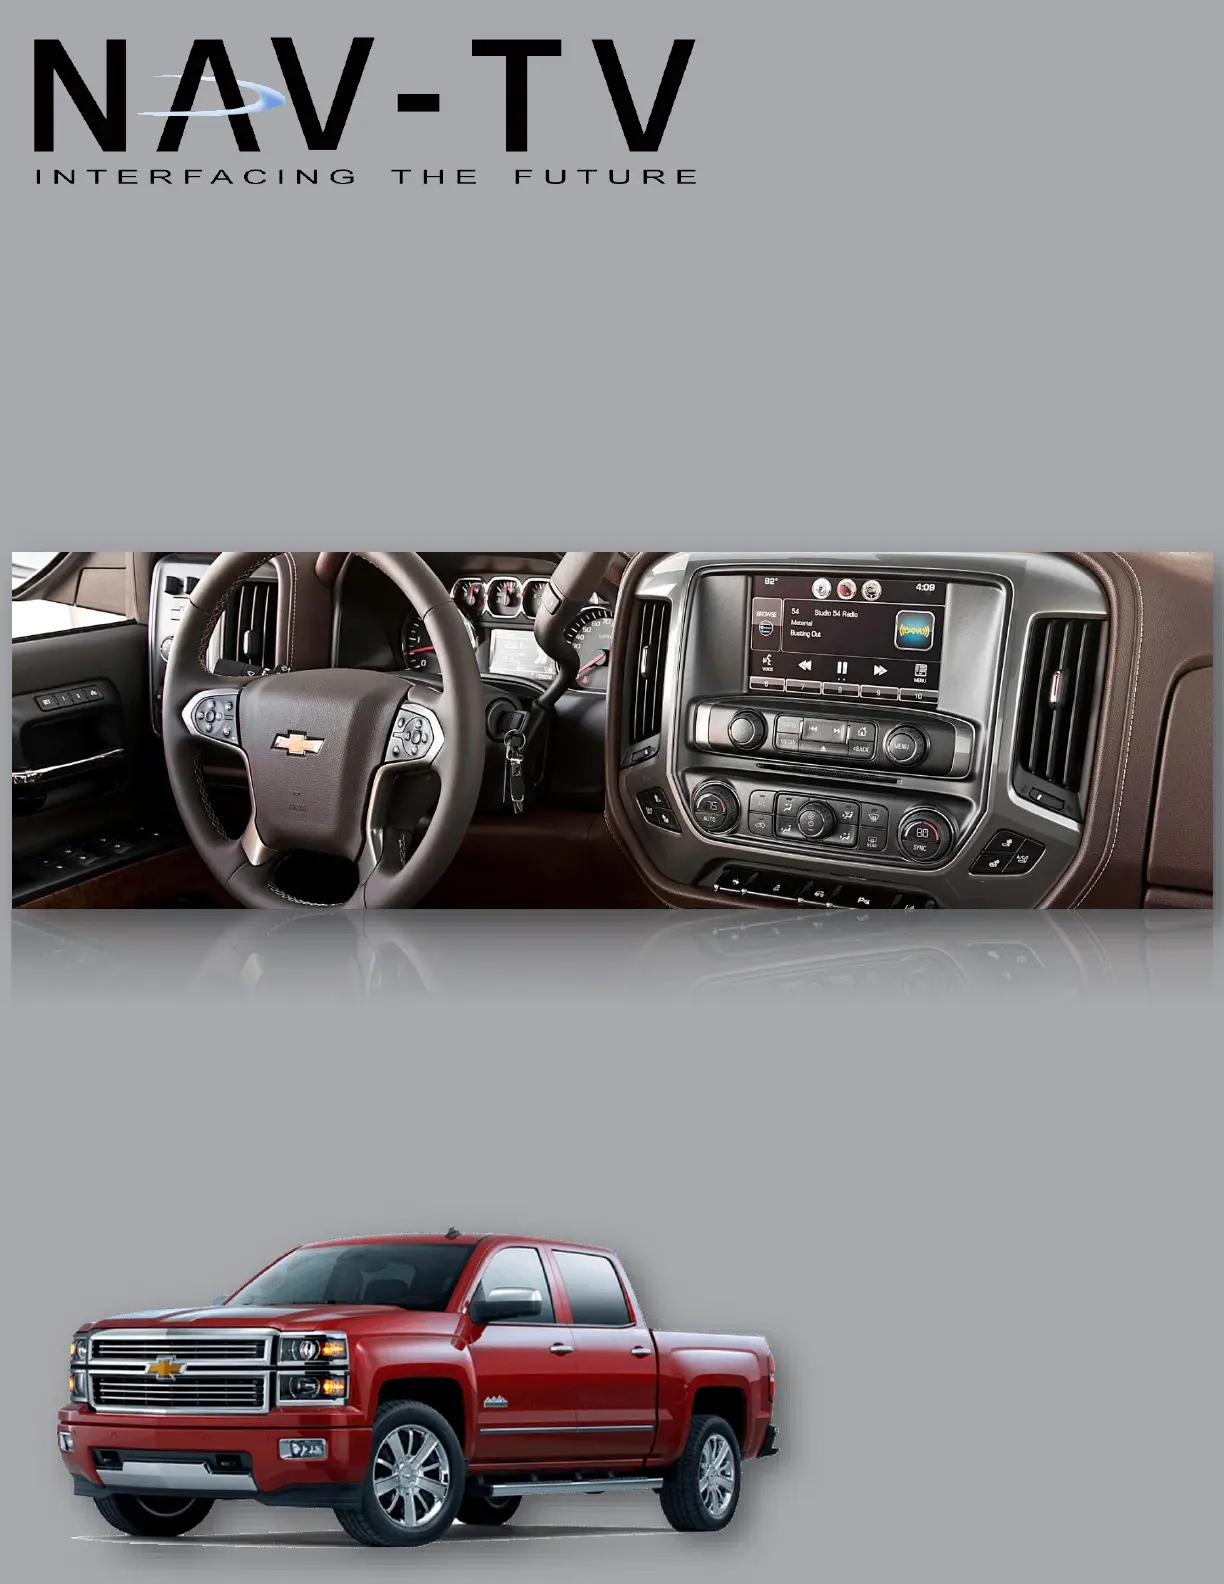
GM UNI-CAM/UNI-CAM PRG
RVC controller interface &/or programmer for select GM vehicles equipped with MyLink IOH Radio
IOH = IO4 (4” screen) & IO5/IO6 (8” screen)
NTV-KIT629: Controller ONLY (for vehicles with OEM RVC)
NTV-KIT630: Controller & Programmer (for vehicles without OEM RVC)
BHM
09/26/17
NTV-DOC239
3950 NW 120
th
Ave, Coral Springs, FL 33065 TEL 561-955-9770 FAX 561-955-9760
BHM
09/26/17
NTV-DOC239
Agreement: End user agrees to use this product in compliance with all State and Federal laws. NAV-TV Corp. would not be held liable for misuse of its product.
If you do not agree, please discontinue use immediately and return product to place of purchase. This product is intended for off-road use and passenger
entertainment only.
2 | P a g e
Overview
The GM UNI-CAM adds an additional video input on select GM vehicles equipped with the MyLink (model IOH)
4and 8” color media screens. Forcing (aftermarket) AUX Video or front camera to display at any time is
activated with wire triggers. Note: NTV-KIT629 is a controller only, it will NOT program the MyLink radio
system for rear camera. If adding a reverse camera to a vehicle without OEM RVC and forced cam/AUX video
input is desired as well, you must purchase NTV-KIT630 (UNI-CAM with built-in programmer).
Kit Content
GM UNI-CAM Pinout
Pin #
Description
Color
1
12v Constant Power (+)
Yellow
2
Input 1 (Force Rear Cam)*
Red
3
Input 2 (Force Front Cam)
Blue
4
Input 3 (4” Programming Wire)**
Pink
5
--NOT USED--
Brown
6
RCA Signal (+) (Out to radio)
Yellow
7
RCA Shield (common)
Gray
8
CAN HI (HMI side)
White/Blue
9
CAN LO (vehicle side)
White/Brown
10
Ground (-)
Black
11
Output 1 (ACC 12v +)
White/Red
12
Output 2 (REV 12v + & FRVC)
White/Blue
13
Output 3 (12v + out when FFVC)
White/Purple
14
--Not Used--
White/Brown
15
RCA Signal (+) Input (front cam)
White
16
RCA Signal (+) Input (rear cam)
Red
17
CAN HI (HMI side)
Blue
18
CAN LO (vehicle side)
Brown
Wire Side
Any wires not mentioned here are not used for
this installation.
GM UNI-CAM Module
KIT629: NTV-ASY166
KIT630: NTV-ASY245
USB Cable
(updates)
NTV-CAB009
*Forcing rear camera is only available for
aftermarket cameras (unless OEM rear camera
is powered with an ACC source or OUTPUT 2
manually OEM RVC normally only powered in
reverse)
**Used for (IO4) 4” screens ONLY.
Use with NTV-KIT630 ONLY.
Plug & Play I/O T-Harness
NTV-HAR284
CAM T-Harness
NTV-HAR283
VSW-R included with
NTV-KIT629
PIN 12 FRVC: Forced Rear View Camera
PIN 13 FFVC: ‘Forced Front View Camera’
BHM
09/26/17
NTV-DOC239
Agreement: End user agrees to use this product in compliance with all State and Federal laws. NAV-TV Corp. would not be held liable for misuse of its product.
If you do not agree, please discontinue use immediately and return product to place of purchase. This product is intended for off-road use and passenger
entertainment only.
3 | P a g e
Known HMI
Locations:
GM UNI-CAM Installation
1. After gaining access to the HMI module, Disconnect the gray, 12-pin plug from the OEM HMI circled
above.
2. Disconnect the black, 16-pin plug from the OEM HMI circled above.
3. Connect the provided UNI-CAM 12-pin & 16-pin (male end) connectors into the HMI plug locations
from steps 1 & 2.
4. Connect the factory 12-pin & 16-pin plugs (previously connected to the HMI) into the provided Plug &
Play T-Harness (female end).
5. NTV-KIT629 Installation (with existing OEM reverse camera):
a. When connecting a front camera (or AUX video source) to a vehicle with an existing OEM
reverse camera, the internal relay on the UNI-CAM board is not used (RCA I/Os from module).
Complete all connections on page 5 (FIG 2) using the included VSW-R (included with KIT629) to
prevent ‘bleed-over’ image (when in front camera mode). This includes the following:
b. Black wire of VSW to chassis ground
c. OUTPUT 3 (from module) to White/Red of VSW
d. RCA connections as shown in diagram (FIG 2)
e. Continue with installation on page 4, step 7.
6. NTV-KIT630 Installation (without existing OEM reverse camera):
a. Adding a single rear camera: power your camera with an ACC source or OUTPUT 1 (especially if
using the forced feature), and connect your camera signal directly to the female RCA (into the
HMI) from the 12-pin gray plug.
b. Adding 2 aftermarket cameras: Instead of connecting camera signal directly to the HMI,
connect the RVC signal to the RCA labeled ‘BACKUP CAM’ at the UNI-CAM module. Connect the
front cam/AUX video to the RCA labeled ‘FRONT CAM’. Connect the (male) ‘VIDEO OUT’ RCA to
the female RCA from the CAM T-Harness (at the HMI). Leave the male RCA on the CAM T-
Harness disconnected.
c. If this vehicle is equipped with a 4” screen, connect INPUT 3 (pink) to a CONSTANT 12v source.
d. Continue with installation on step 7 (next page).
Vehicle
HMI Location
Cadillac ATS/CTS
Directly below glove box
Cadillac SRX
Below/behind glove box
Corvette
Driver’s kick panel
Silverado/Sierra
Behind glove box - high
Colorado/Canyon
Behind Screen - low
Factory GM HMI (Human Machine Interface)
The UNI-CAM kit connects at the OEM
HMI Module. The location of this module
varies by vehicle.
NOTE: If this wire is not connected, the UNI-CAM PRG will program for 8” screen (image will appear zoomed in).


Produktspecifikationer

Varumärke: NAV-TV
Kategori: Dashcam
Modell: NTV-KIT630
Färg på produkten: Metallic, White
Vikt: 4020 g
Bredd: 110 mm
Djup: 803 mm
Höjd: 215 mm
Monteringsmetod: Muur
Maximal viktkapacitet: 12 kg
Justerbar: Ja
Tiltvinkelområde: -10 - 10 °
Harmoniserad systemkod (HS): 83024190
Avstånd till vägg (max.): 705 mm

Behöver du hjälp?

Om du behöver hjälp med NAV-TV NTV-KIT630 ställ en fråga nedan och andra användare kommer att svara dig